What is the Check-In Feature?

This section provides information using Check-in in Batch Issuance.

Check-in Module is only available for Template-Based Batch Issuances and allows the Issuing Authority to monitor if a recipient has received their Issuance through their check-in status. This is usually used for events. For example, in an ongoing event this serves as for your proof for the recipient’s attendance on the event to make sure that they have attended before releasing the document to the recipient.

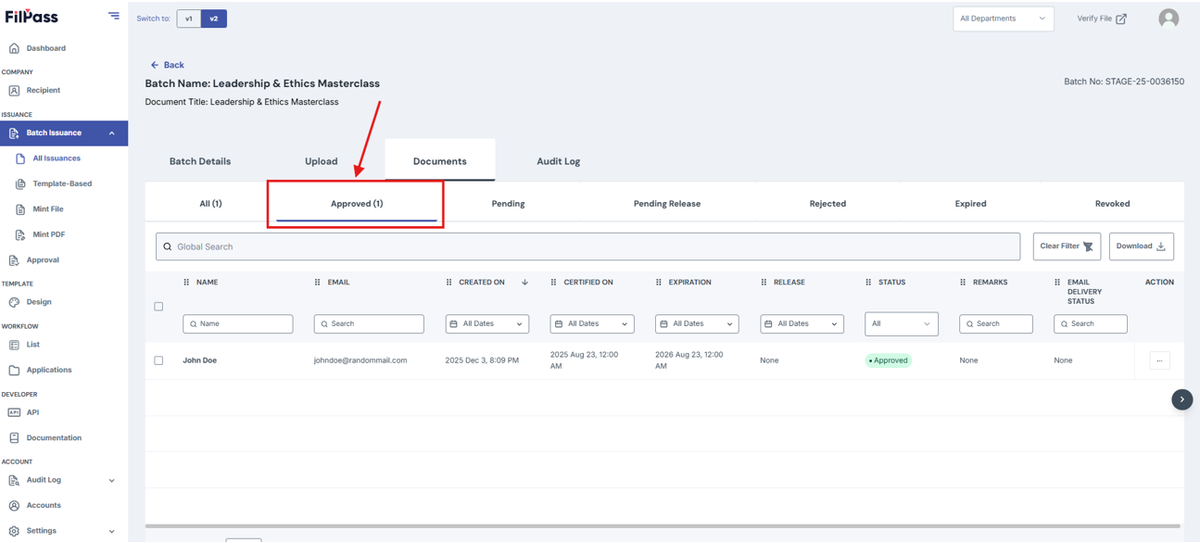
You can only check in on Approved documents.

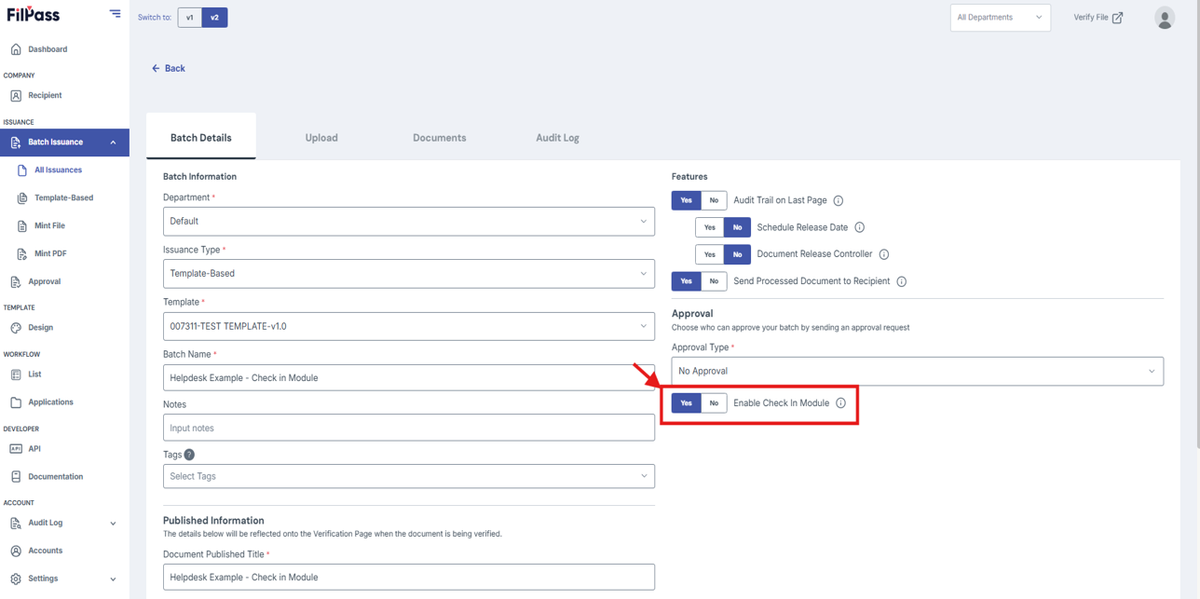
1. Enable Check-in Module
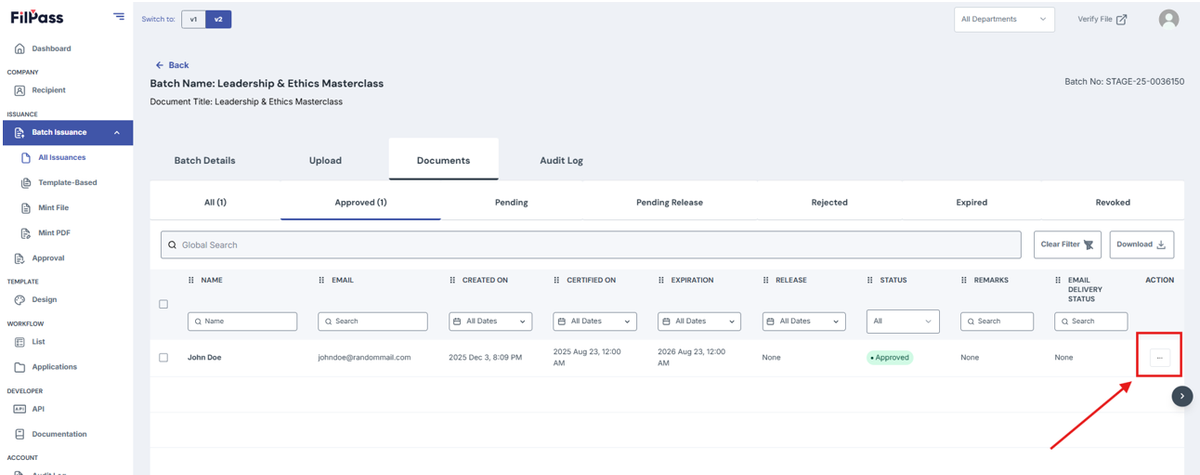
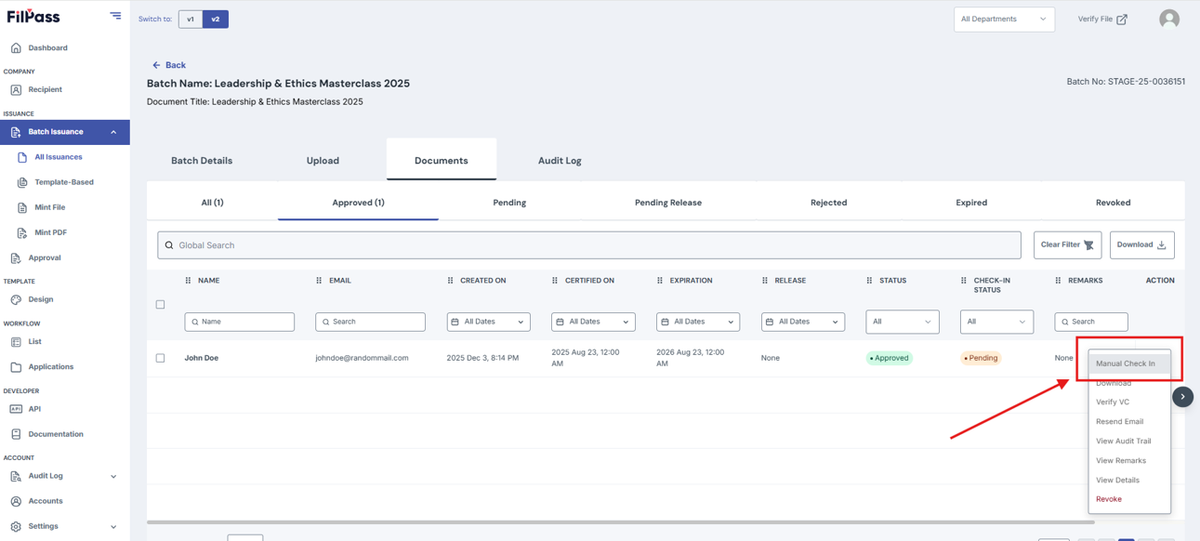
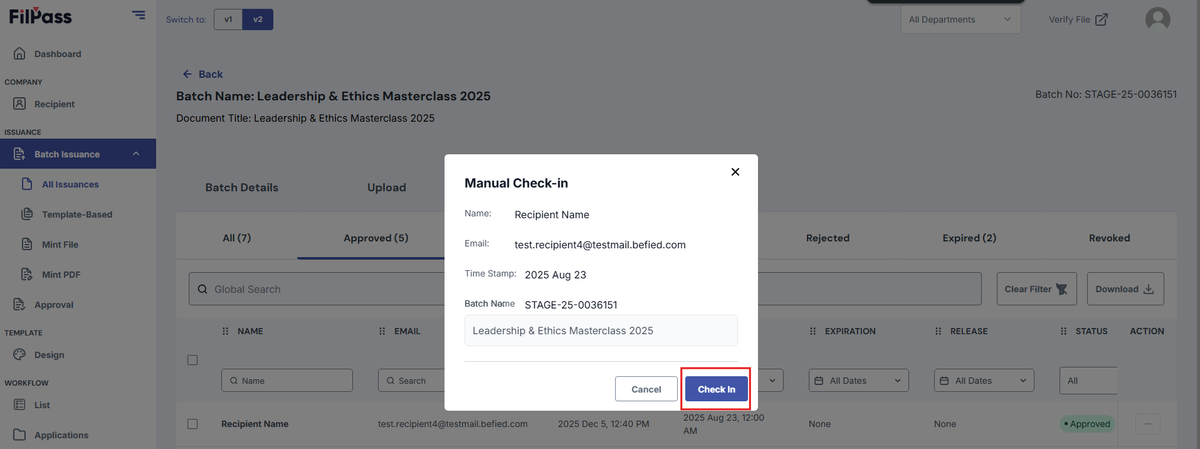
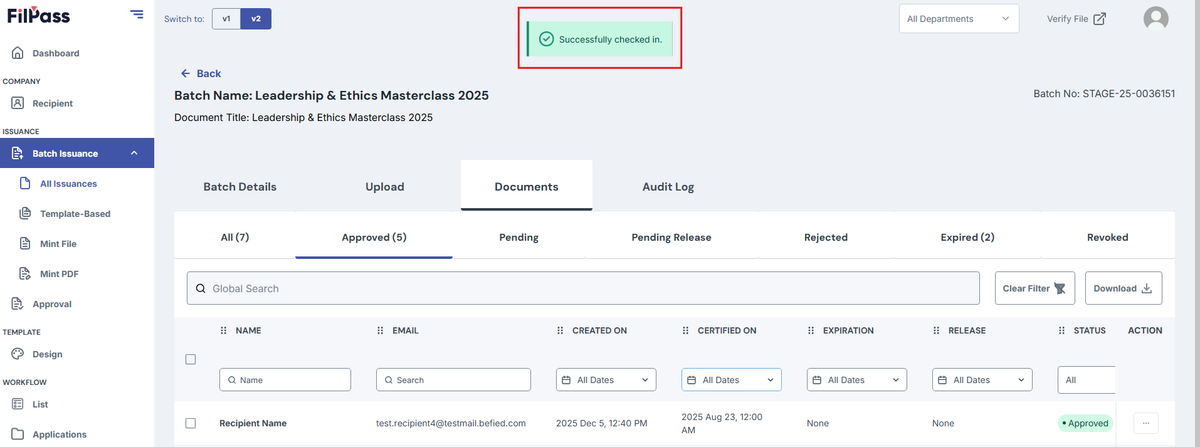
  • Create a Template-Based Batch Issuance and toggle the Enable Check-in Module to Yes.
Image of Create batch page with the Enable Check-In module feature highlighted in a red box
  • Continue with your Batch Issuance.


2. Check-in

  • You can either do a manual check-in via the documents tab or through the email check-in QR code where it should be scanned.

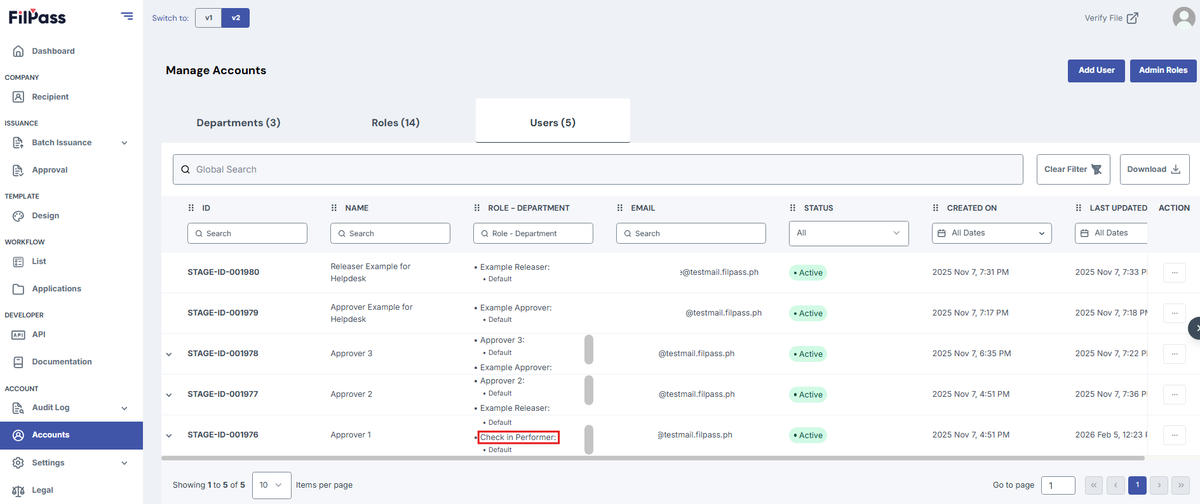
Note: Please note that only Users with the “Can Perform Check In“ Permission can perform a Manual Check In in behalf of the recipient.

Image of the Accounts page with the permission "Can Perform Check In" highlighted in a red box

A Sample User with the default Check-In Performer Role:

Image of the Accounts page with the Check In Performer role highlighted in a red box

For Manual Check-in:

  • Go to the Approved Tab of your Batch Issuance
Image of Documents page with the Approved tab highlighted in a red box
  • Click the action button of the document you want to check in.
Image of Document page with the Action button highlighted in a red box
  • Click Manual Check-in
Image of Documents page with the Manual Check-in button highlighted in a red box
  • On the Check-in Confirmation Modal, click on the Check in button
Image of the Manual Check-in modal with the Check in button highlighted in a red box
  • A Success pop up message will appear once the check-in is successful
Image of the Documents page with the Successfully checked in pop up message highlighted in a red box

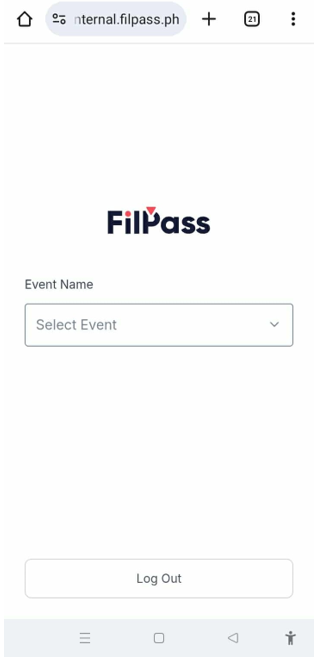
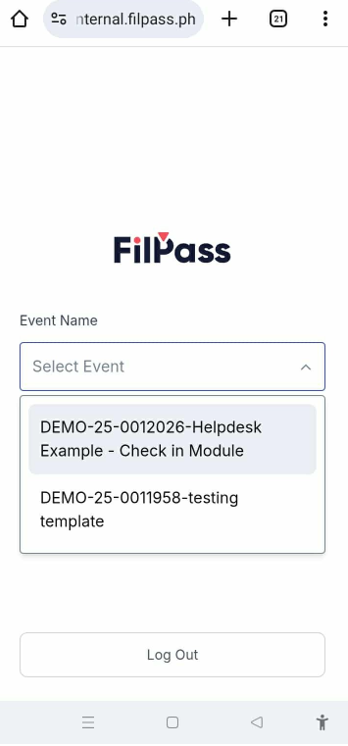
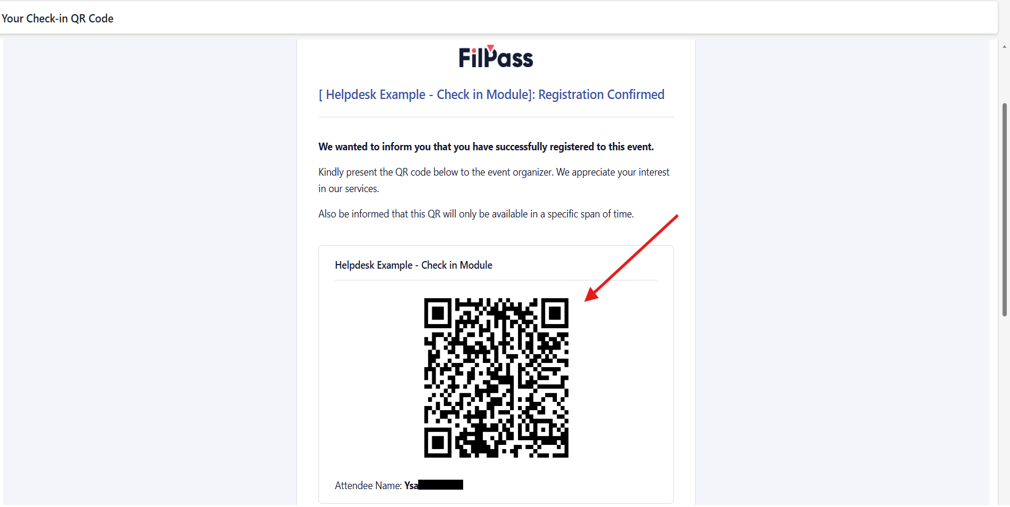
For email check-in QR code:

Image of the Check-In page
  • Select your event from the dropdown
Image of Check-In page with the Events dropdown open
  • Scan the QR code in the recipient's email.
Image of Email with the QR code for Check-In

  • You have successfully checked in for that document.

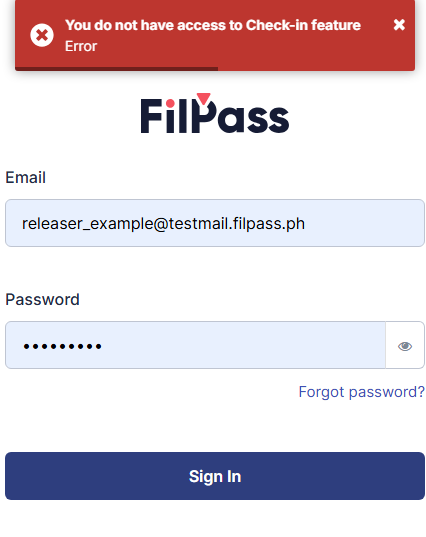
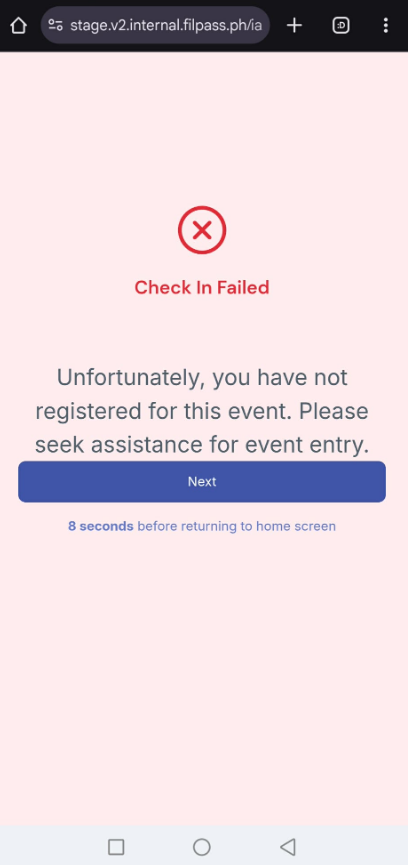
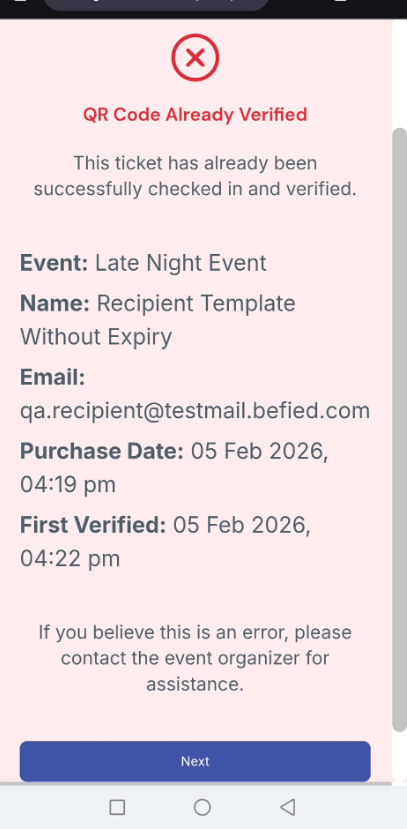
For a couple of Messages of note:

  • If the Sub IA (Issuing Authority) has no permission for the Check In, they will see the error message on this photo.
Image of the Check-In Login page with the error pop up, "You do not have access to Check-in feature."
  • If the page displays the image below, The Sub IA or the IA might have selected a different event compared to the QR code being scanned from the recipient.
Image of the Check In page with the error message of Check In Failed.
  • If the image below is encountered, it means that the QR code being scanned has already been scanned
Image of the Check in page with the error QR Code already verified

Related Articles

Issuing AuthorityProfile Settings

Access Level

This section explains the Access Level of your IA.

settings
28 Jan 202655 views
Issuing AuthorityWorkflow

Add Field Section

This section explains how to add fields in a Custom Tab of a Workflow.

workflow
26 Jan 202620 views
Issuing AuthorityAccount Settings

Admin Role

This section explains how you can add and remove an Admin role in the Accounts Section.

27 Jan 202634 views
Issuing AuthorityWorkflow

Approval Tab

This section explains the Approval Tab of a Workflow.

workflow
26 Jan 202624 views