RecipientDocument Request Module
How Recipient Request Document
This article explains how the recipient can request document
documentrequestDRM
This section provides a step-by-step guide on creating a FilPass Recipient Account.
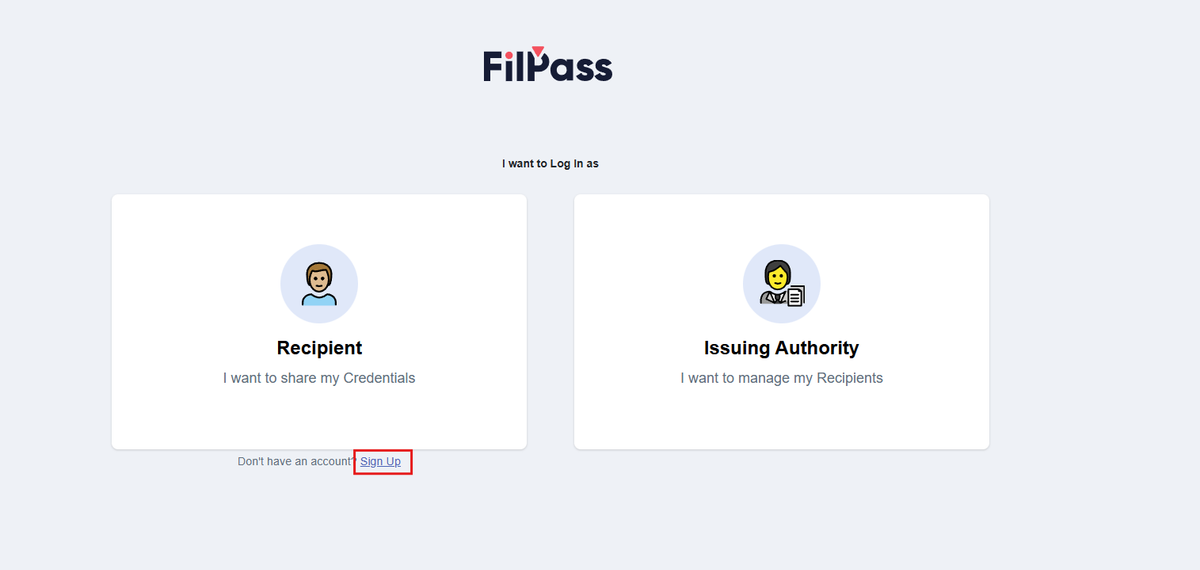
1. Go to https://app.filpass.ph/
2. Click the “Sign-up” button.
3. Enter your email, then Click the “Continue” button.

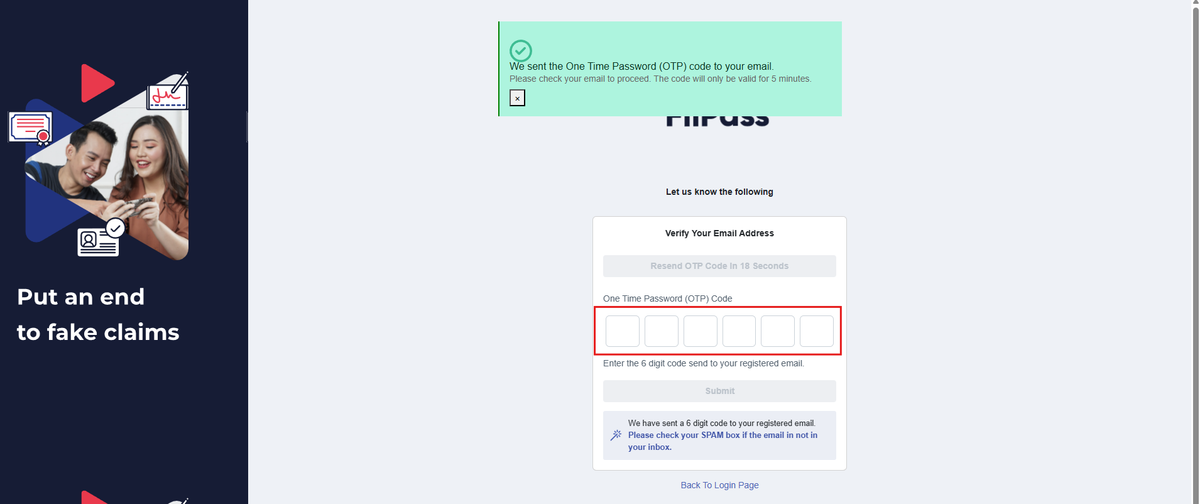
4. If there are no registration errors, a message will appear confirming that an OTP has been sent to your email. Enter the OTP in the designated field.
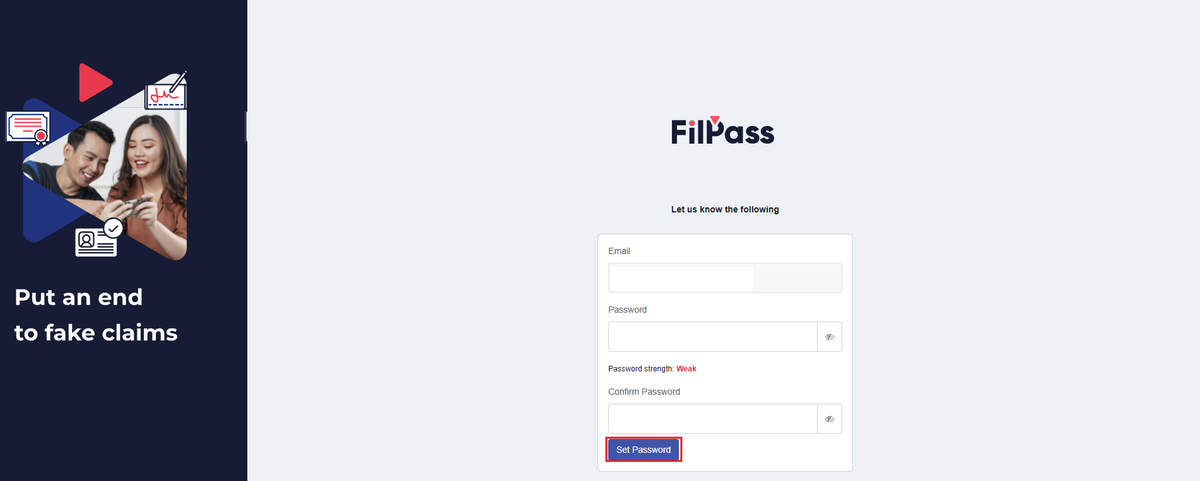
5. Once the correct OTP is entered, you will be redirected to the Set-Up Password page. Your password must meet the following requirements:
After setting up your password, click the “Set Password” button.
6. If registration is successful, a confirmation message will appear. Congratulations! You have now created a FilPass Recipient account.
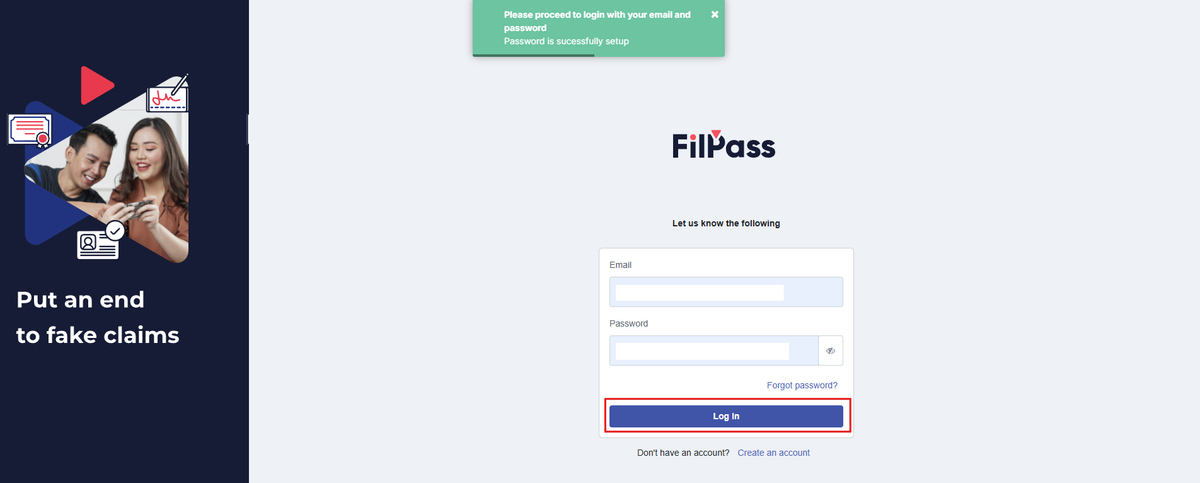
You can login when you’ve entered your email and password and click the Login button to access your credentials.
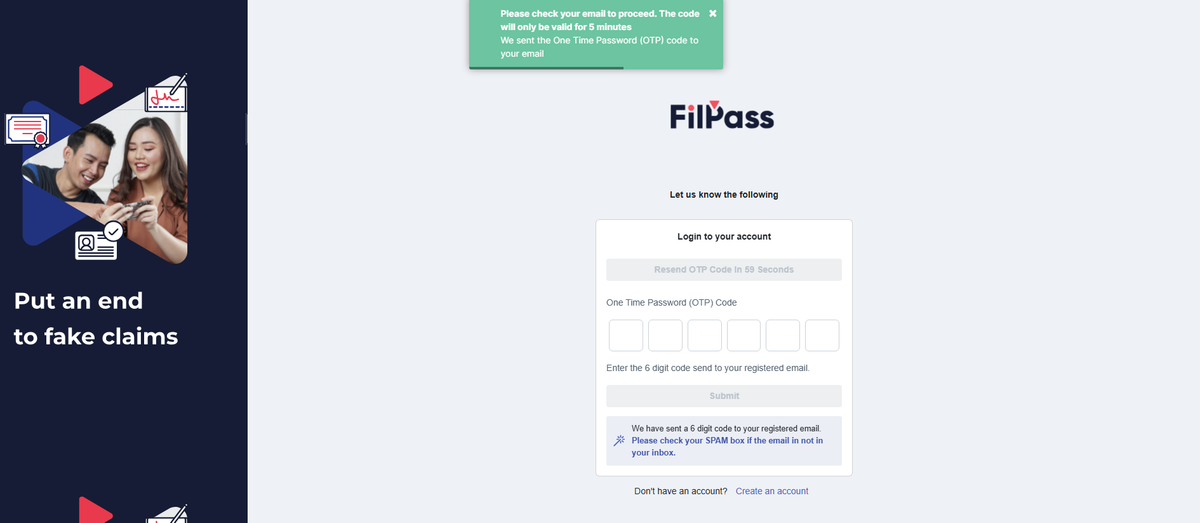
7. Enter the OTP that you’ve received and press submit.
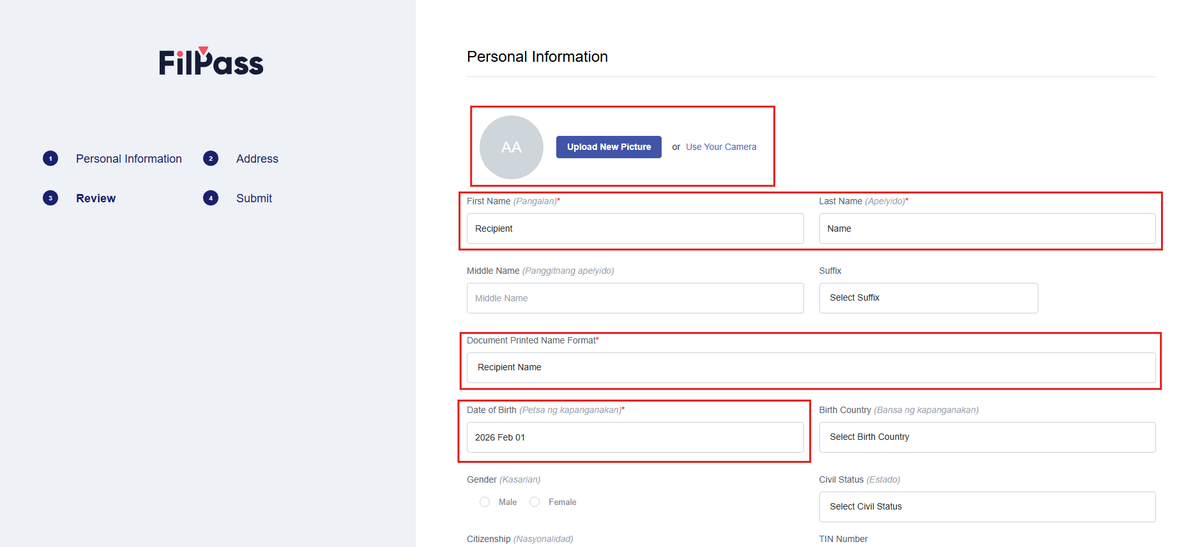
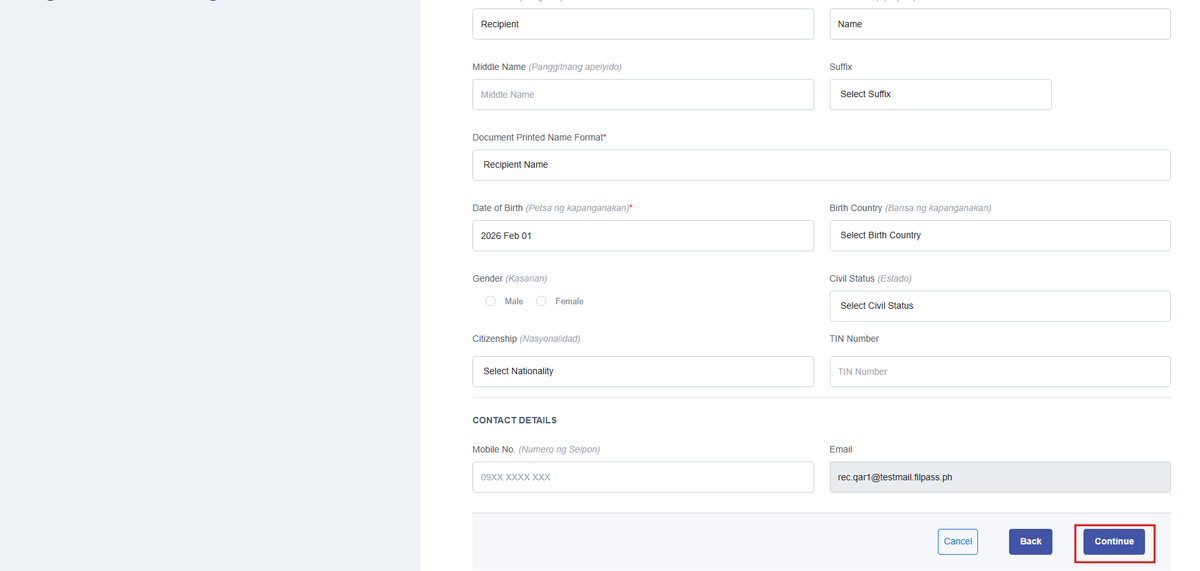
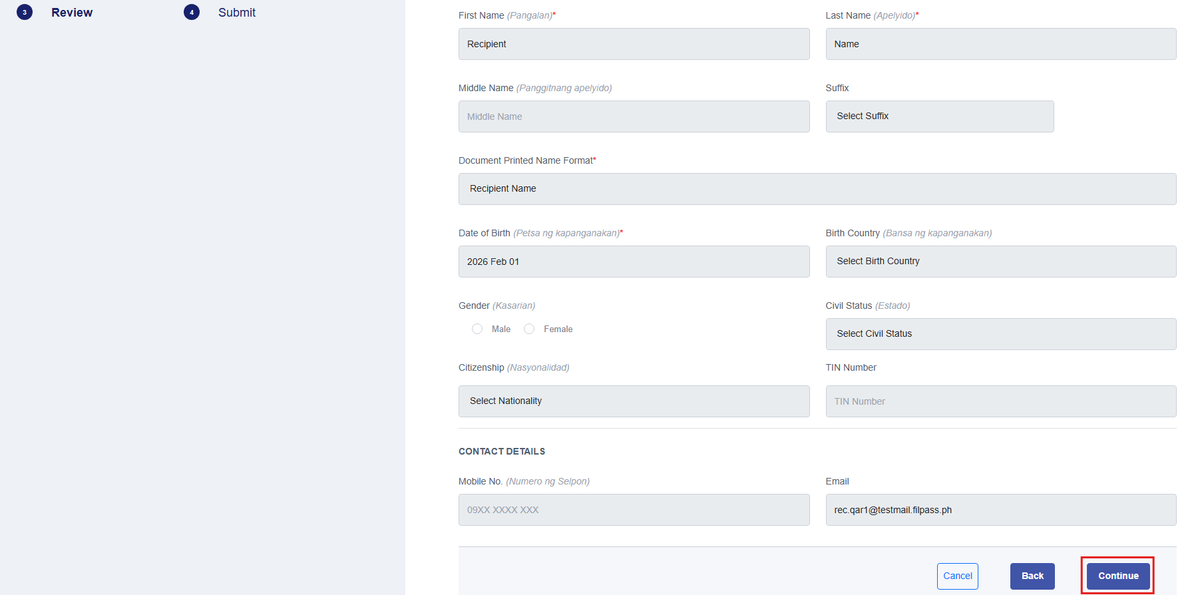
8. On your first login, you will be asked to fill up your Personal Information to personalize your account. Fill up all the required fields labeled with the red asterisk (*) and Upload a Profile Photo to be able to proceed.
9. Once done, Click on the Continue Button.
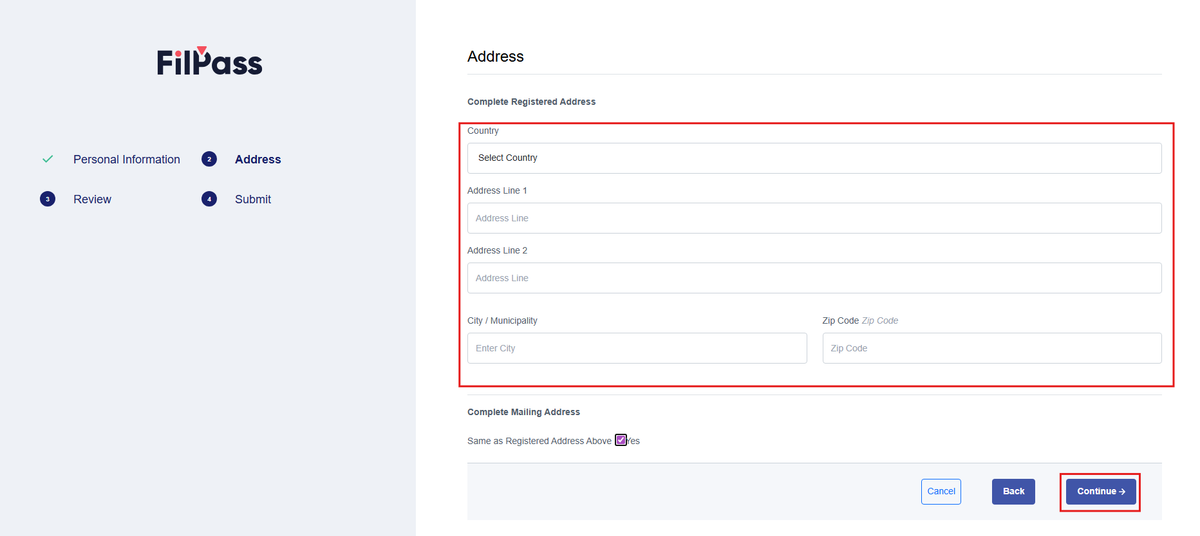
10. In the Address page, Enter your address then press Continue once done.
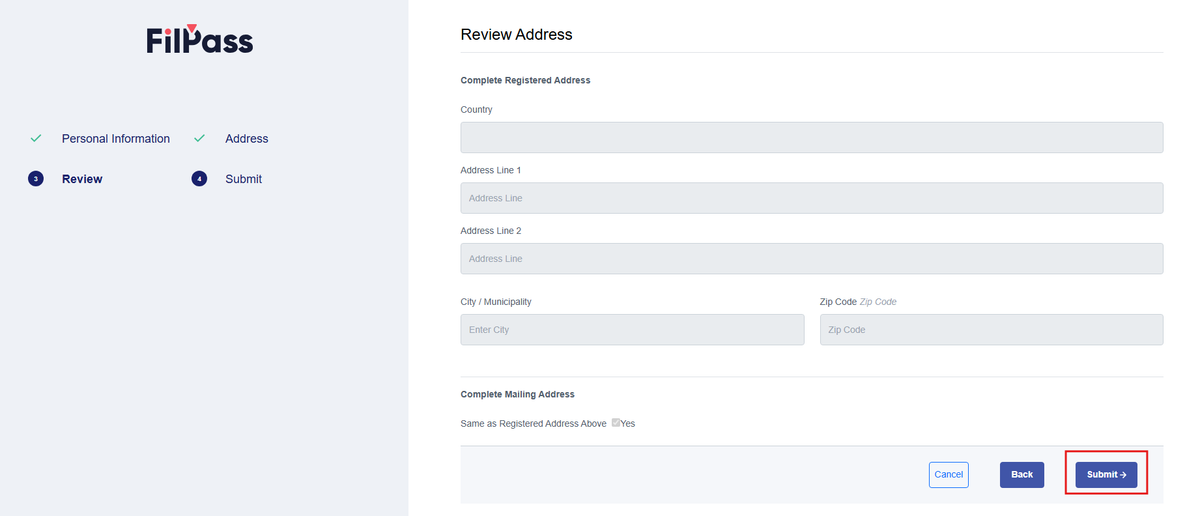
11. You will be redirected to the Review section where you can review what you’ve entered before Submitting. If there are no issues, click on Continue.
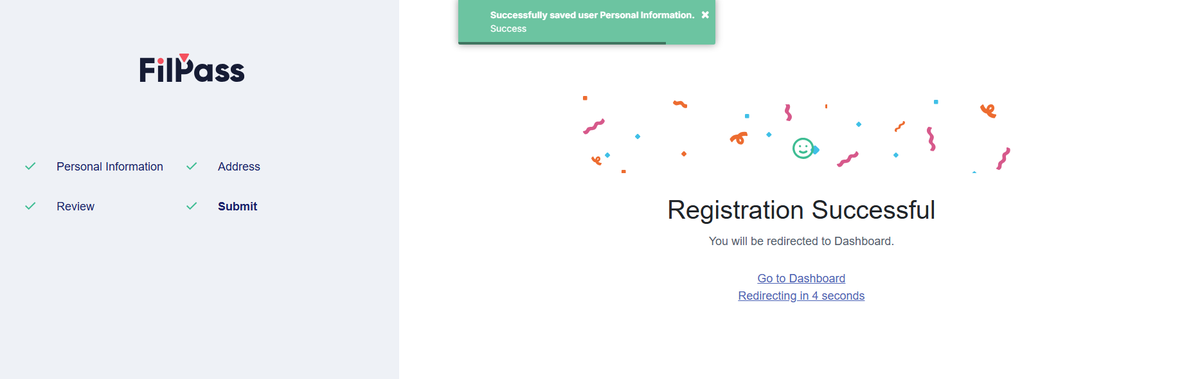
12. Click on Submit once you’ve confirmed everything.
13. A success pop up message will show up and will redirect you to the Recipient Dashboard.