
How to Bulk Upload in a Template-Based Issuance?
This section explains how to bulk upload images with a Template Based issuance or Batch Issuances that require a Photo.
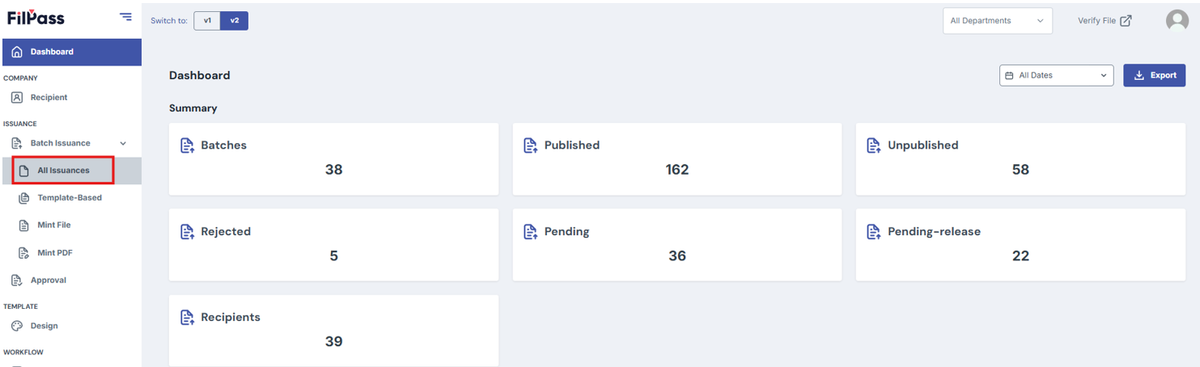
1. Go to Batch Issuance > All Issuances.
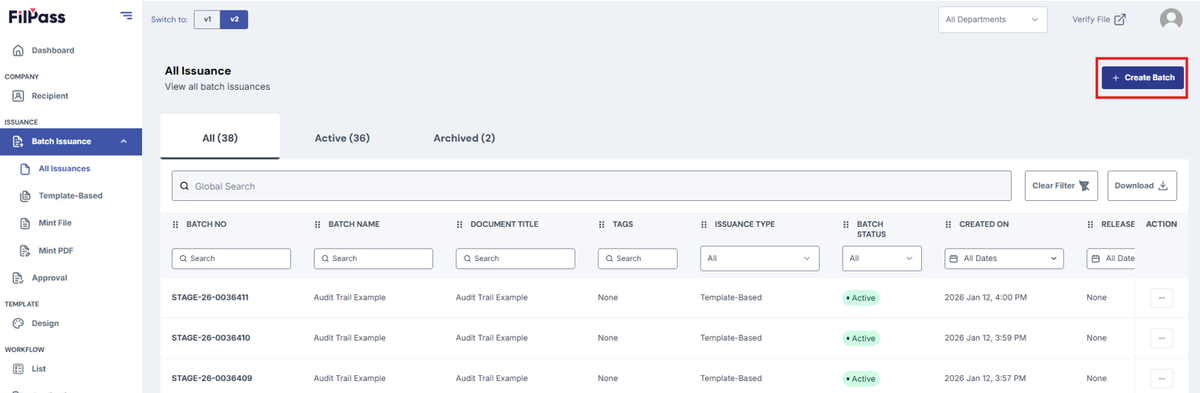
2. Click the "Create Batch" button.
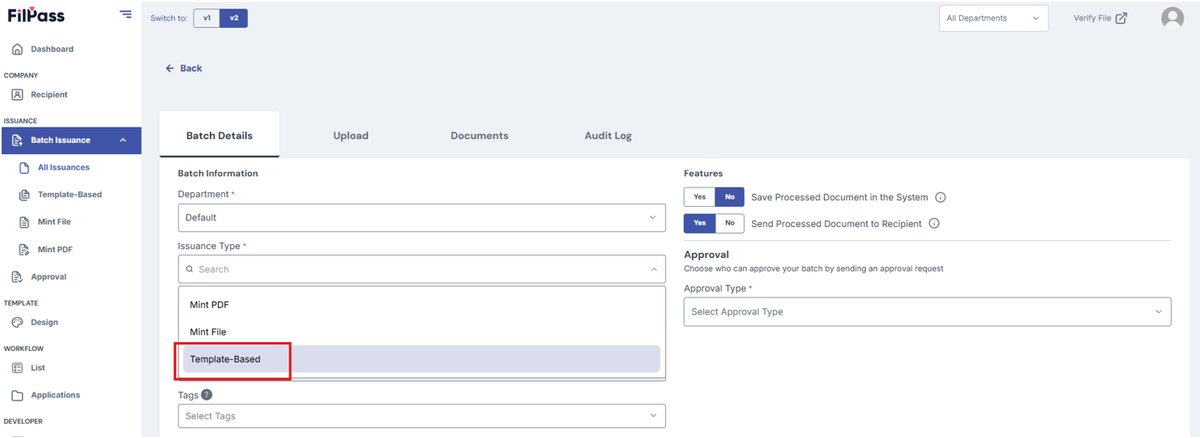
3. Choose "Template-Based" from the issuance type options.
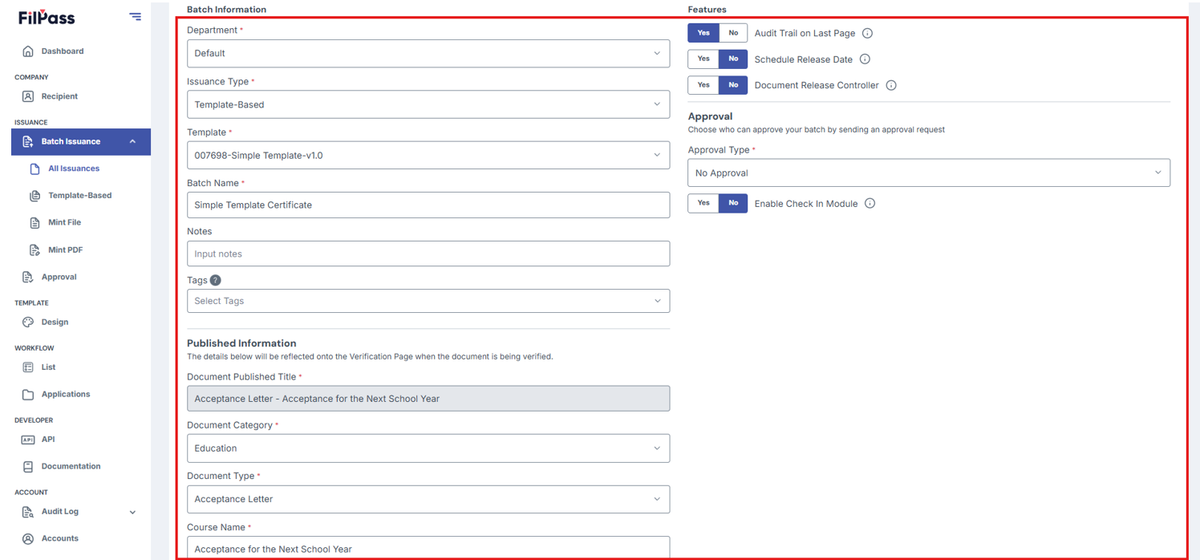
4. Fill in the required details.
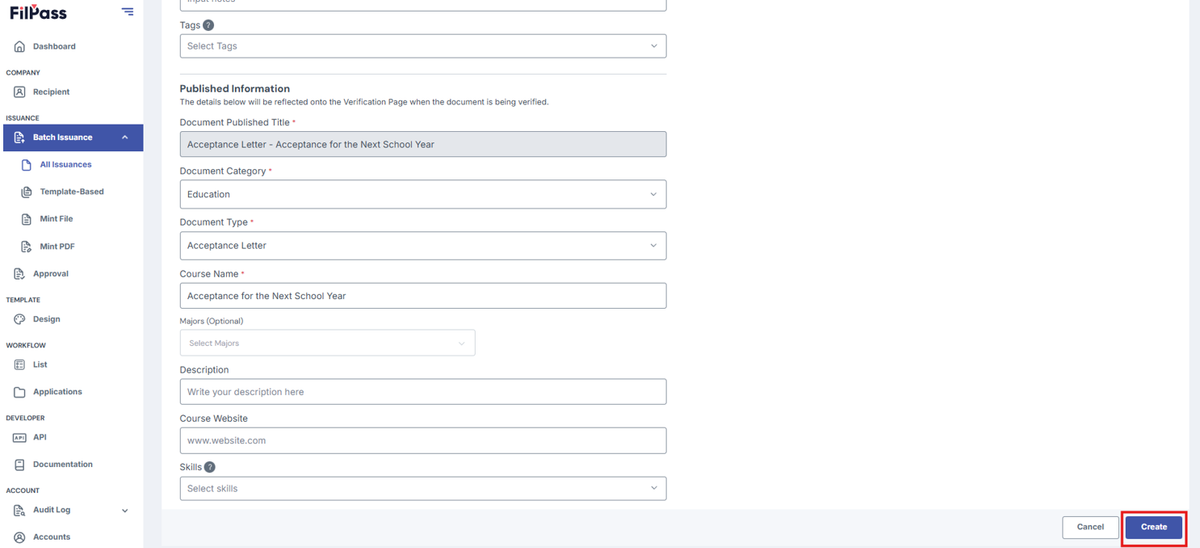
5. Click on Create.
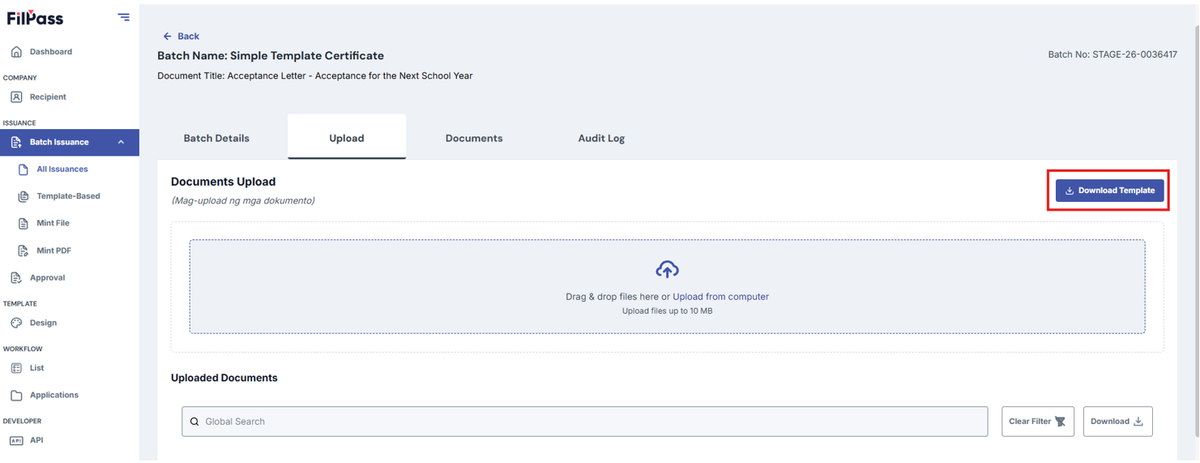
6. Click “Download Template”.
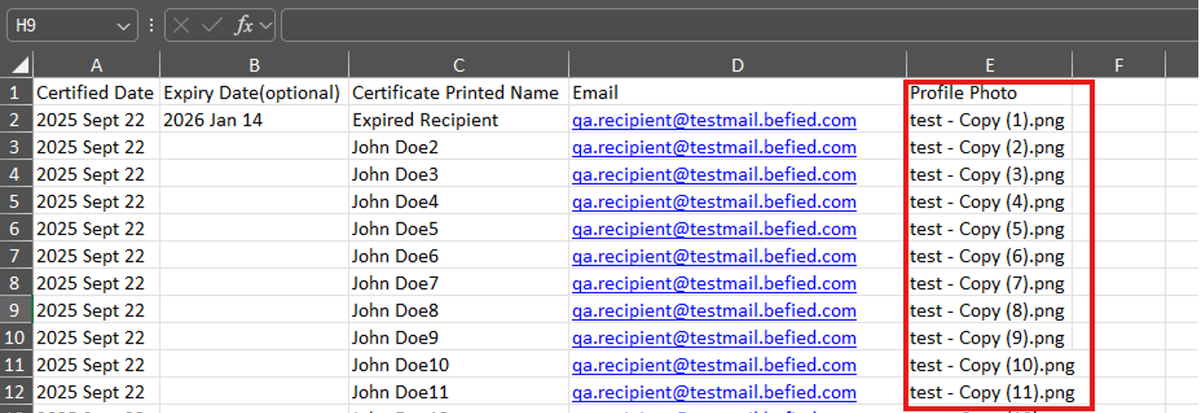
7. Open the downloaded Excel file and enter the Recipient details. The content to be entered depends on the Template Design.
8. Enter recipient credentials in the Excel sheet. The number of recipients depends on the number of rows.
- Profile Photo Column: For Bulk uploading, Enter File Name as file to be uploaded in bulk.
- Type the exact file names of the photos you want to upload.
- Ensure that there are no duplicate file names.
- File names include the correct extension.
- Ensure no other information is added except for the existing data if not uploading the photos manually.
Note: Direct links should not be entered in the Excel file. Follow the steps below to upload photos correctly.
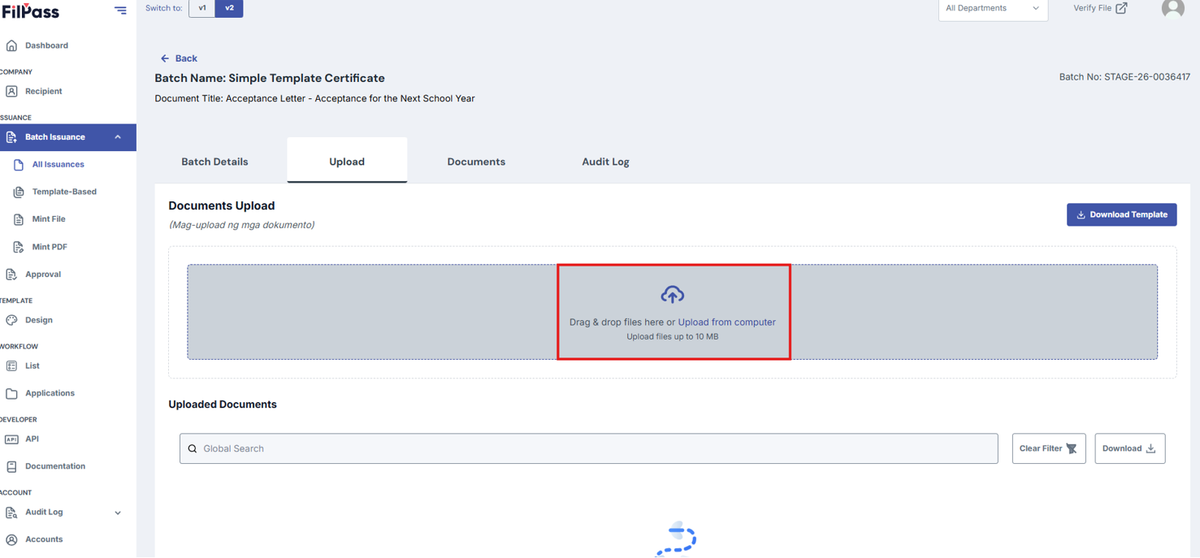
9. Drag and drop the completed template or upload it from your computer.
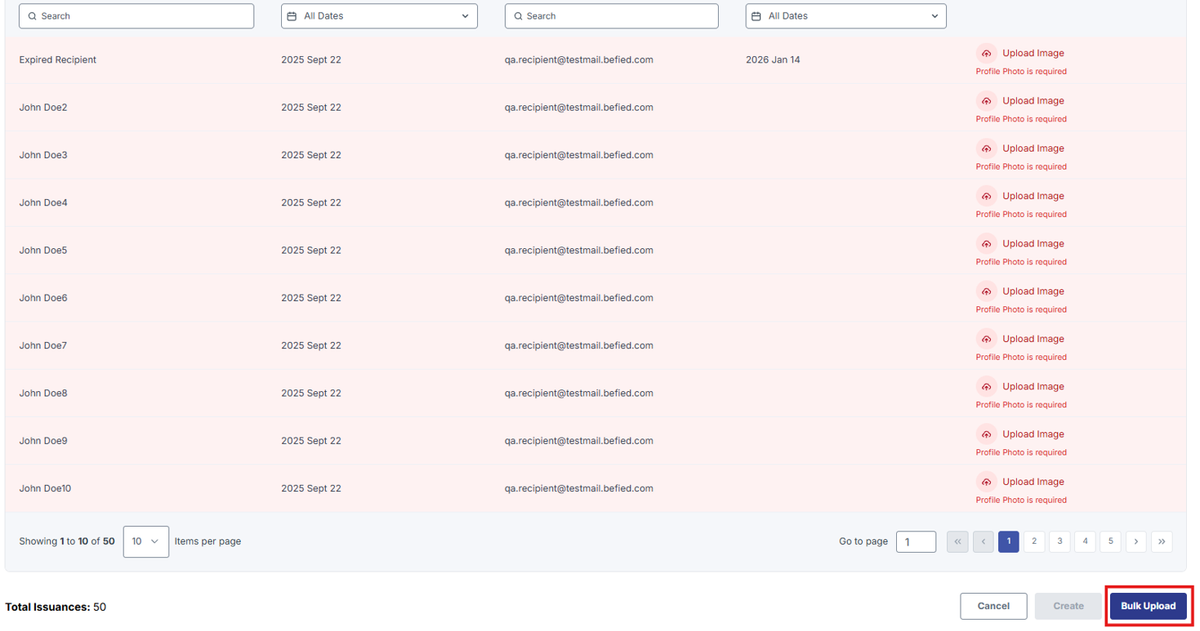
10. Once the Excel file is uploaded, click on Bulk Upload Button.
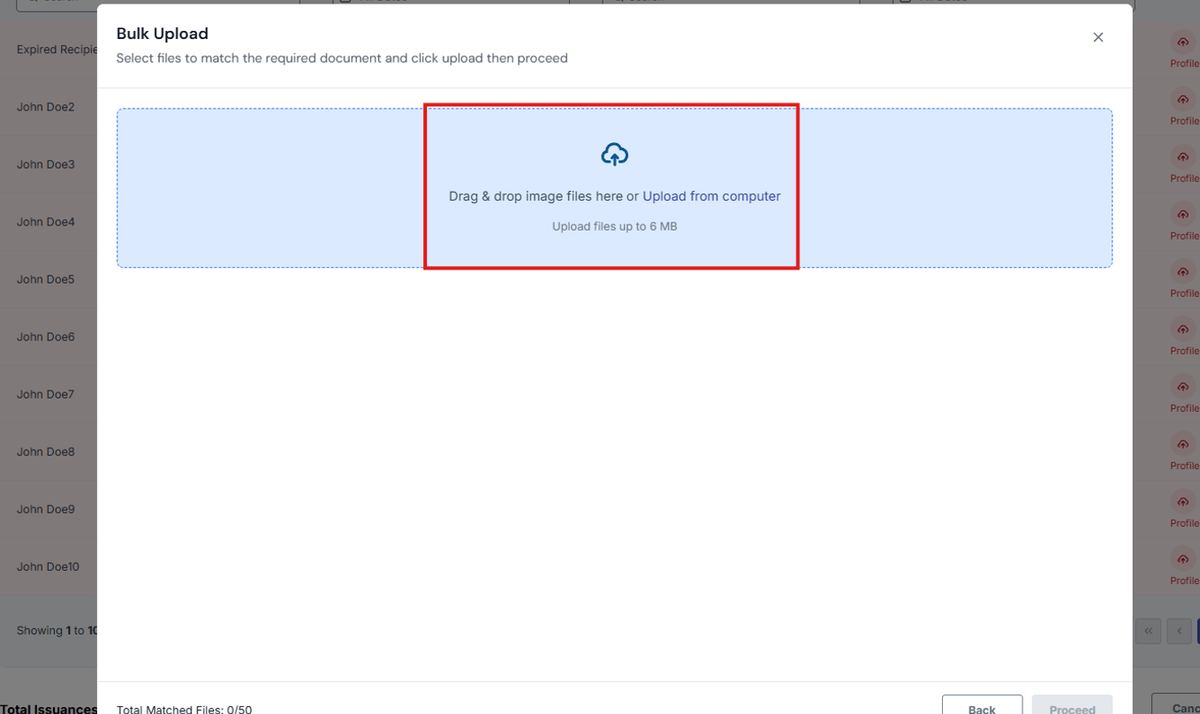
11. Drag and Drop or Upload the photos for the Template.
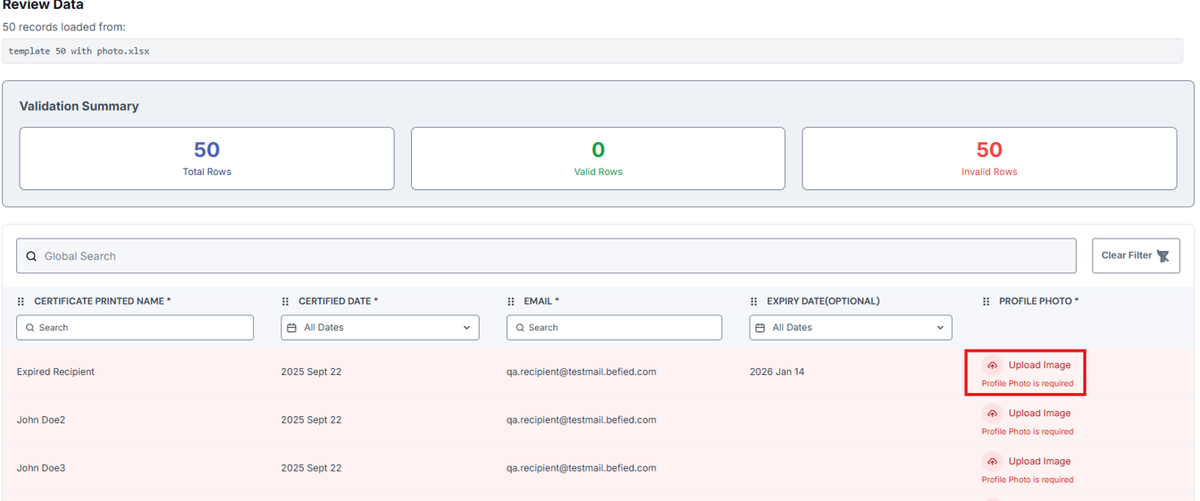
For only manual input, click the "Upload Photo" button and select the photo you want to upload.
12. A pop-up message will confirm the successful photo upload.
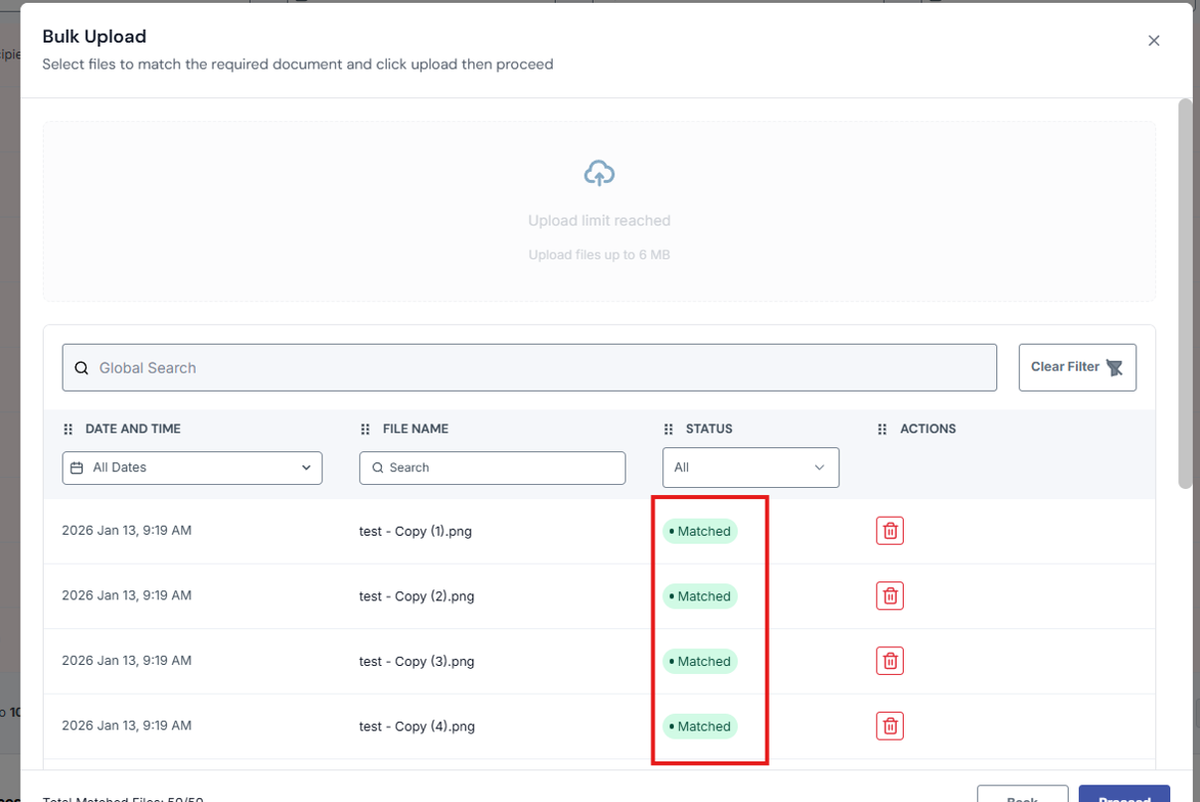
13. Click on Proceed button.
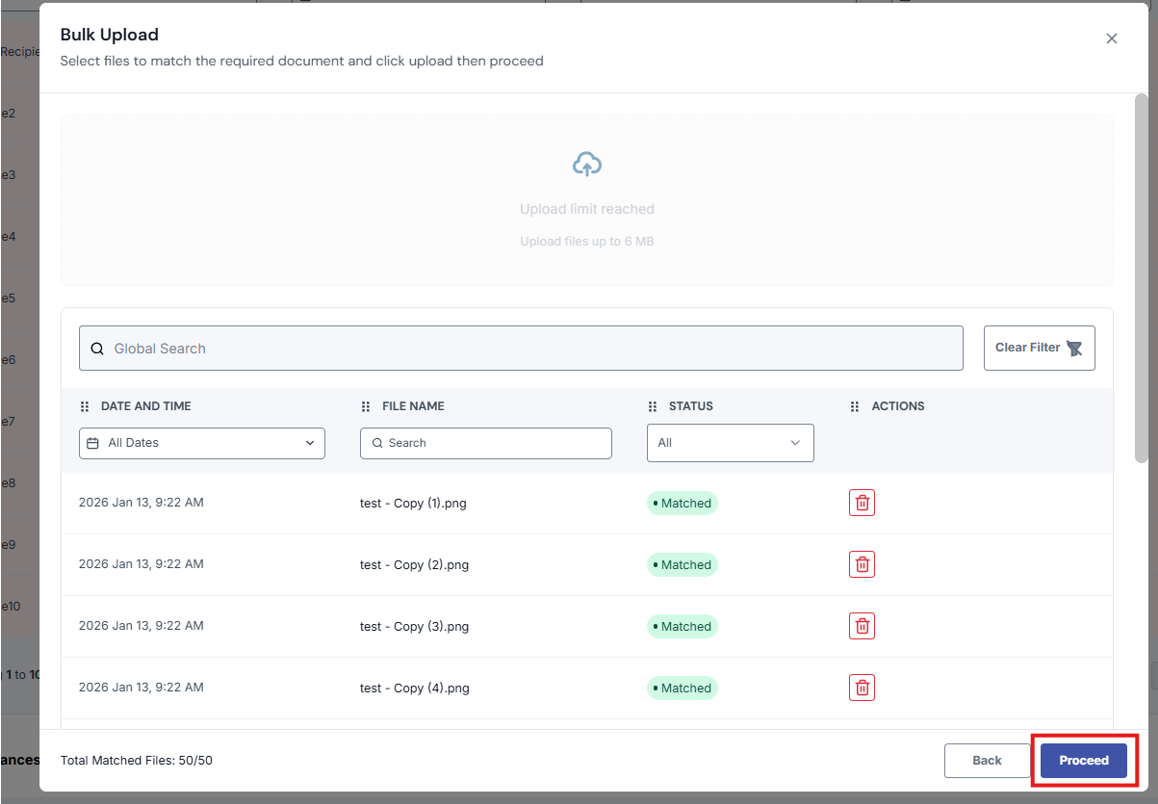
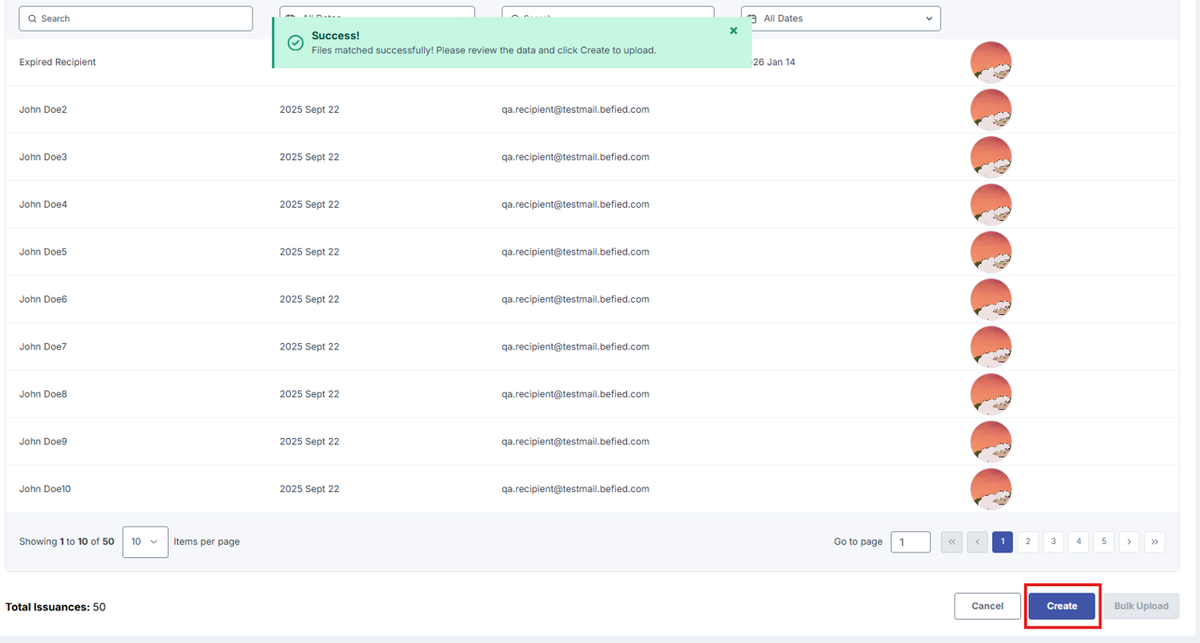
14. Review the data before clicking "Create" to create the batch.
- If there is an error, click "Cancel" to re-upload the updated Excel file.