
How to Create a Mint File Batch Issuance
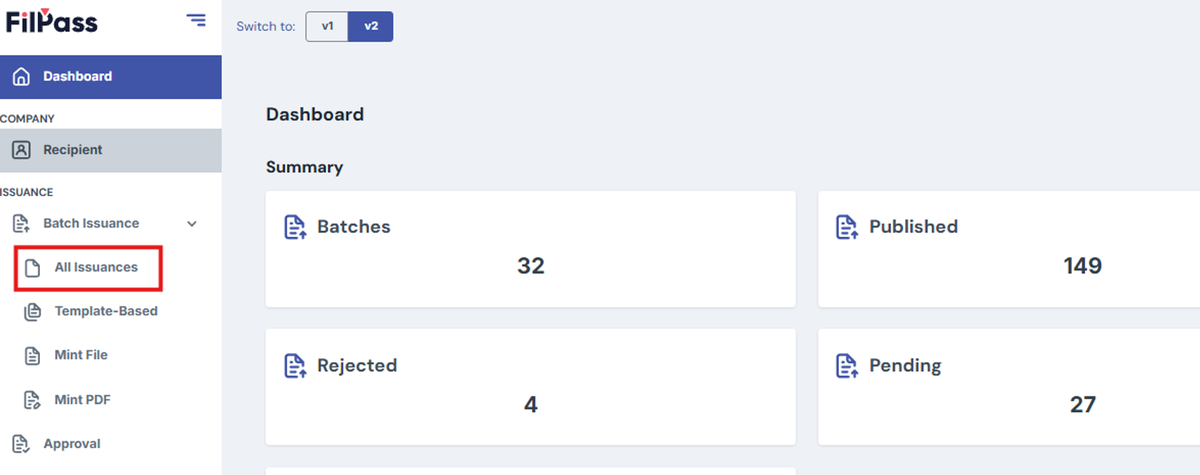
1. Click the "Batch Issuance" > All Issuances tab.
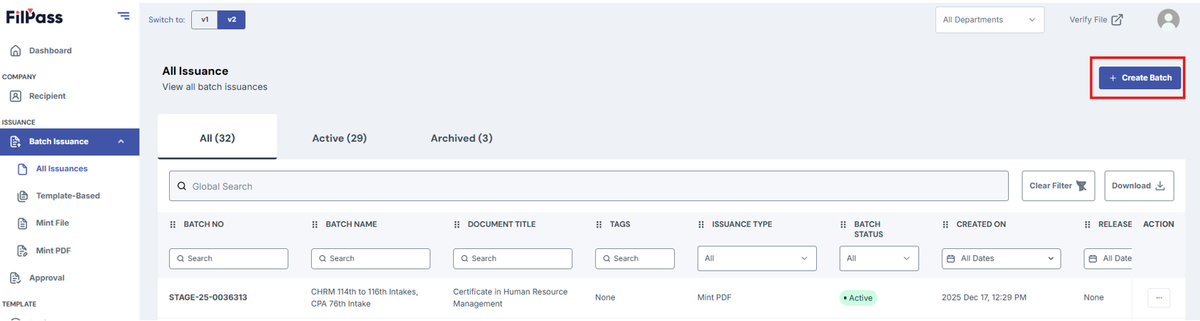
2. Click the "Create Batch" button.
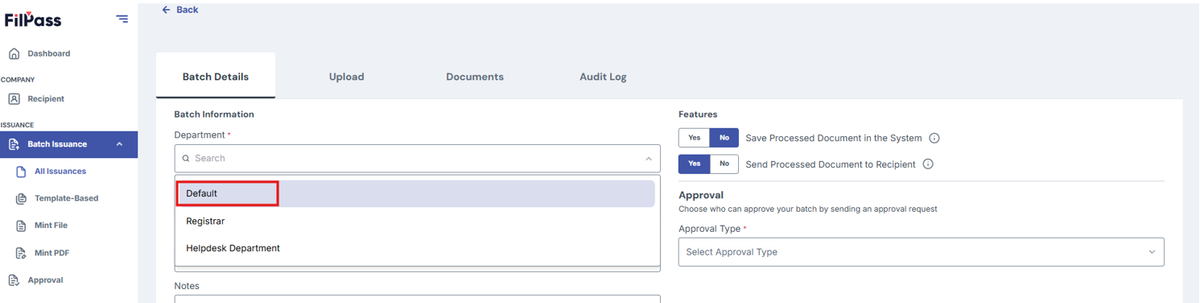
3. Select the Department under "Department."
- Note: Only users and roles within the selected department can be chosen as approvers in Step 10.
4. Choose "Mint File" under "Issuance Type."
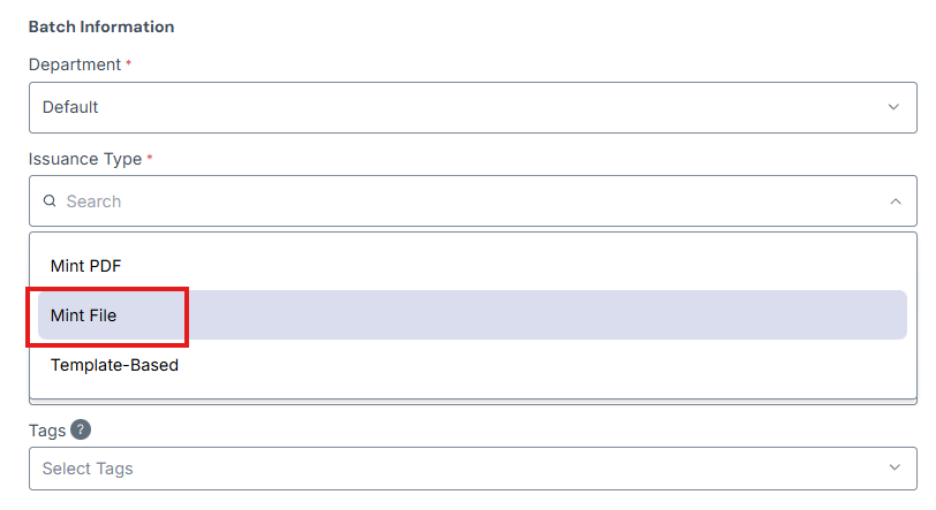
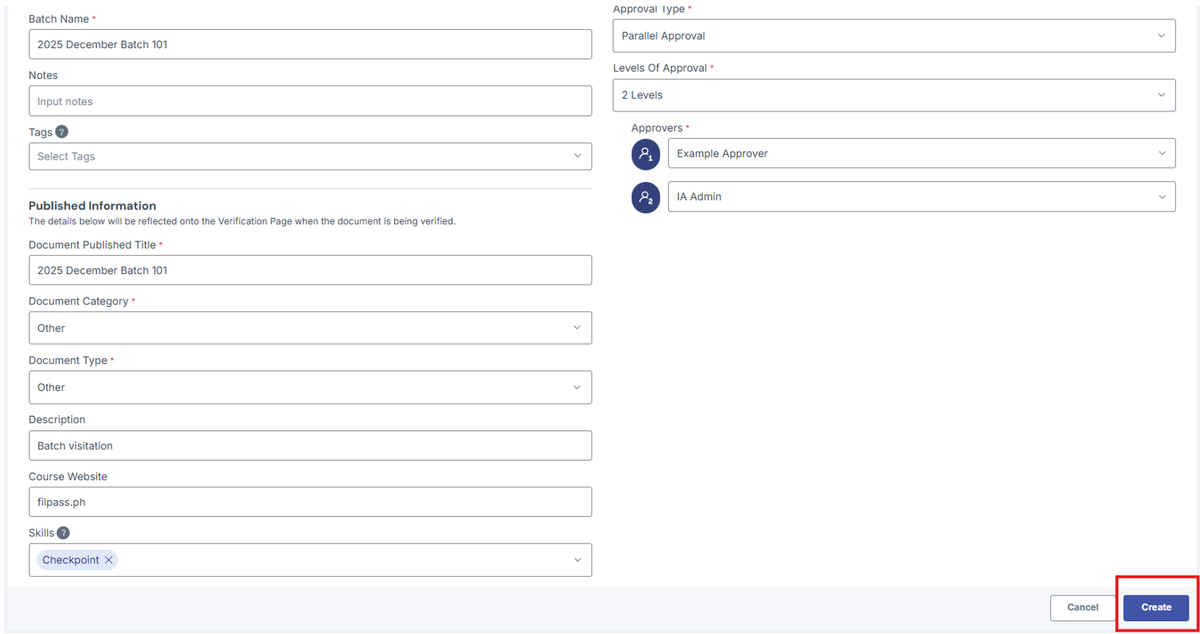
5. Enter the Batch Name under "Batch Name."
- Include relevant details such as shortcode and intake for easy searching.
- Example: CHRM 114th to 116th Intakes, CPA 76th Intake
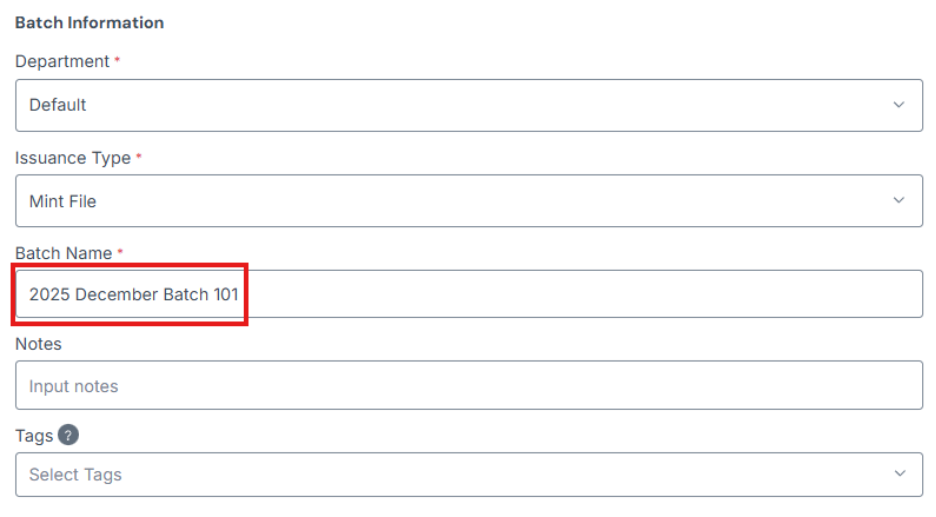
6. For the “Document Published Title”, This section will autofill depending on the items selected on the next steps so it will be left blank.
7. Under “Document Category”, select the category which matches your Batch Issuance. This will show additional fields depending on the category you’ve selected.
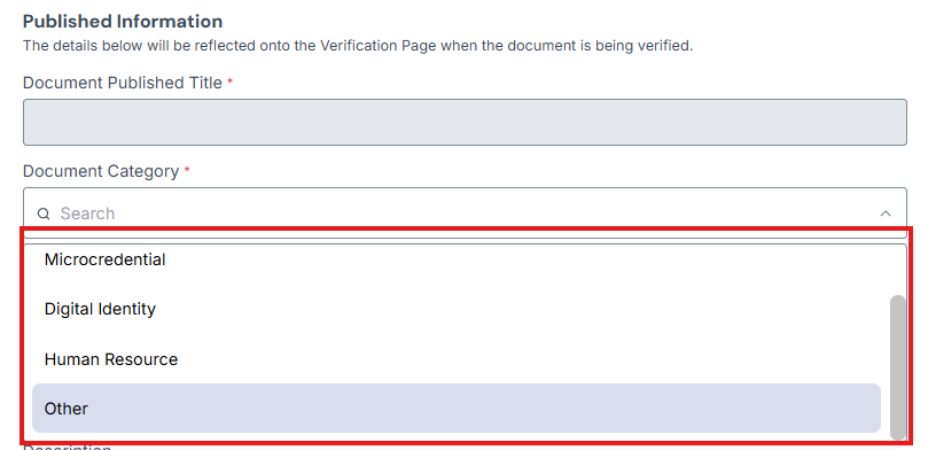
8. On the new additional fields that appear according to the selected category, select and input relevant and required details.
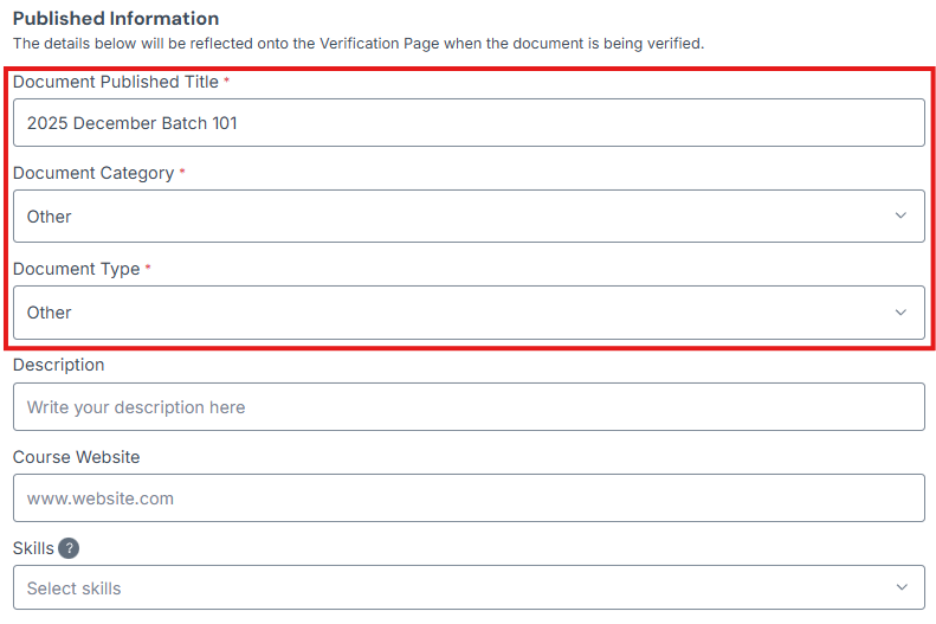
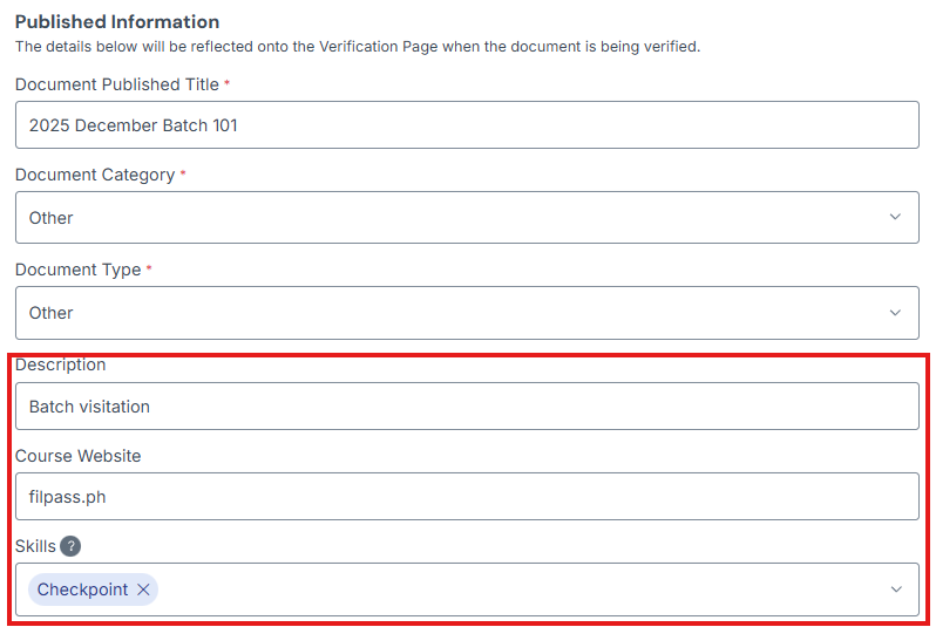
9. Enter Additional Details
- Under "Description", add relevant details about the course/program.
- Under "Course Website", provide a URL related to the course/program.
- Under “Skills”, This could include relevant skills to associate with the Batch.
8. Configure Mint File Features
- I. Save Processed Document in the System
- Yes – The document will be stored in the system.
- No – The document will be deleted in 24 hours.
- II. Send Processed Document to Recipient
- Yes – The recipient will receive an email with the document attached.
- No – The recipient will receive an email but without an attachment.
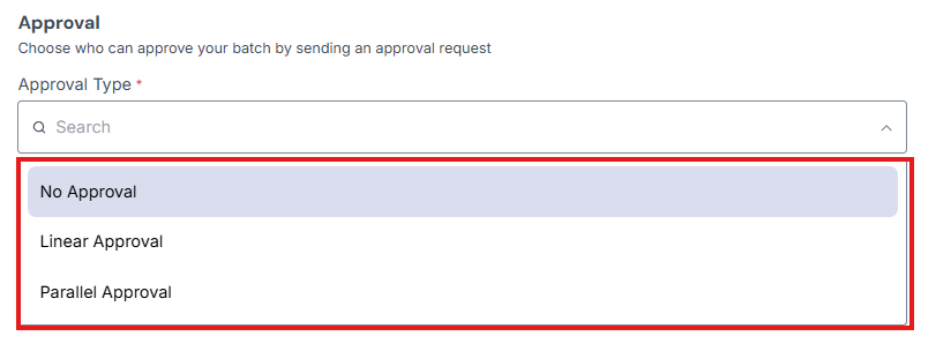
9. Set Up Approval Workflow
- The system allows up to 9 approvers to be set up, based on role settings under "Account."
- Approval Types:
- Linear: Approval moves step by step, requiring the 1st approver to approve before passing to the next. The document is only approved when the last approver approves it.
- Parallel: Approvers can approve in any order. The document is processed only after all approvers have approved it.
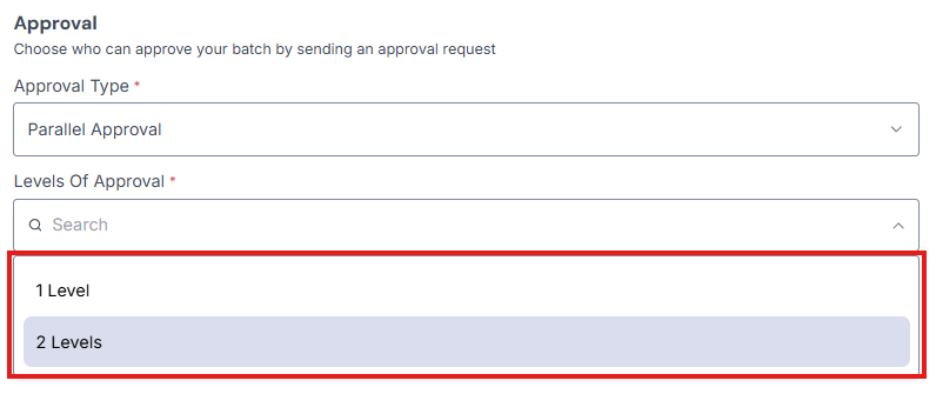
10. Select the Number of Approval Levels
- Choose the required number of approval levels (up to 9 approvers).
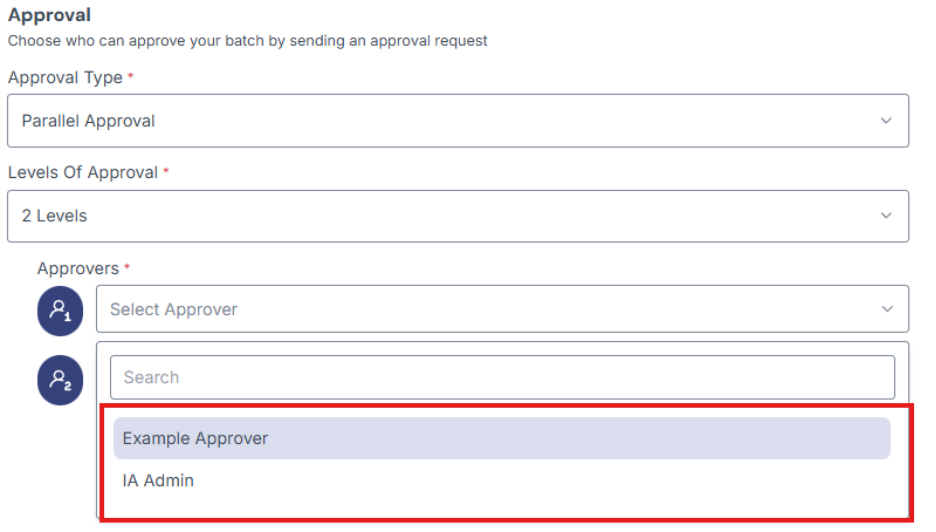
11. Assign Approvers
- Select a role that has approval functionality.
12. Click the "Create Batch" button to finalize the batch creation.