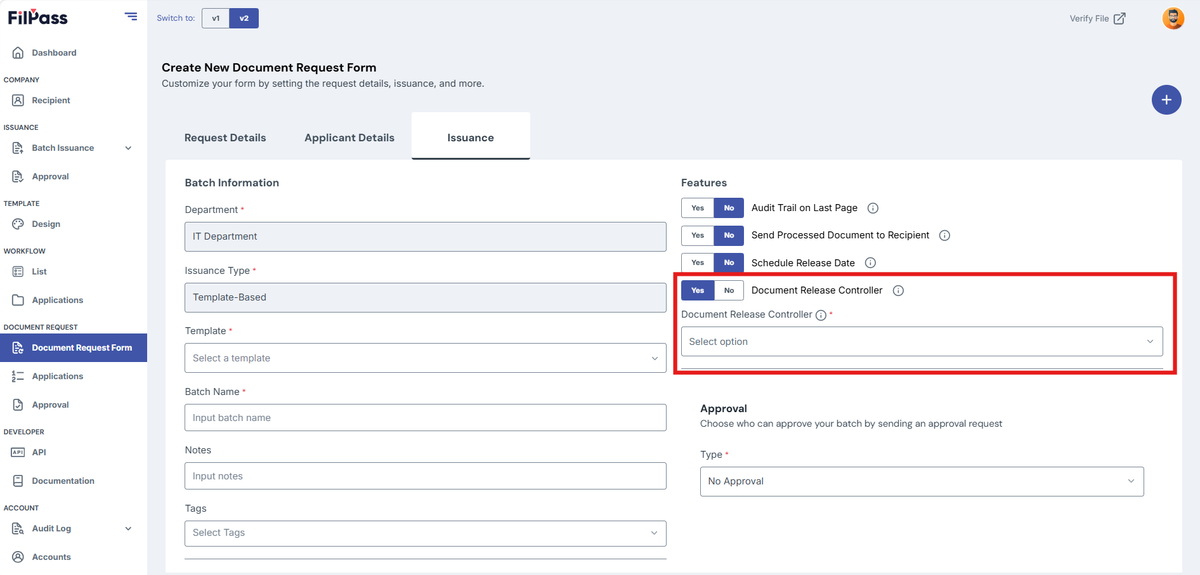

Document Request Form Issuance Tab
The Issuance Tab is nearly the same as the Batch Details of every Batch Issuance.
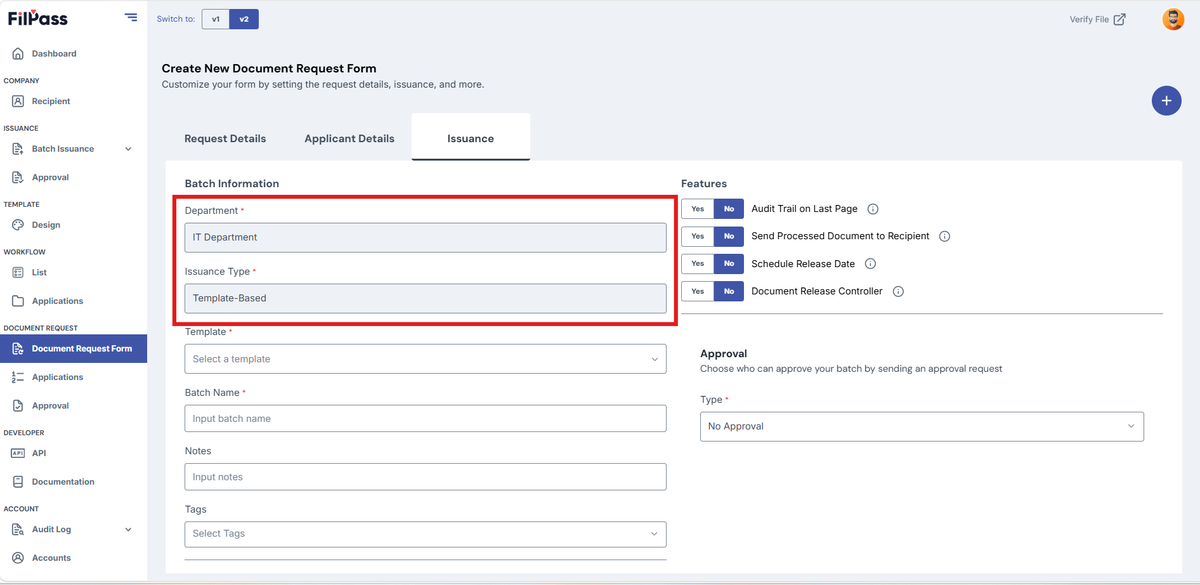
Note: You can only use Template-based in the Issuance Tab, and the Department is set based on the request details department.
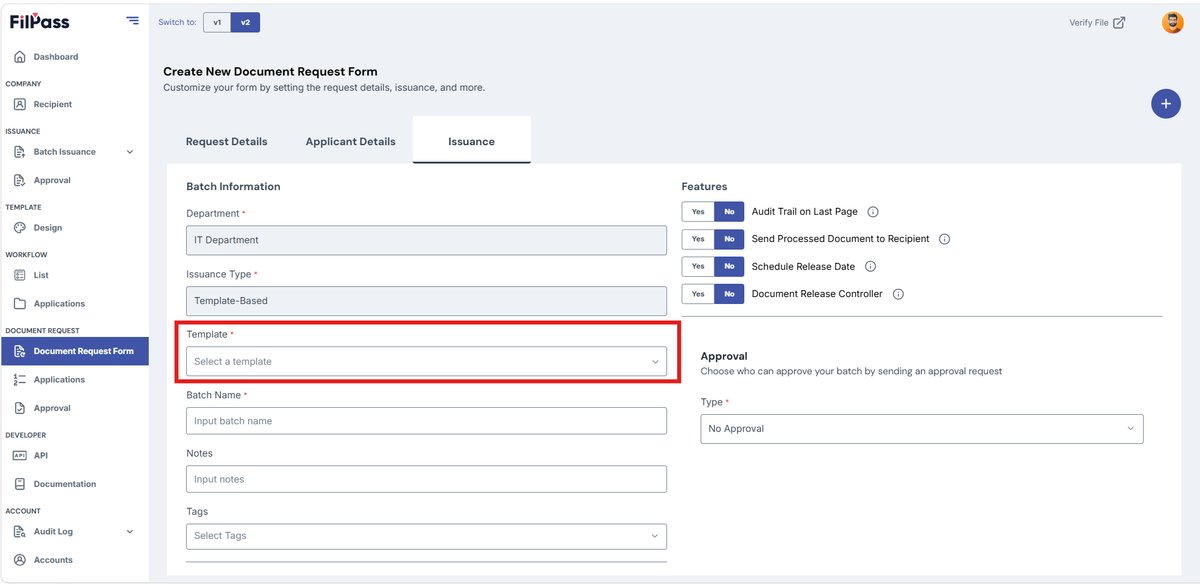
- Select a Template under the “Template” field
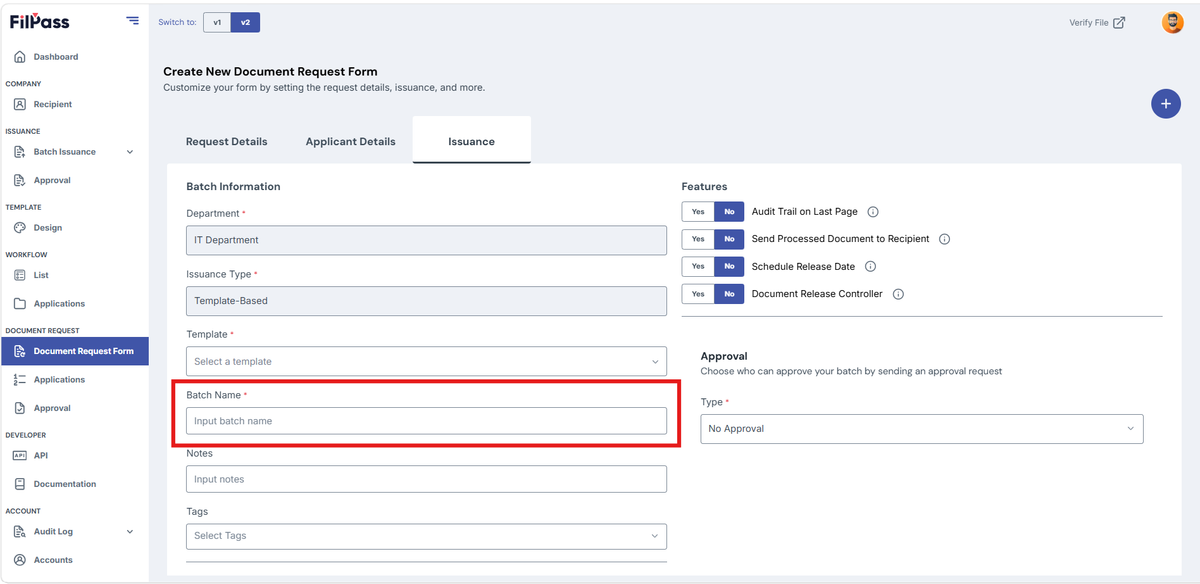
2. Input Batch Name under “Batch Name”
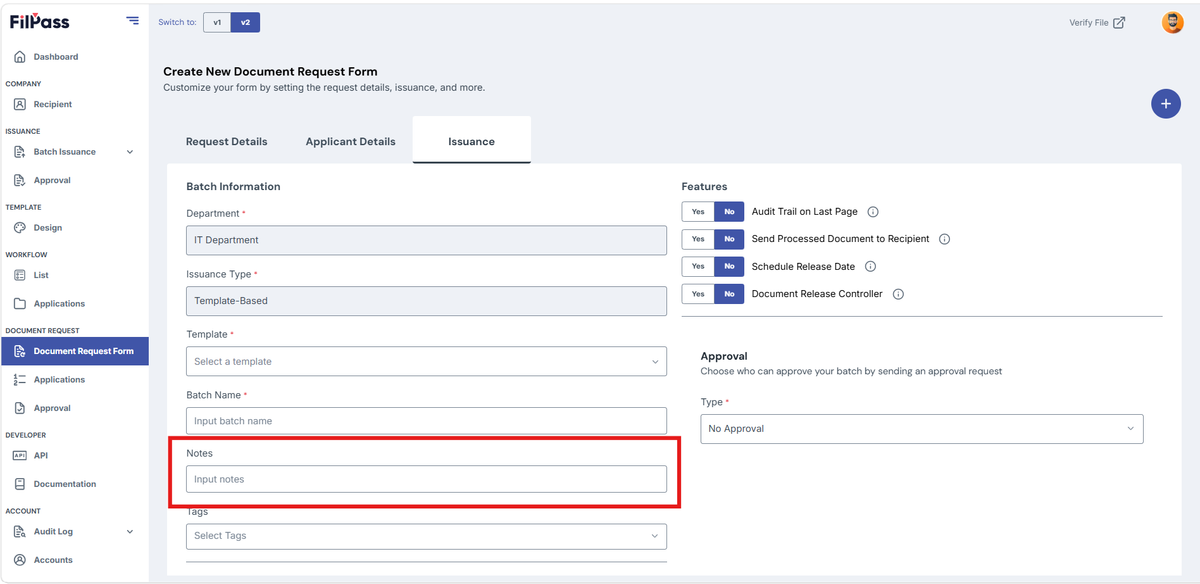
3. Add Notes to the Document Request (Optional)
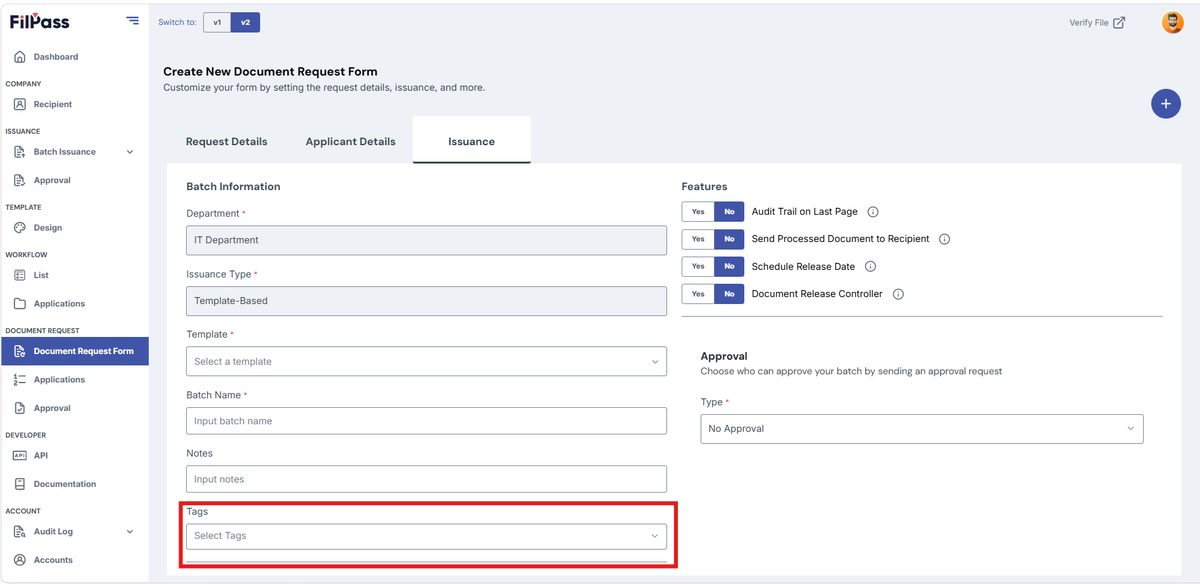
4. Add Tags to the Document Request (Optional)
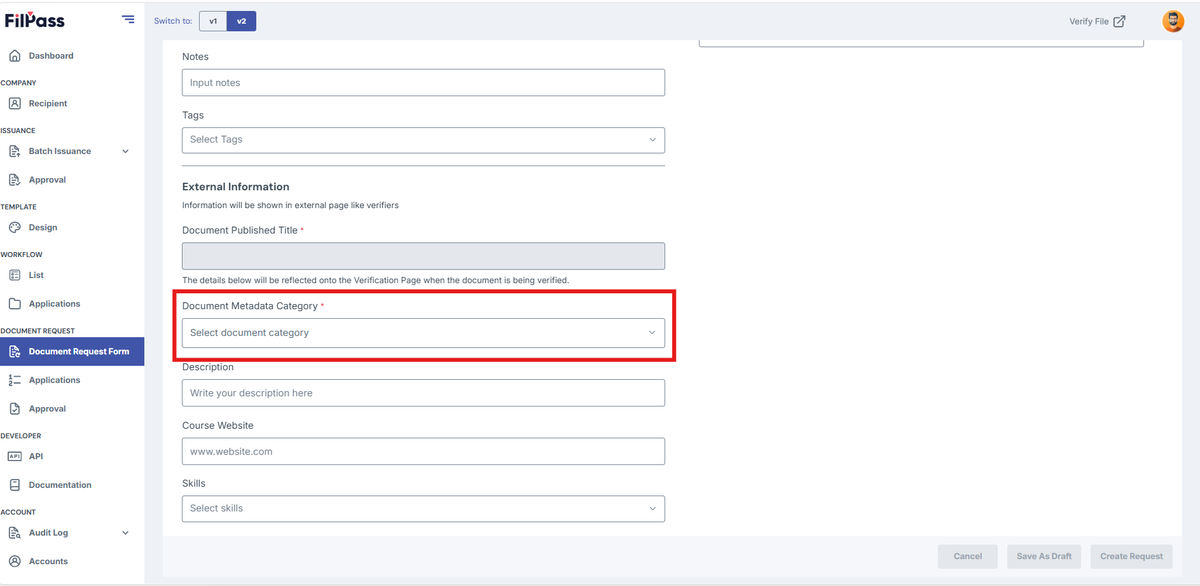
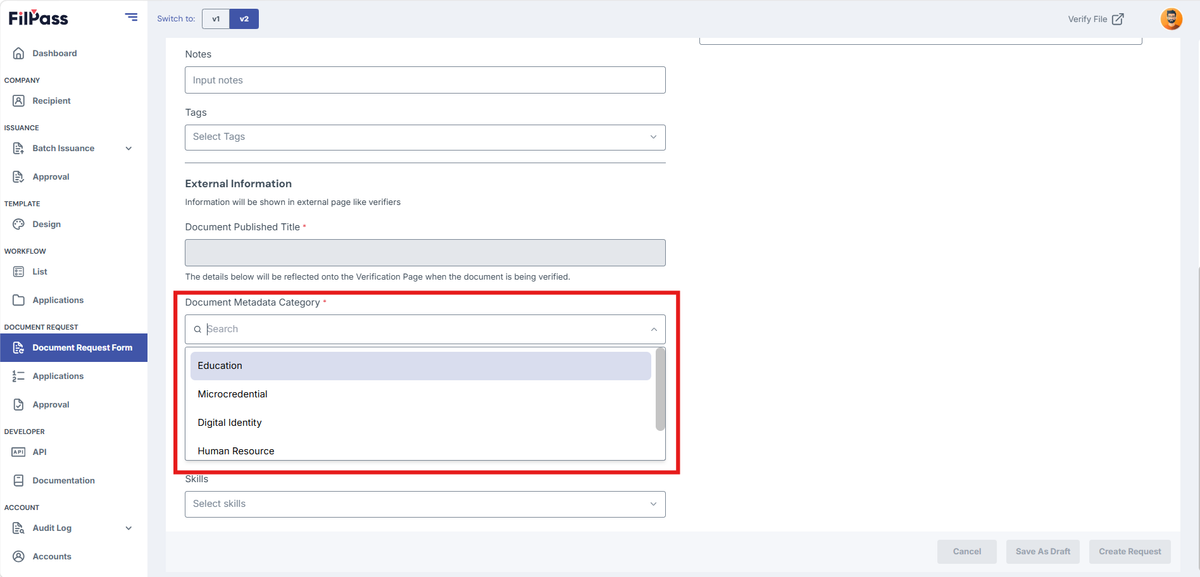
5. Under “Document Category”, select the category which matches your Batch Issuance. This will show additional fields depending on the category you’ve selected.
6. For the additional fields that showed up after you’ve selected a Document Category, fill up all the required fields to complete your Document categorization.
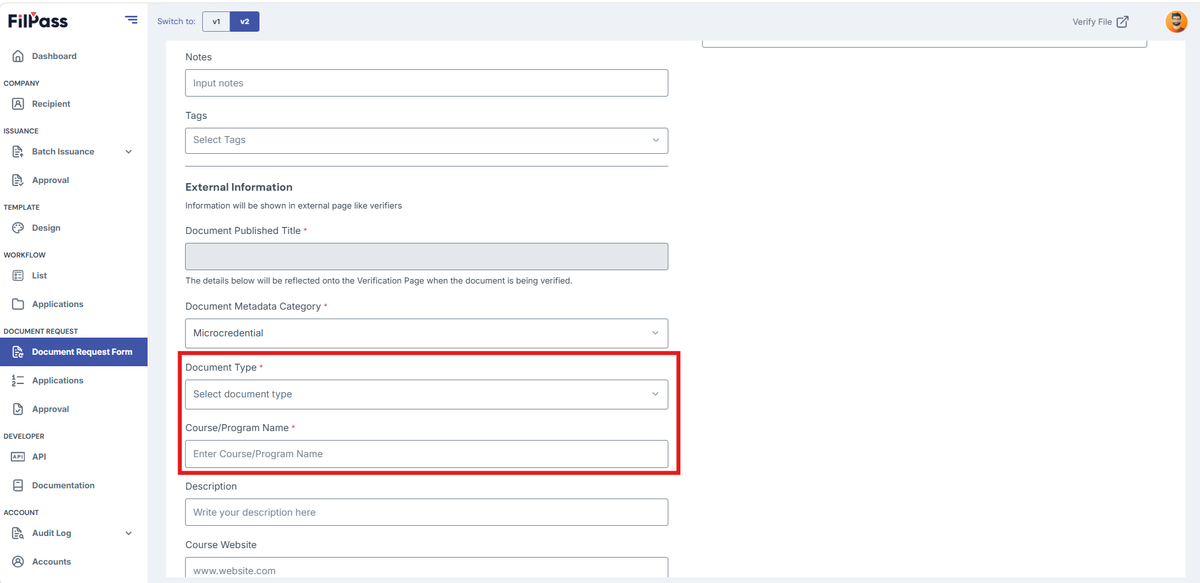
7. Below are the additional fields that you would see depending on the Document Category selected:
Education: Has an additional field for Document Type, Course Name and Majors (Optional).
Microcredential: Has an additional field for Document Type and Course/Program Name.
Digital Identity: Has an additional field for Document Type and Country.
Human Resource: Has an additional field for Document Type and Document Title.
Other: Has an additional field for Document Type and Document Title.
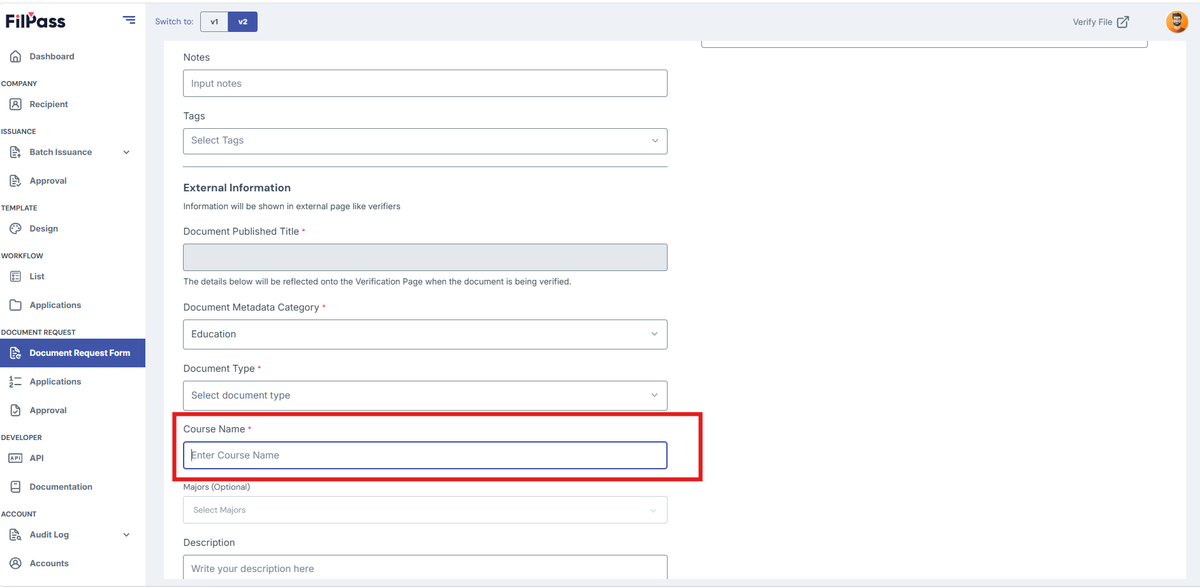
8. Enter Course Name
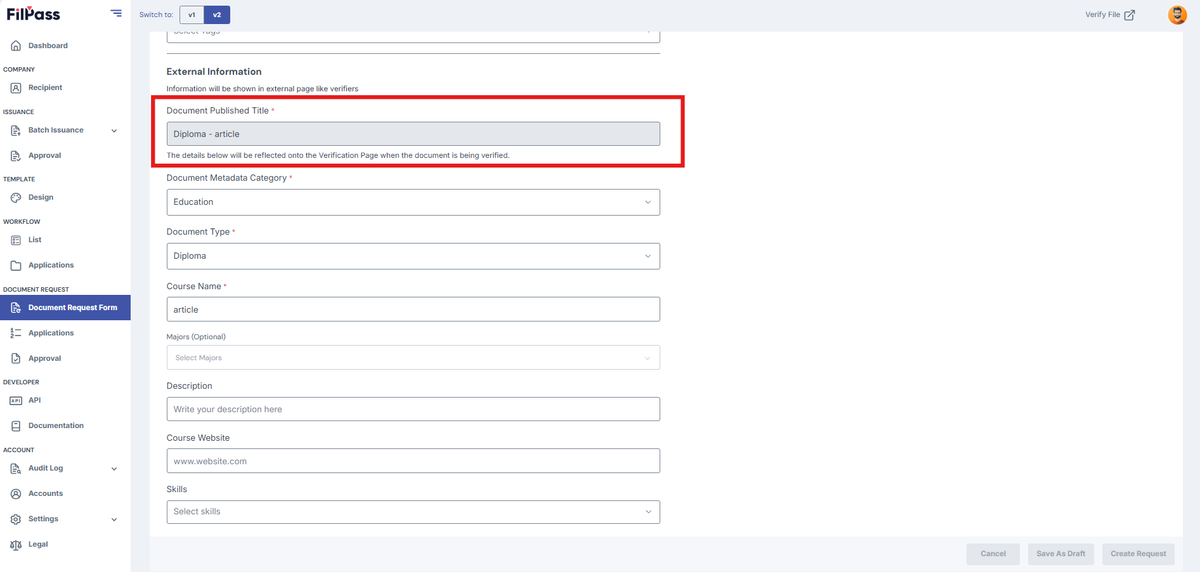
9. Your Published Document Title depends on your Document Category, Document Type, and Course Name.
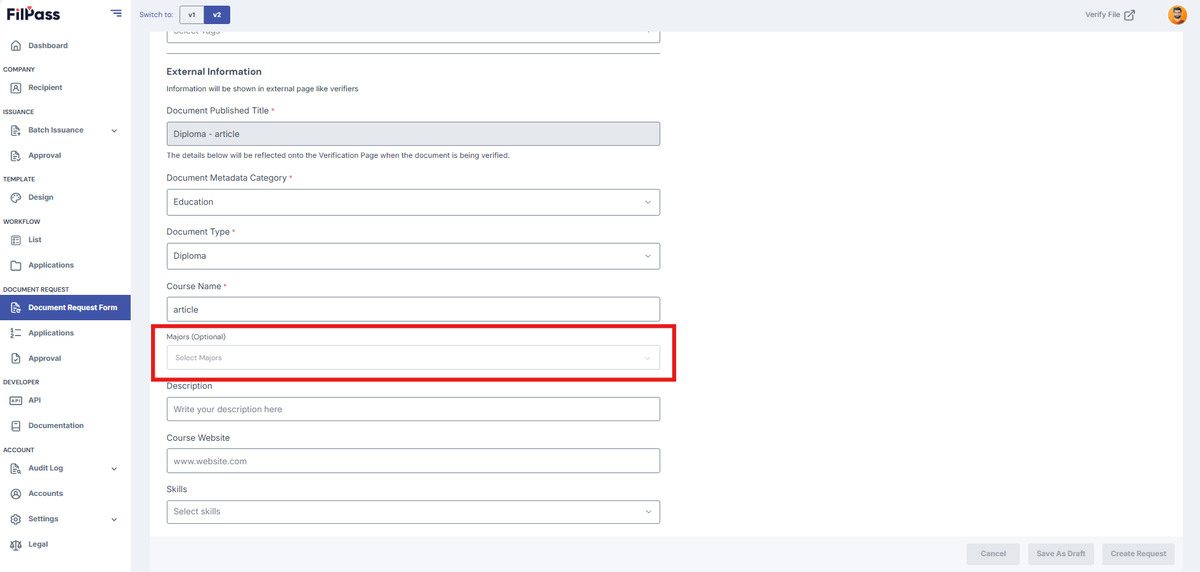
10. Add related Majors (Optional)
11. Add Description (Optional) for the Document Request
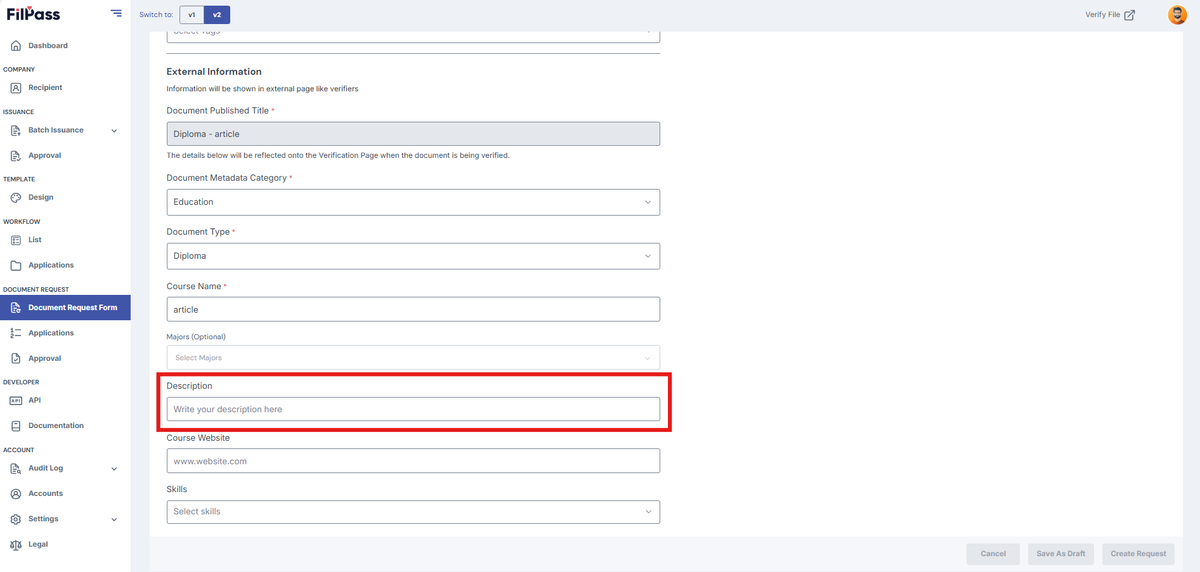
12. IA can include their website under “Course Website.”
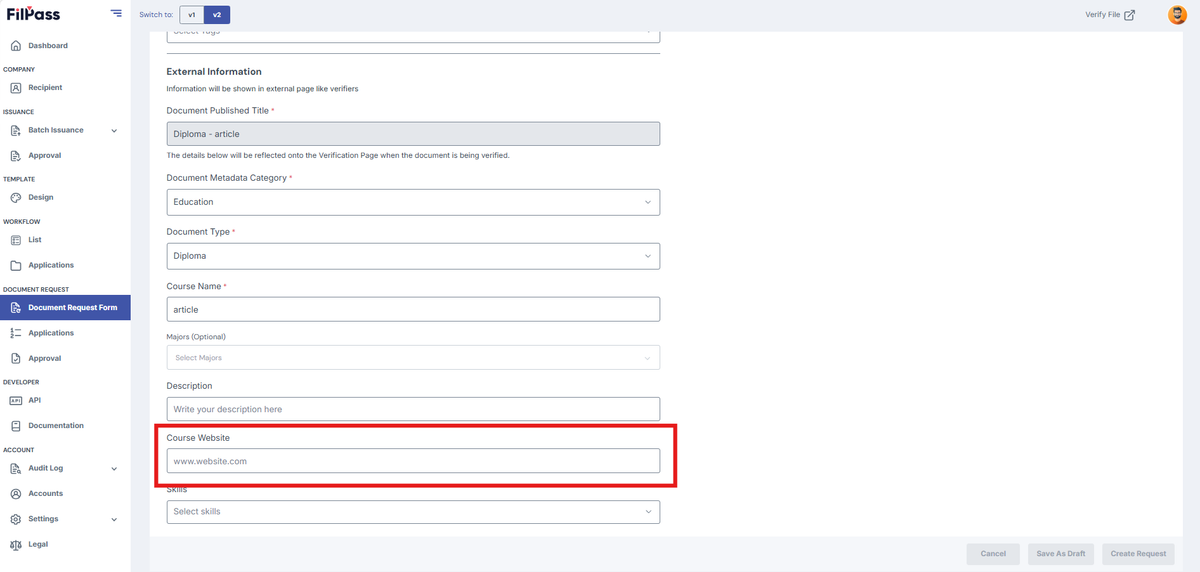
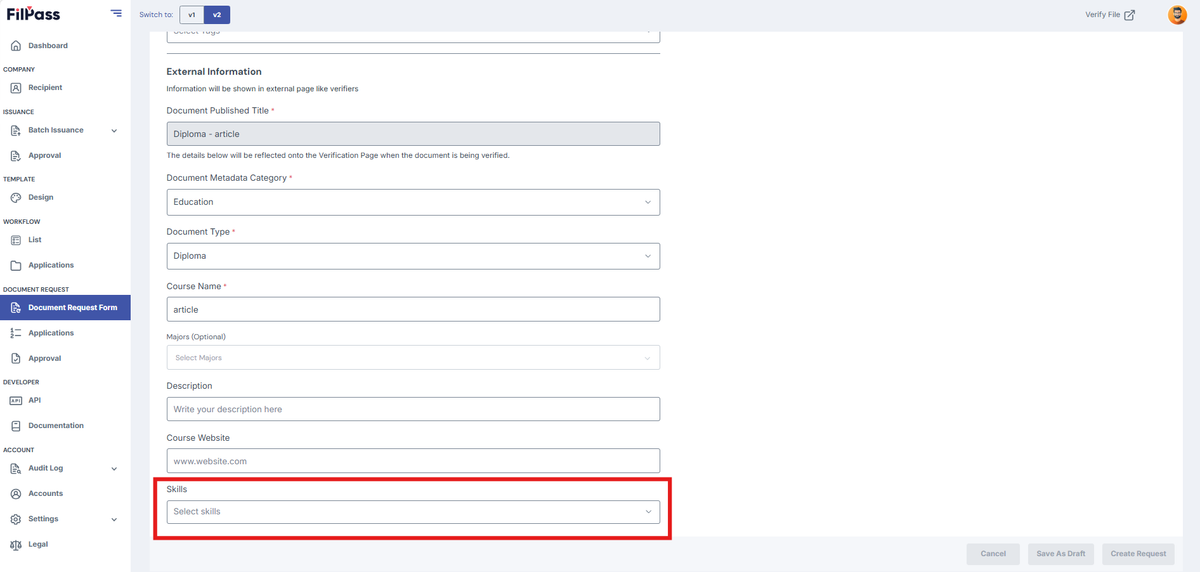
13. Add Skills for the Document Issuance of your Document Request
Document Issuance Features
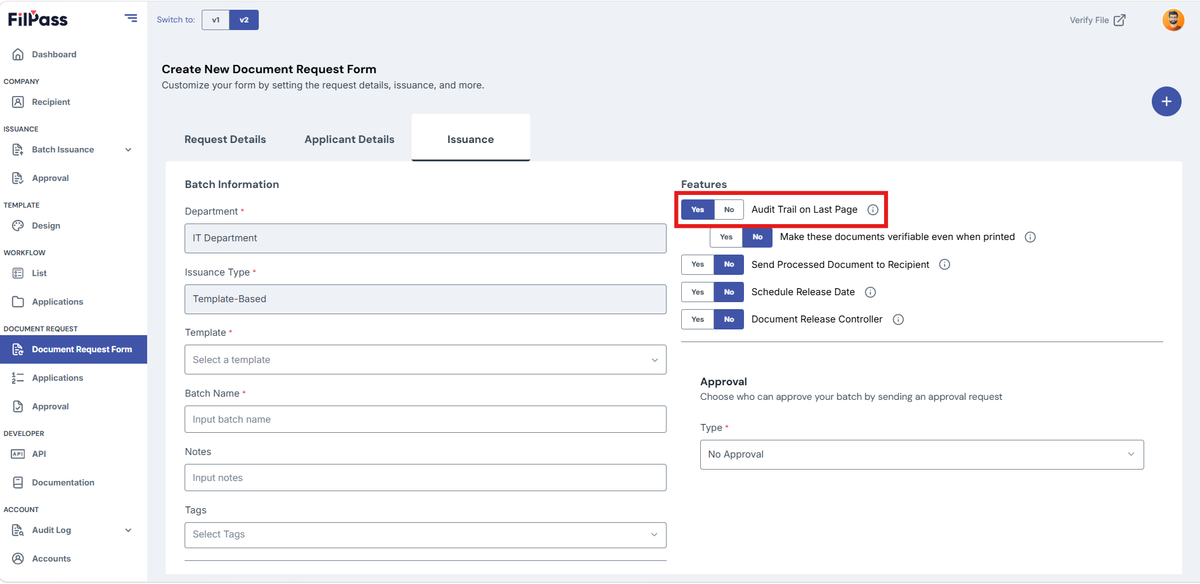
There are five additional toggles under “Features”:
A. Audit Trail on Last Page
- Yes – Adds a page showing the document's audit trail.
- No – No audit trail will be added, making Option II unavailable.
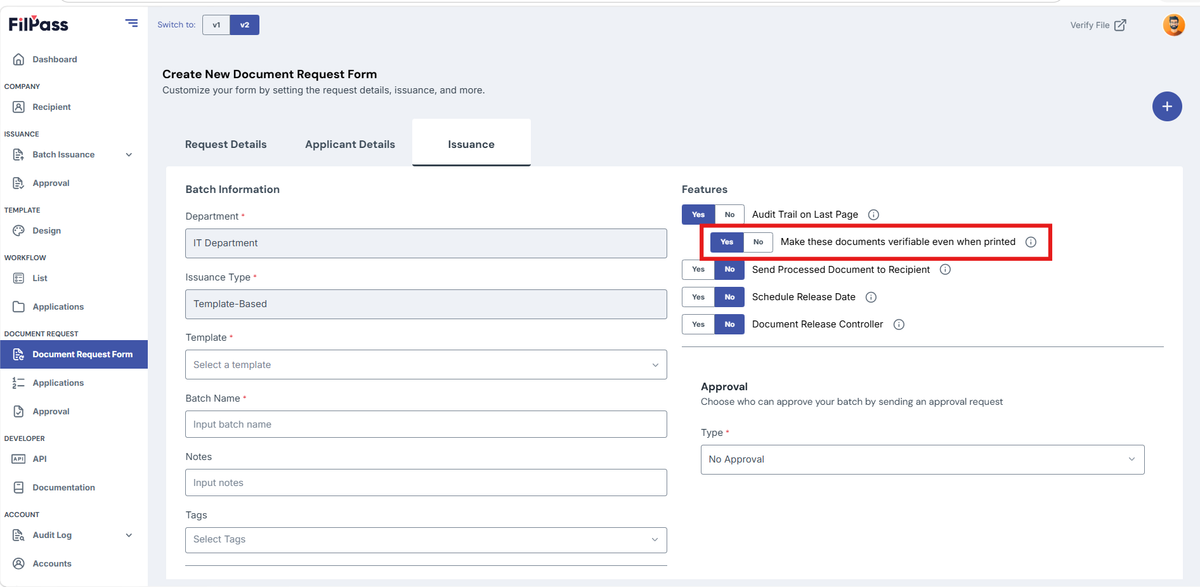
B. Make This Document Verifiable Even When Printed
- Yes – A QR code will be included on the audit trail page for verification.
- No – The QR code will not be available.
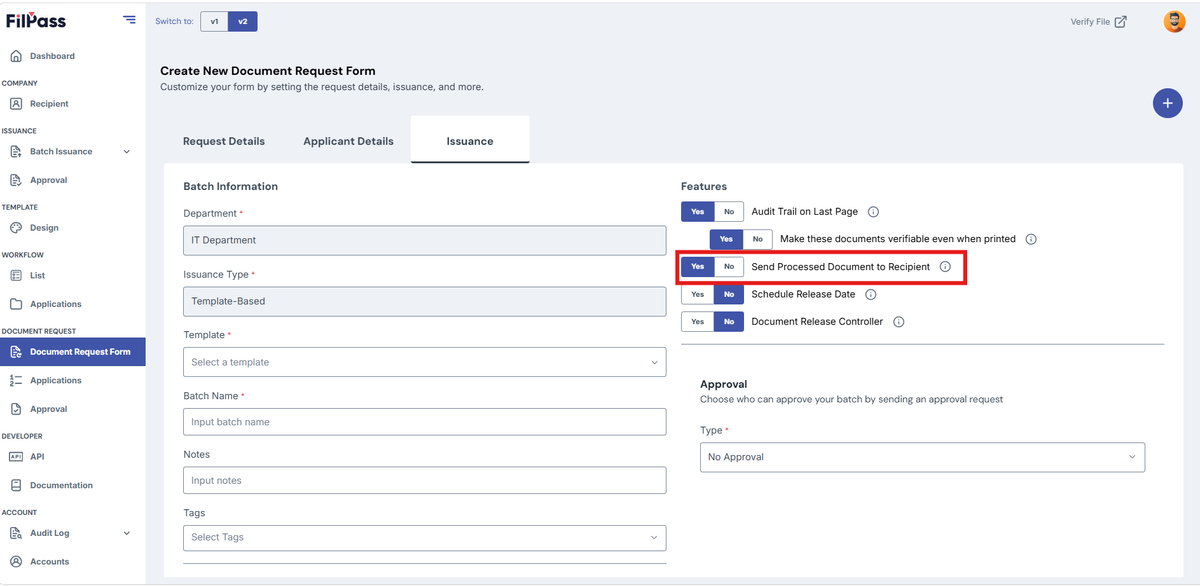
C. Send Processed Document to Recipient
- Yes – The recipient will receive an email with the document attached.
- No – The recipient will receive an email but without an attachment.
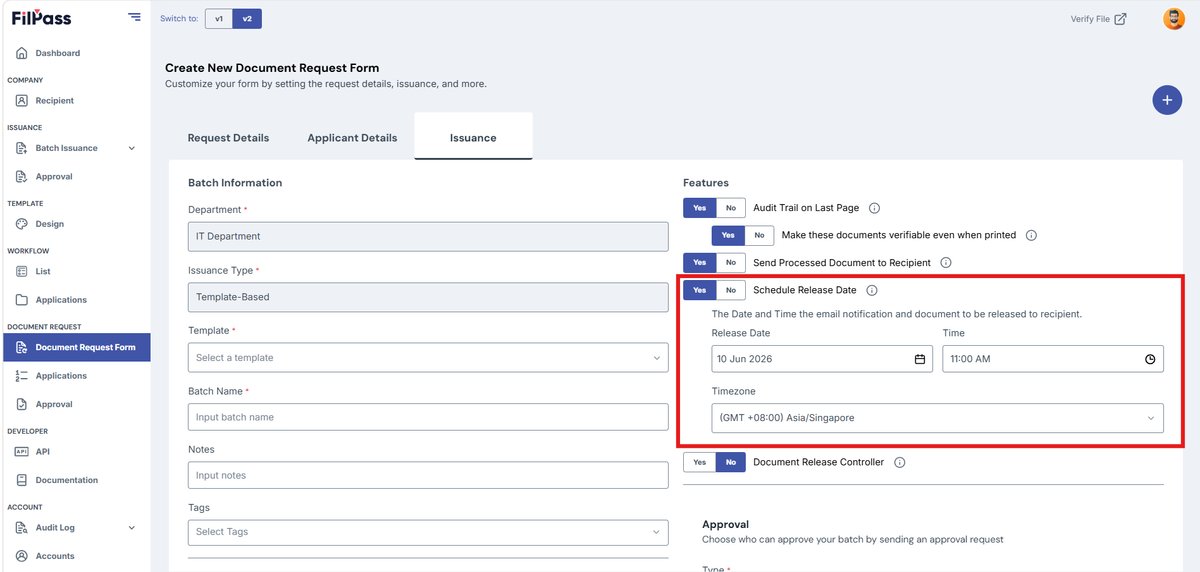
D. Schedule Release Date
- Yes – The document will be sent to the recipient according to the set release date
- No – There will be no scheduled release date and will be sent to the recipient once approved by Approver or released by the Document Release Controller.
E. Document Release Controller
- Yes – The document will only be released if it is released by the selected Document Release Controller
- No – The document will no longer need the Document Release Controller to be released.