

Sections of Template Design
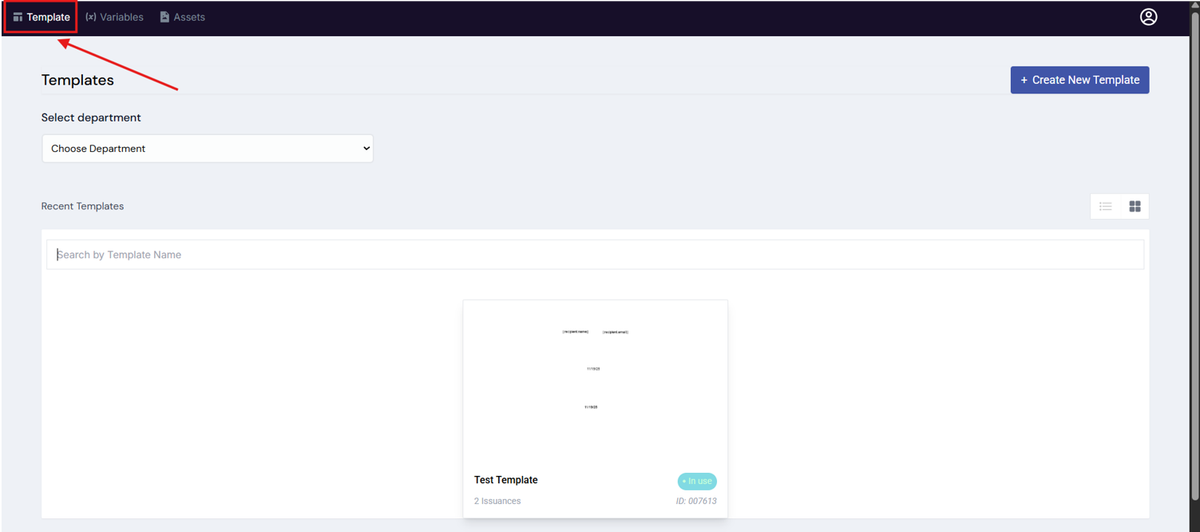
On the landing page of the Template Design, you will see three tabs on the upper left:
- Template: This is where you can create new templates or edit existing templates.
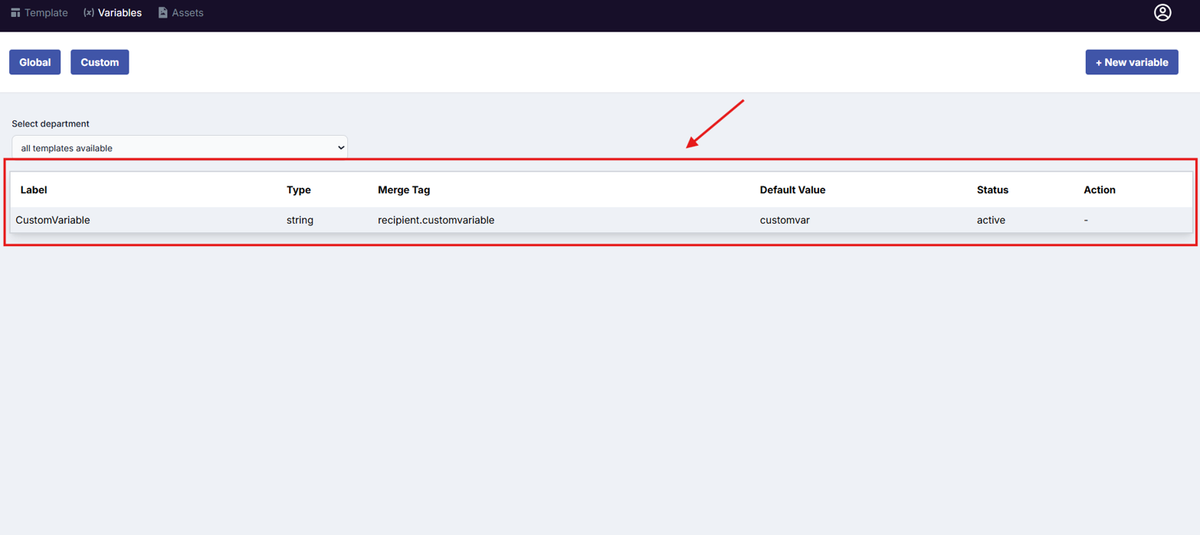
- Variables: This is where you can create new variables or see existing variables.
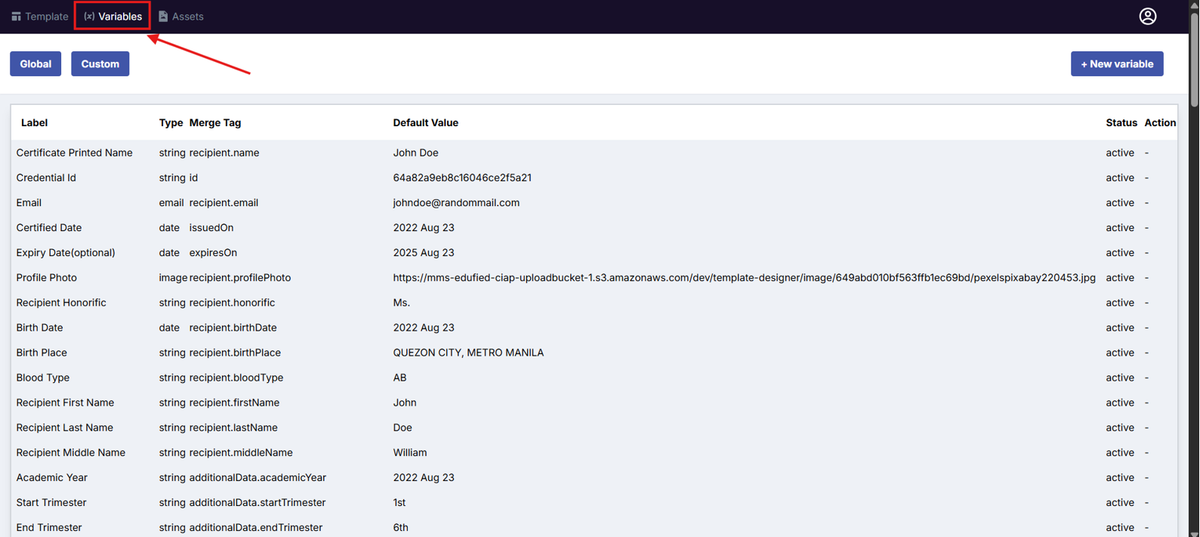
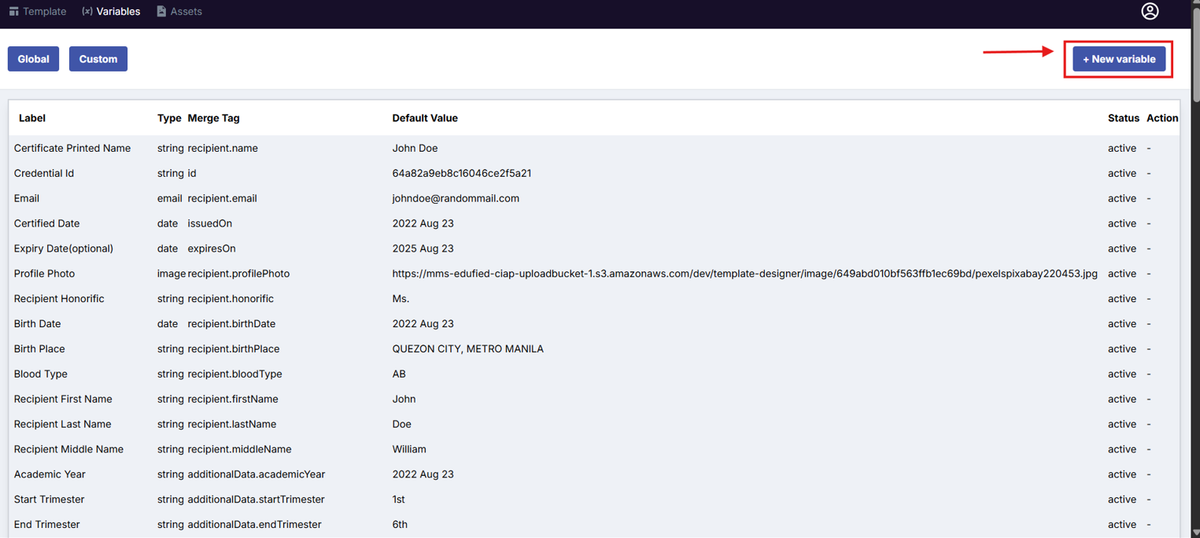
To add a variable:
- Click on the New Variable Button
- Fill in the details of your new variable.
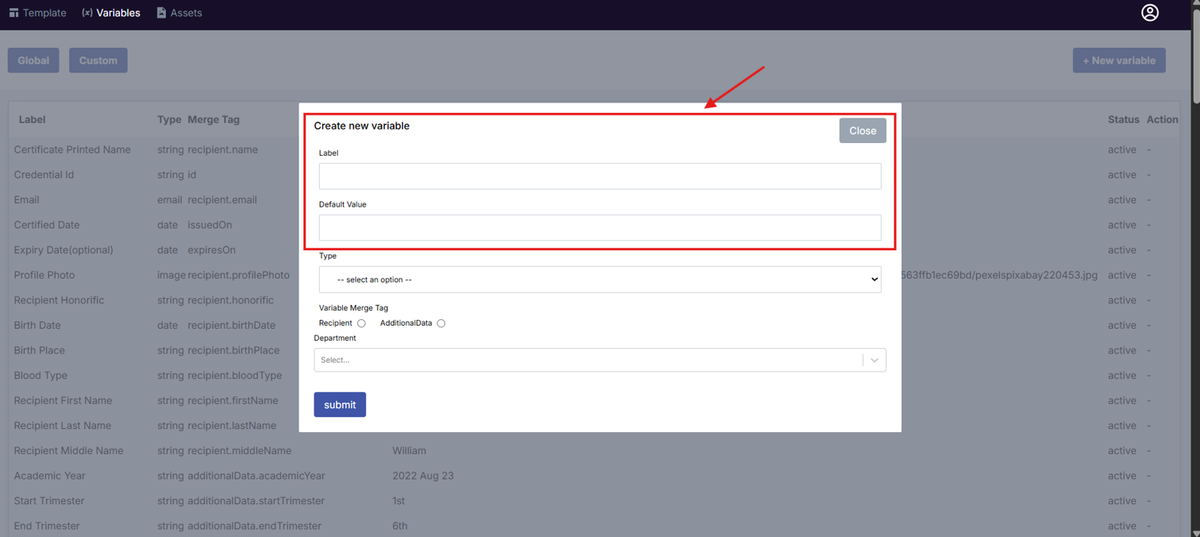
- Select the type of your new variable.
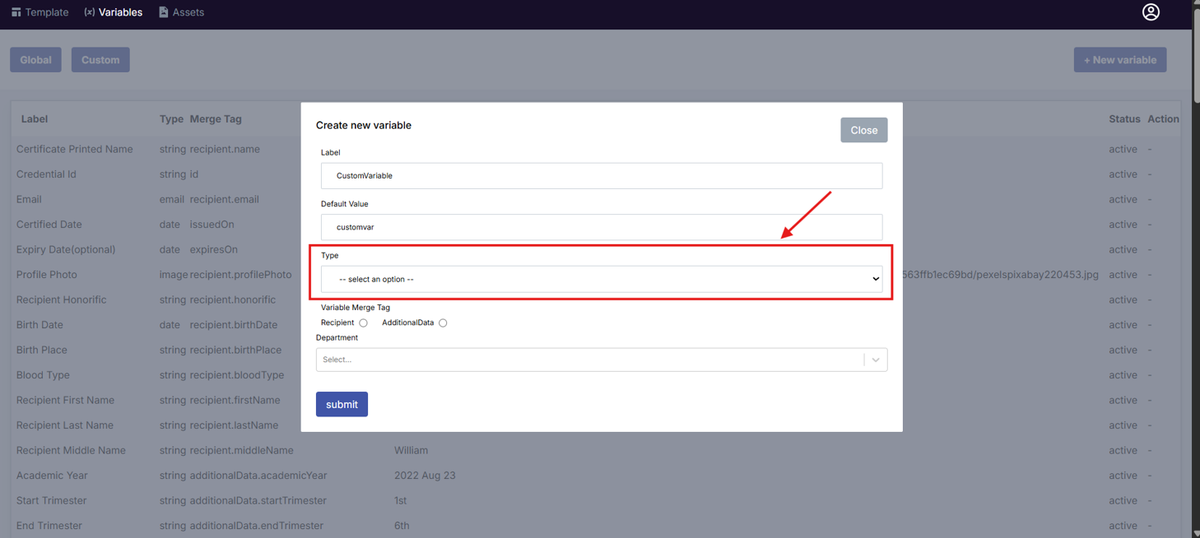
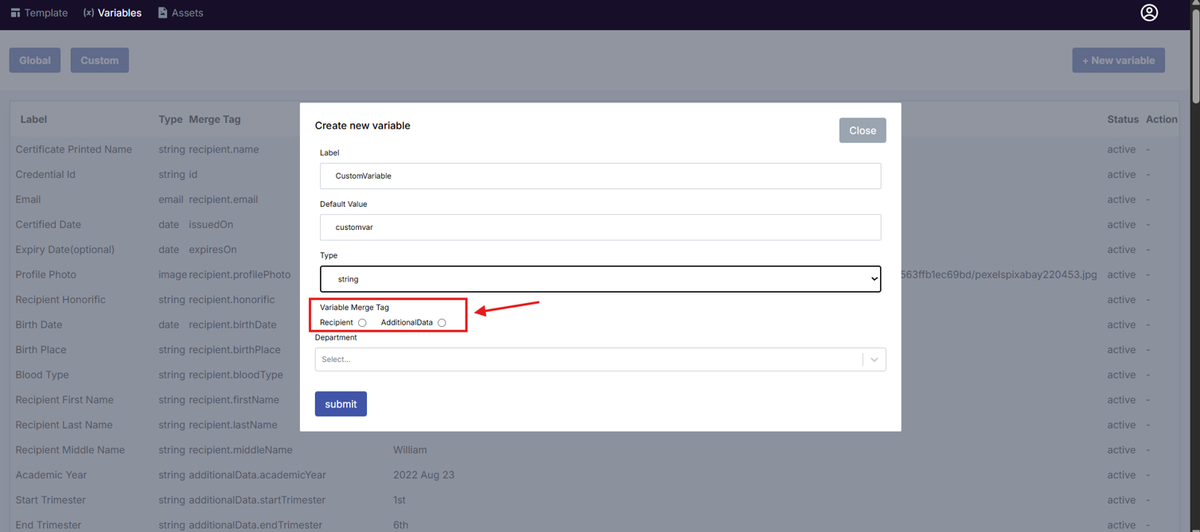
- Choose the Variable Merge Tab.
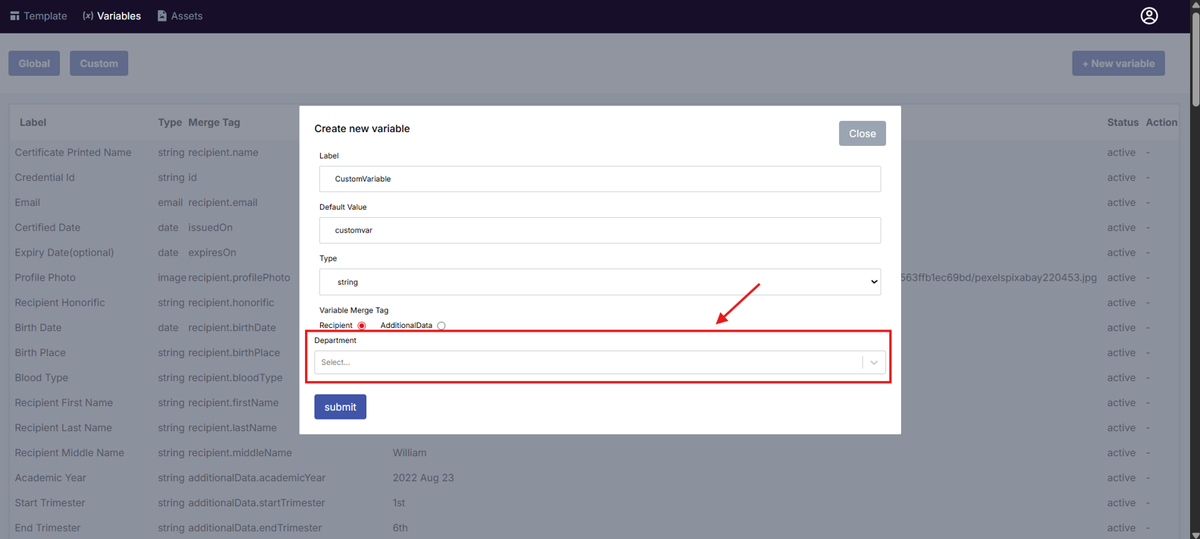
- Select any relatedDepartment/s for the new variable.
- Press Submit.
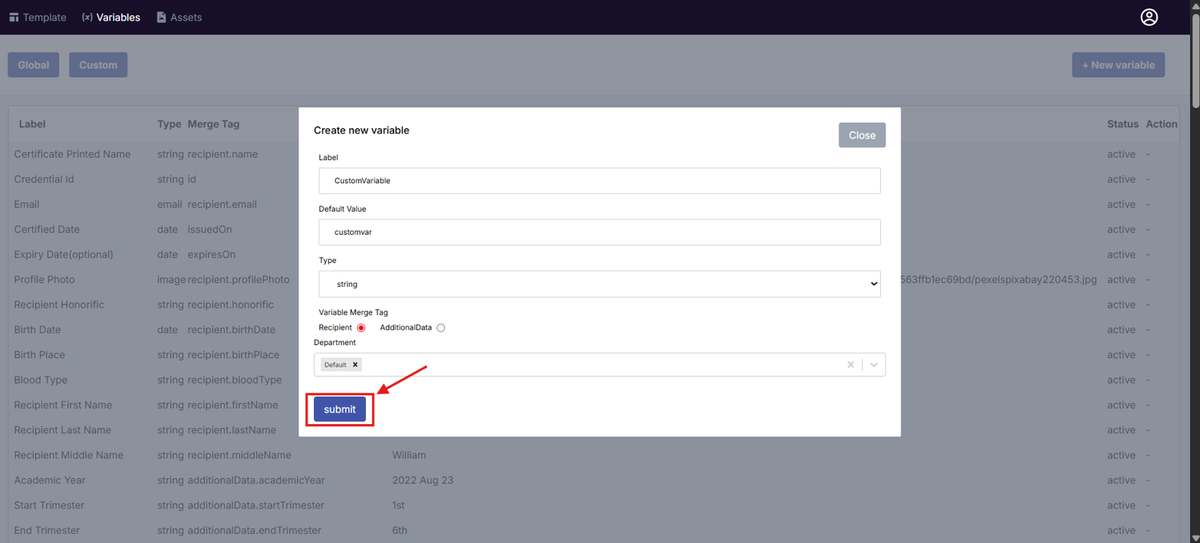
- You have created a custom variable.
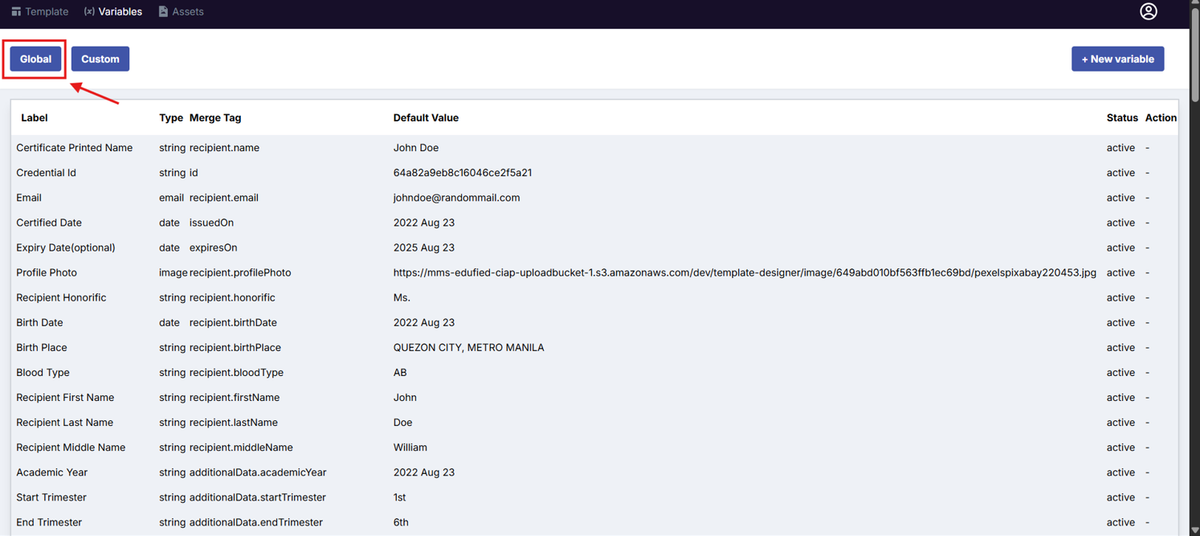
To see global variables:
- Click on the Global Button
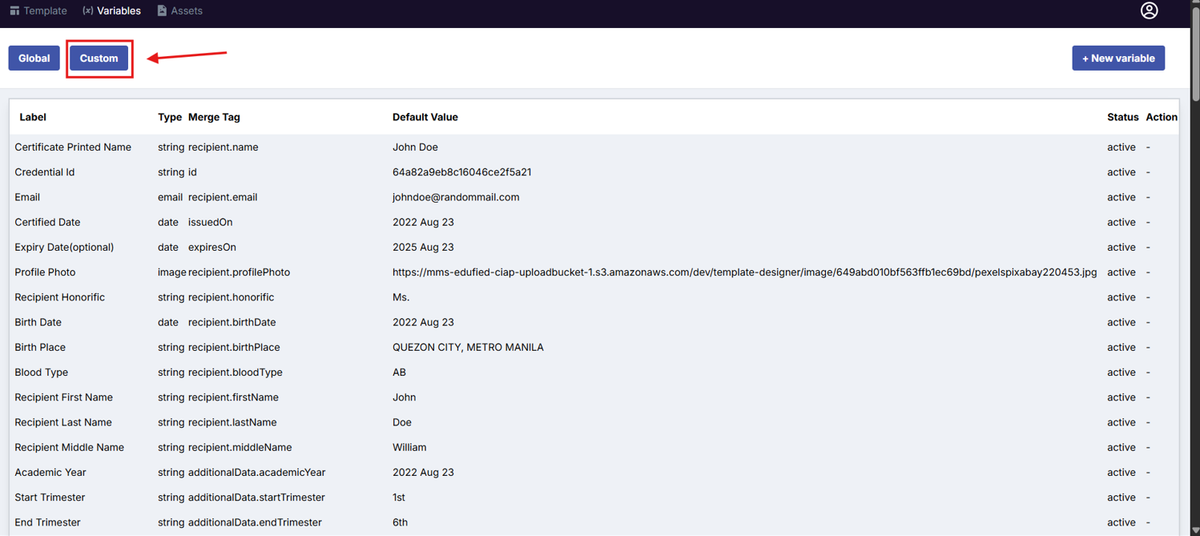
To see custom variables:
- Click on the Custom Button
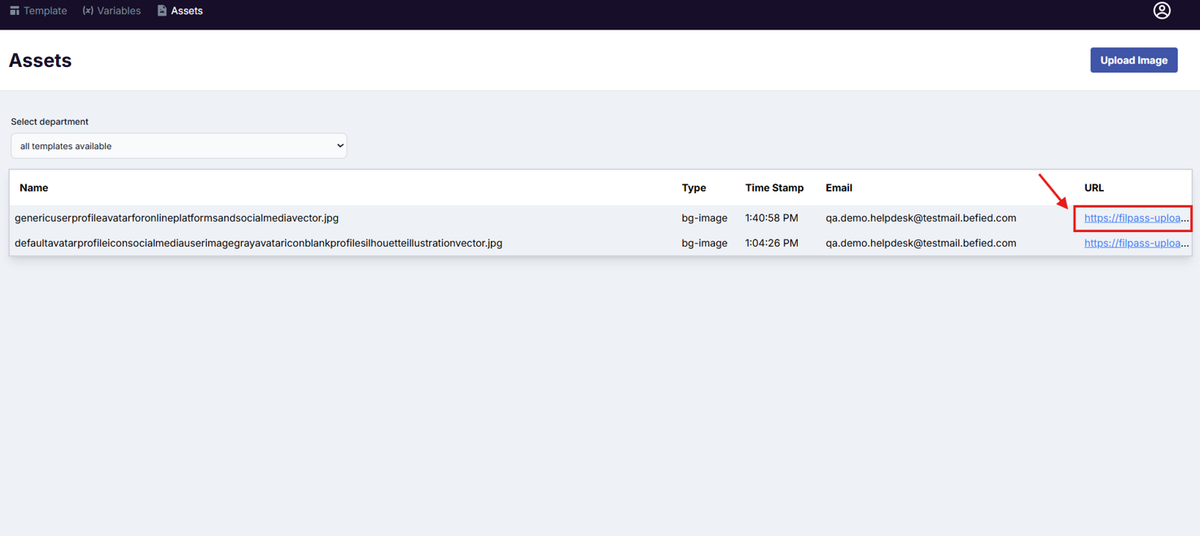
- Assets: This is where you can upload new assets like images and where you can download existing assets.
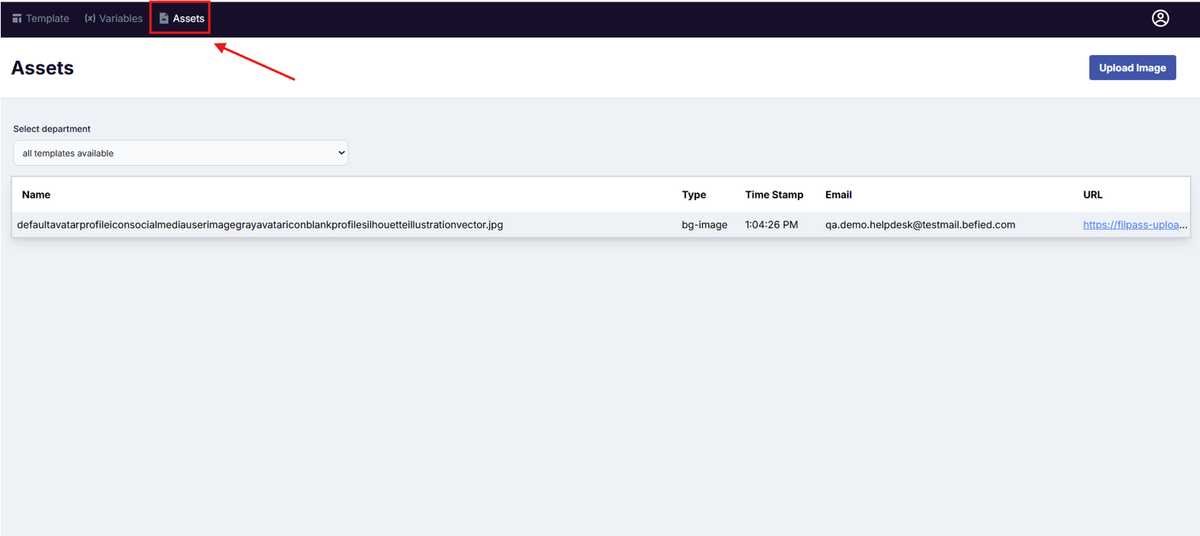
To add an asset:
- Click on the Upload Image button on the upper right.
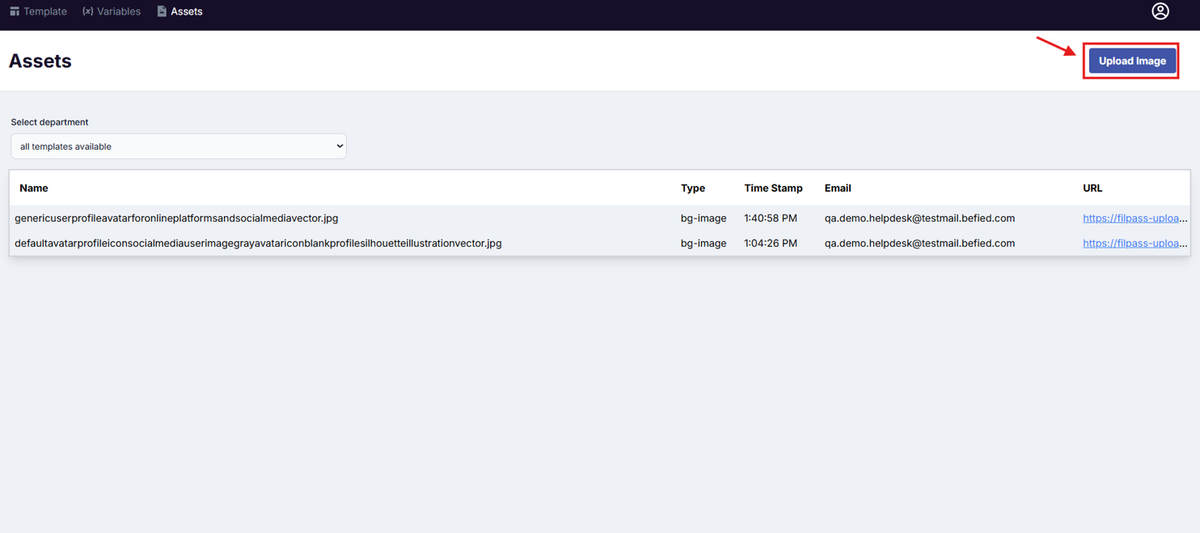
- Select if it is a staticimage or a backgroundimage .
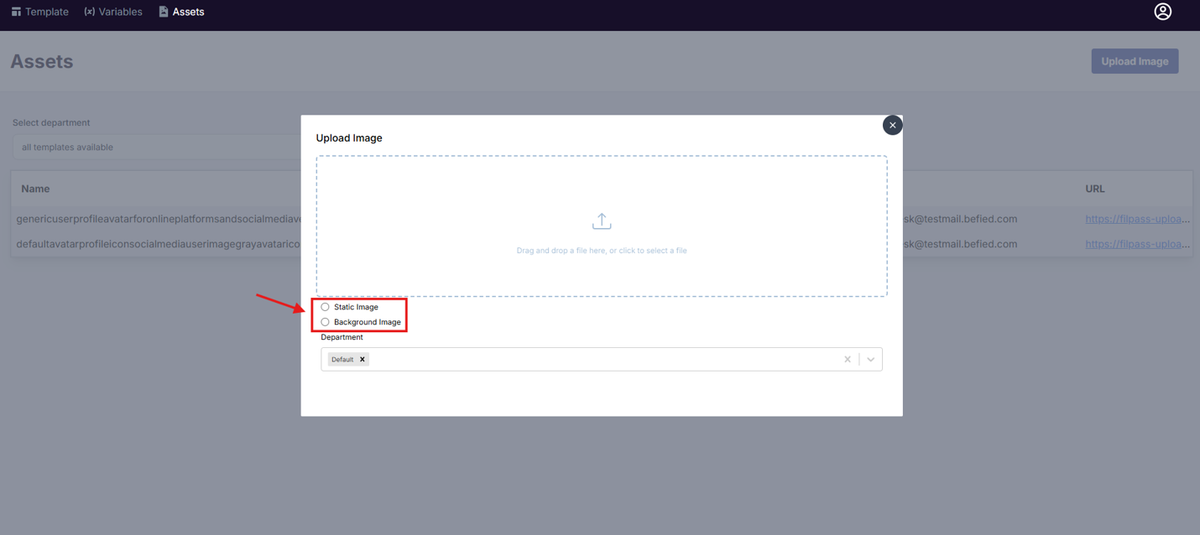
- Upload the Image into the box.
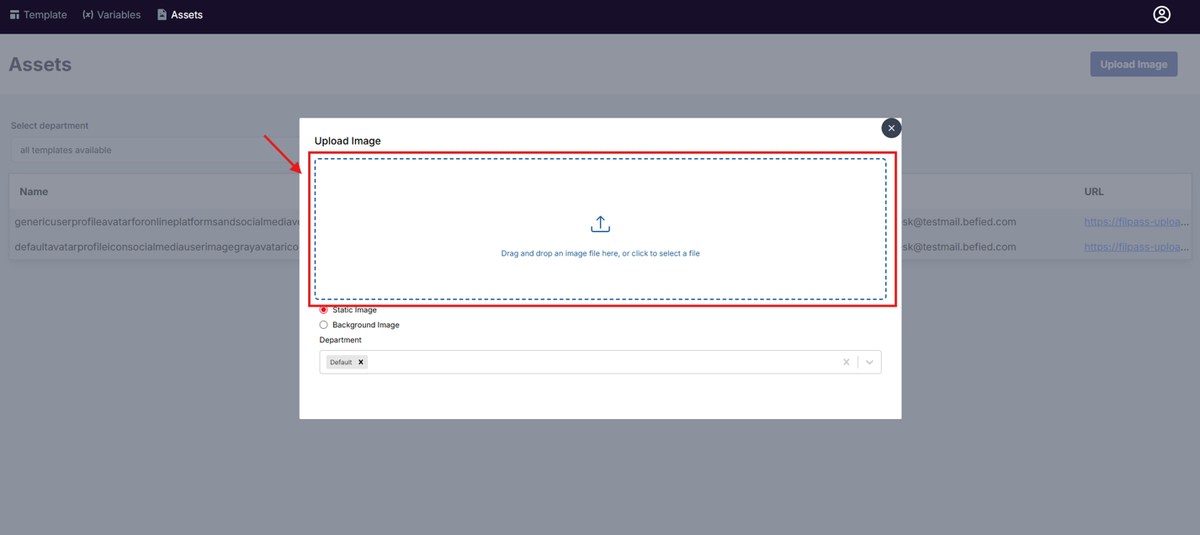
- Select any related department/s for your asset.
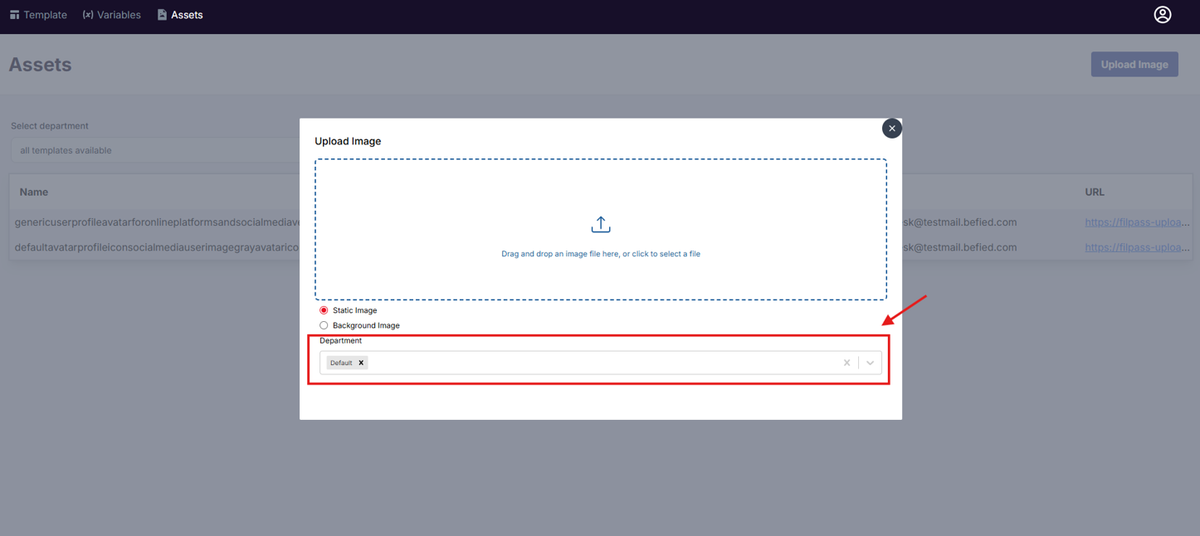
To download an asset:
- Click on the link to your desired asset. It is located on the farthest right of the row. It will download immediately.
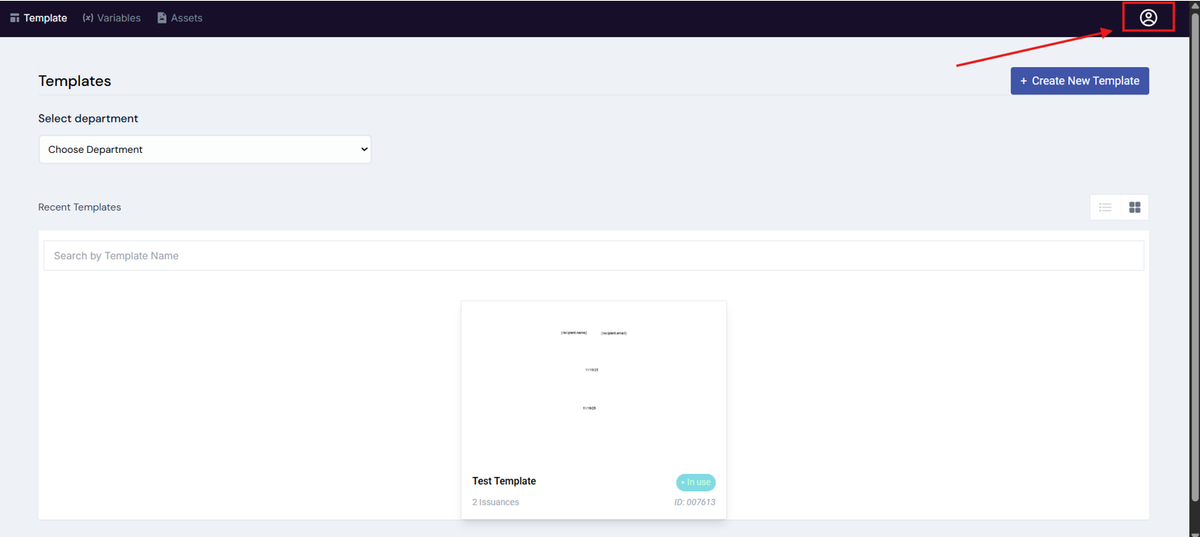
On the upper right is your profile icon.
- This is where you can sign out from the Template Design section.
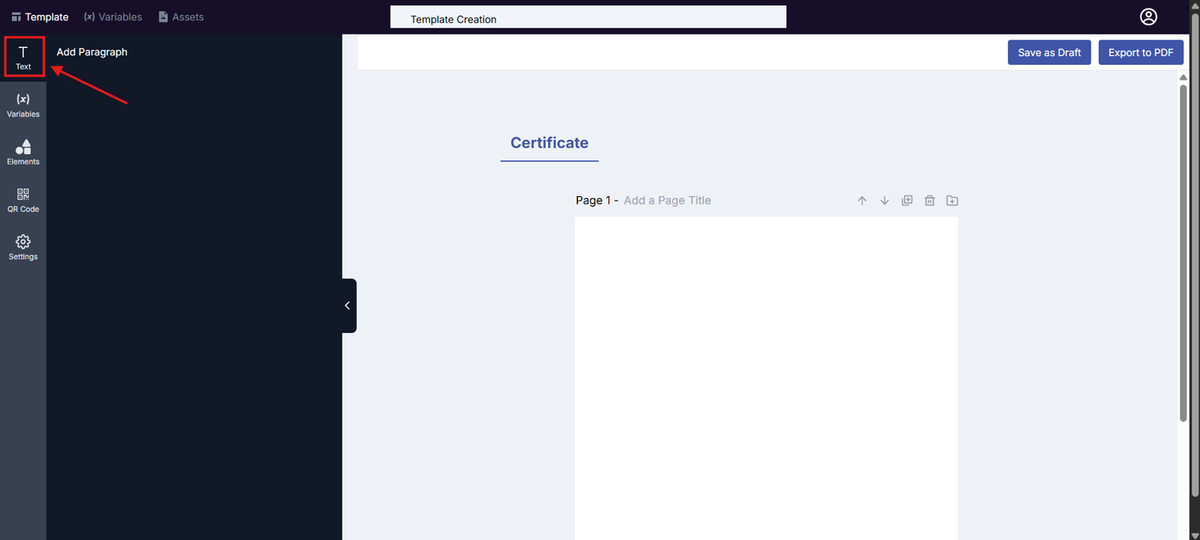
Template Creation/Edit Section:
- Text: This is where you create a paragraph variable.
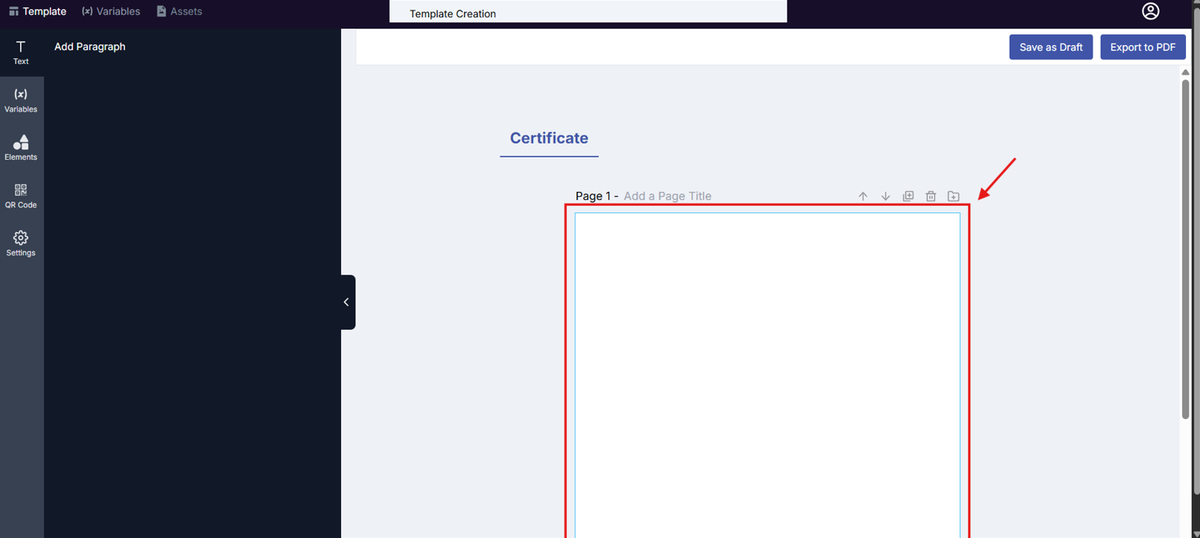
- To add a paragraph variable, click on the page you want to add the paragraph.
- Click the Add Paragraph button.
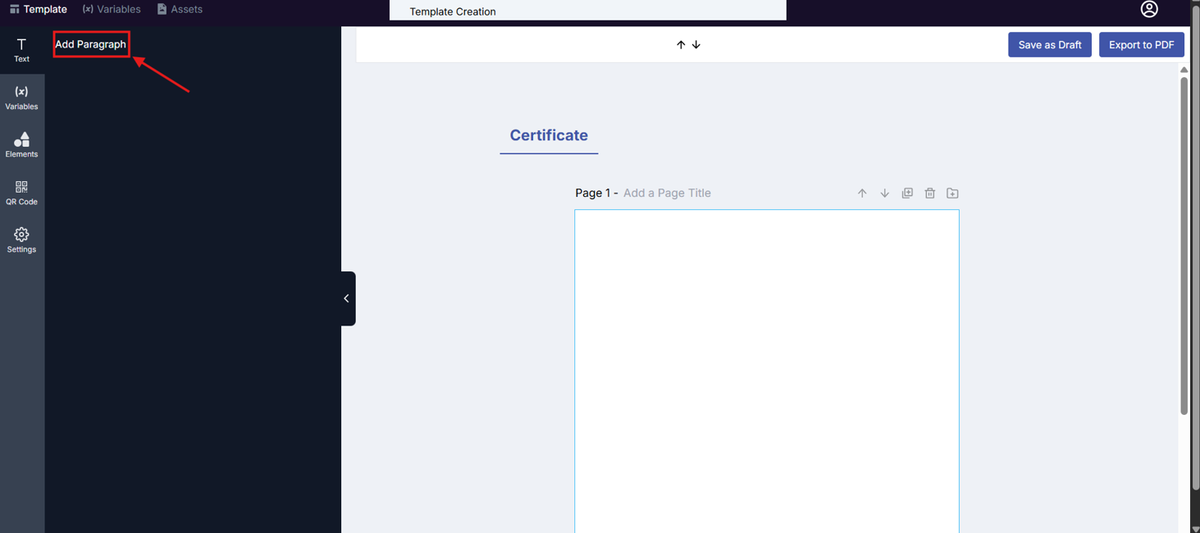
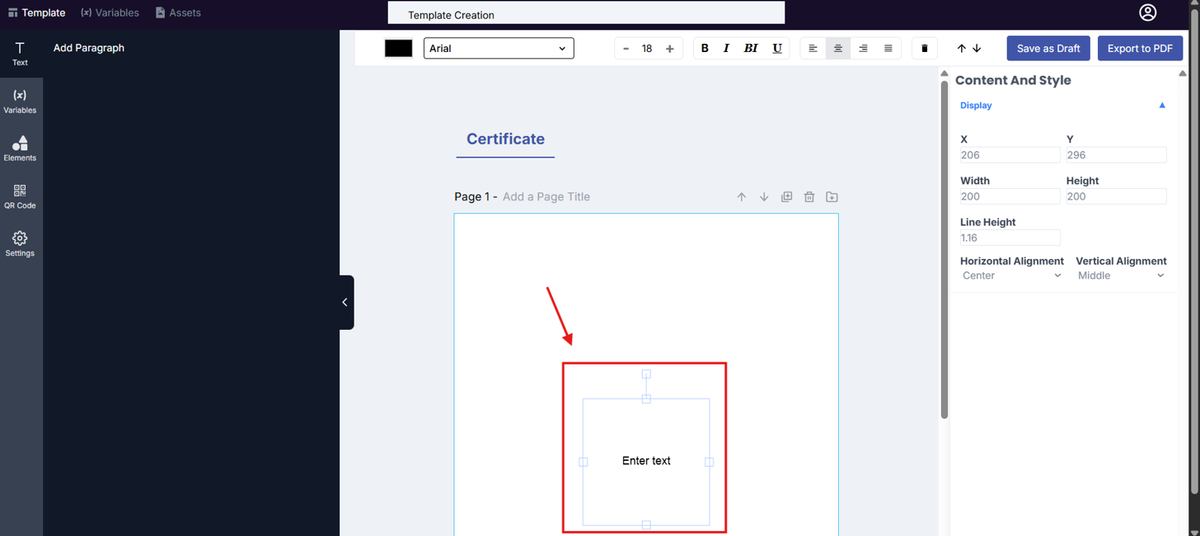
- Now you have the Paragraph Variable on your template. Content and Style will also appear on the right for text customization.
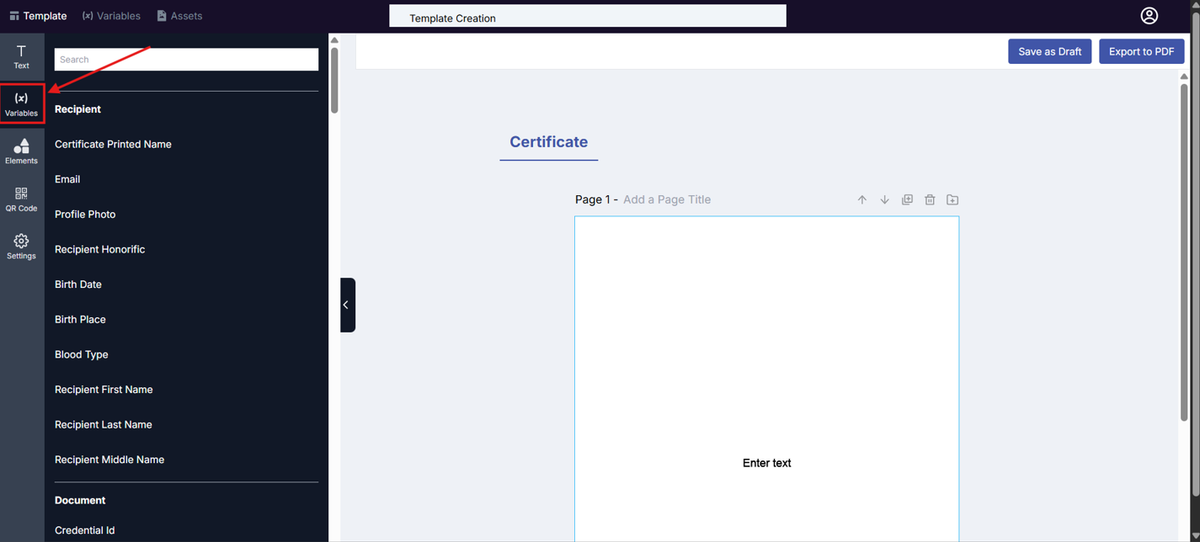
- Variables: This is where you add an existing variable to your template
- To add an existing variable, click on the page you want to add the variable.
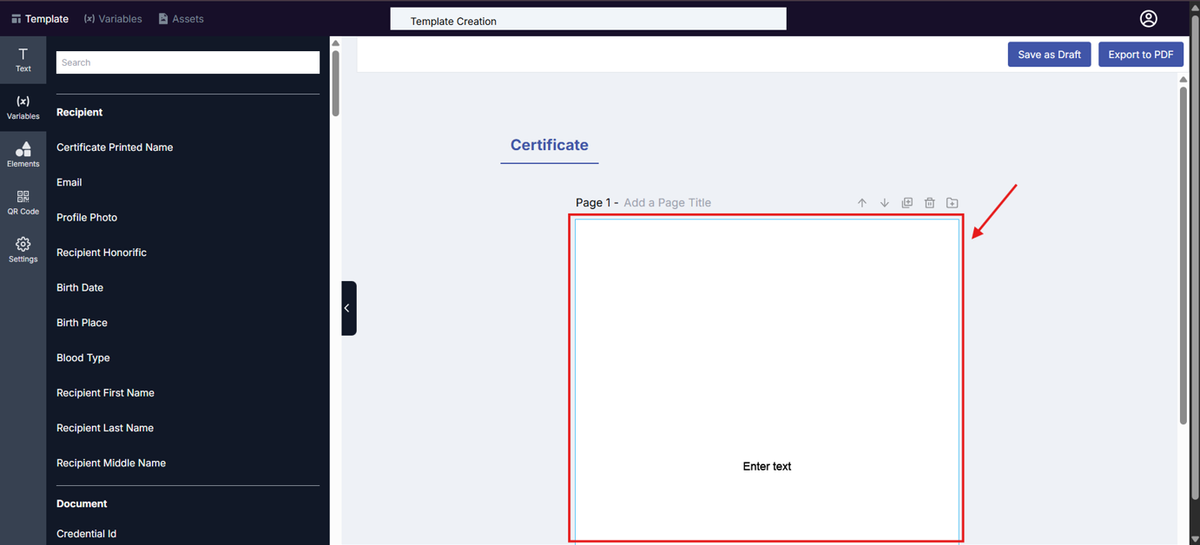
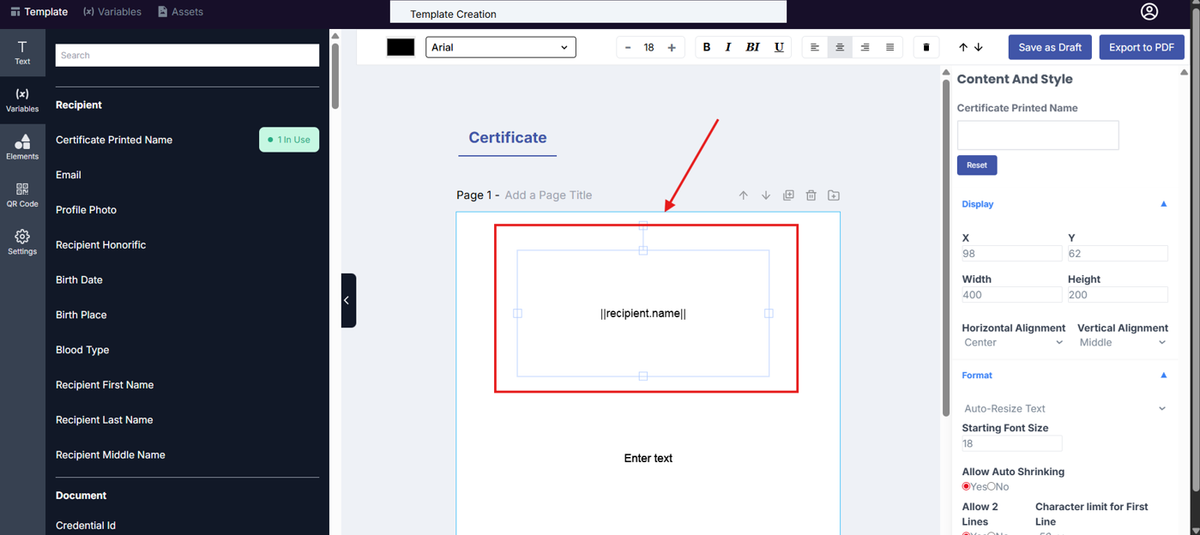
- Click the variable you want to add.
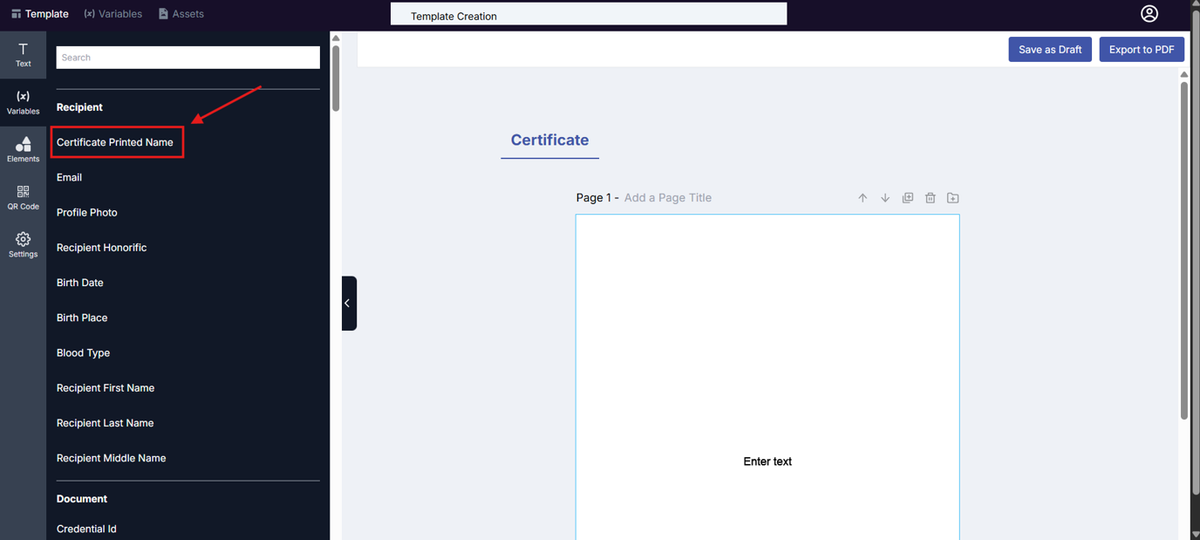
- Now you have the existing variable on your template. Content and Style will also appear on the right for text customization.
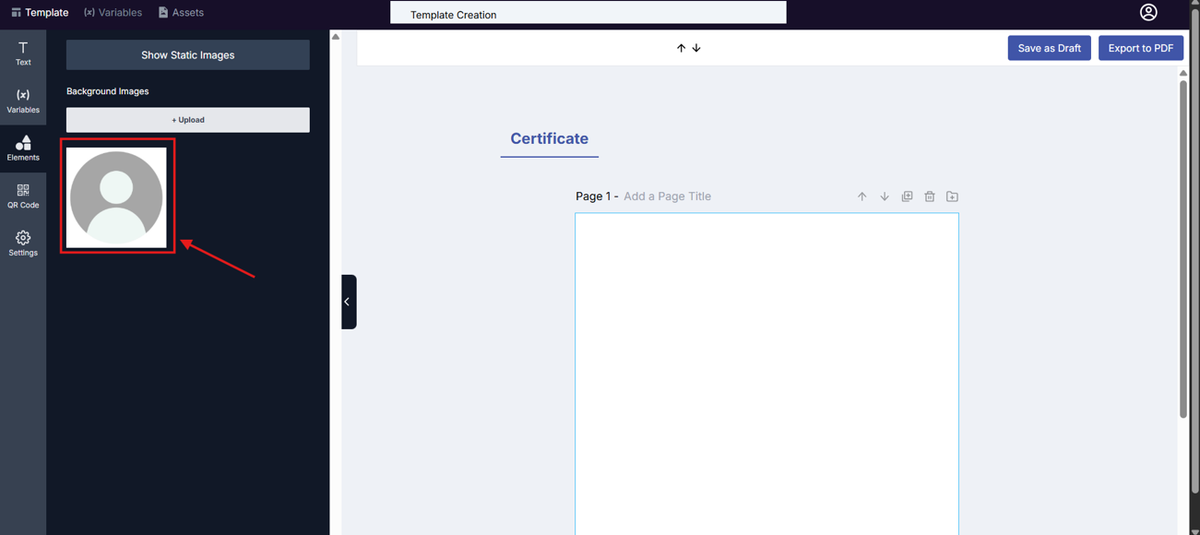
- Elements: This is where you add an existing element or upload an image for your template.
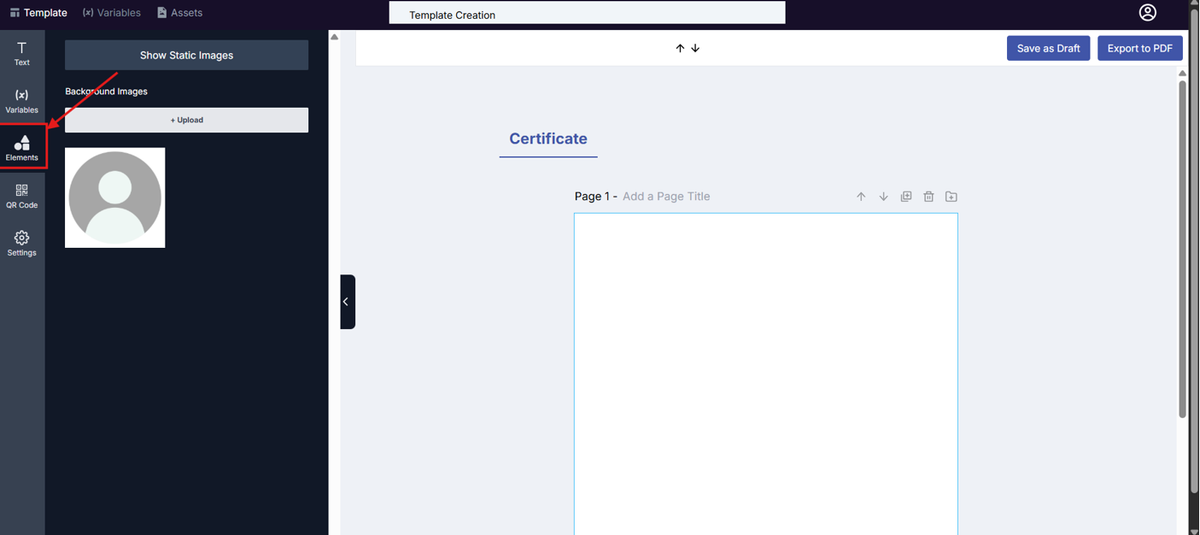
To add an existing image:
- Click on the page you want to add the image.
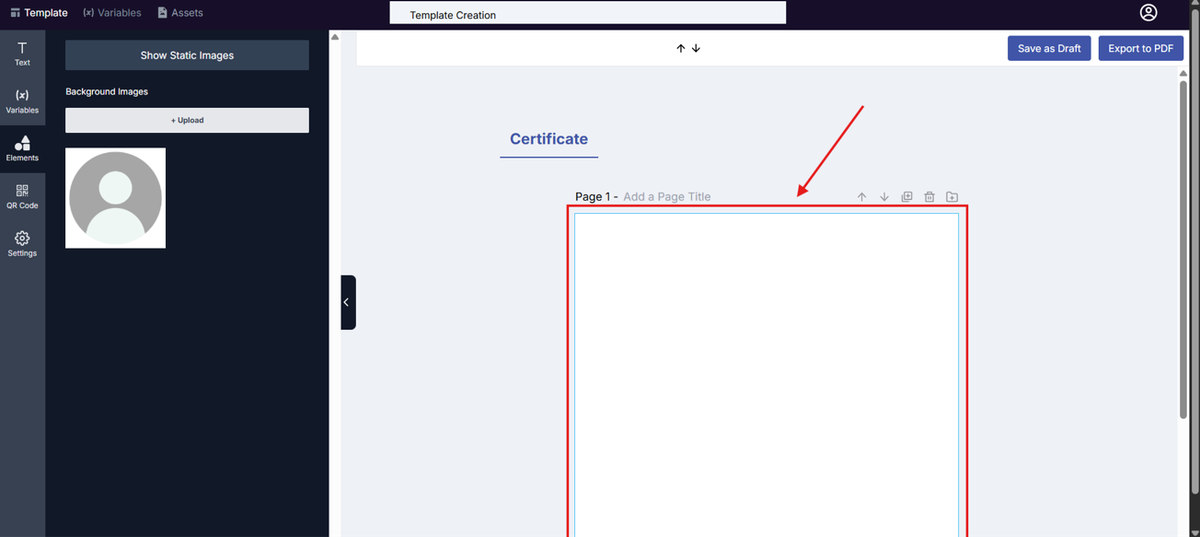
- Click the image you want to add.
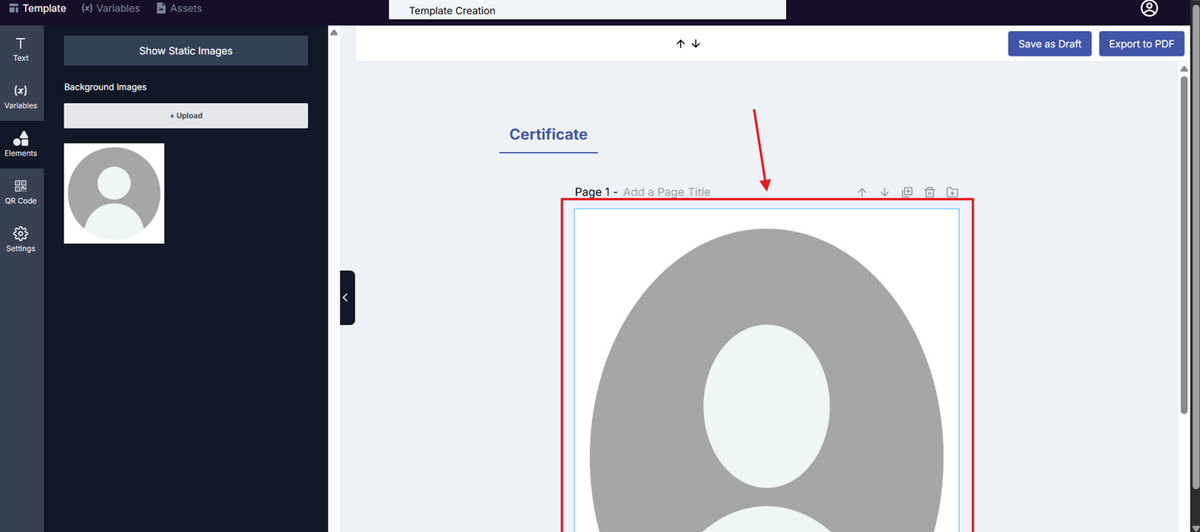
- Now you have the existing image as the background on your template.
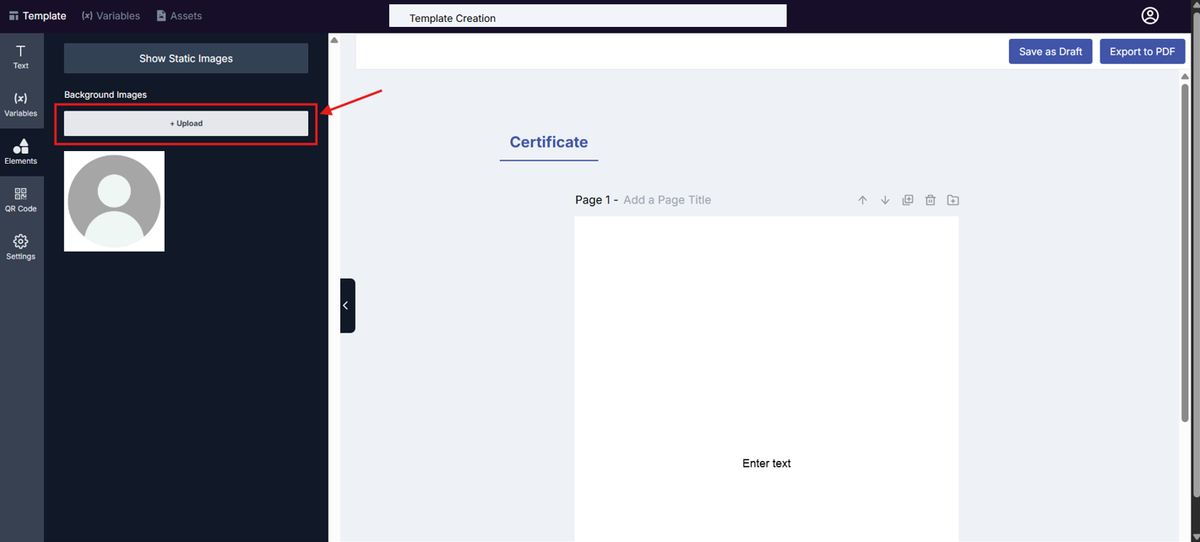
To upload an image:
- Click on the Upload Button.
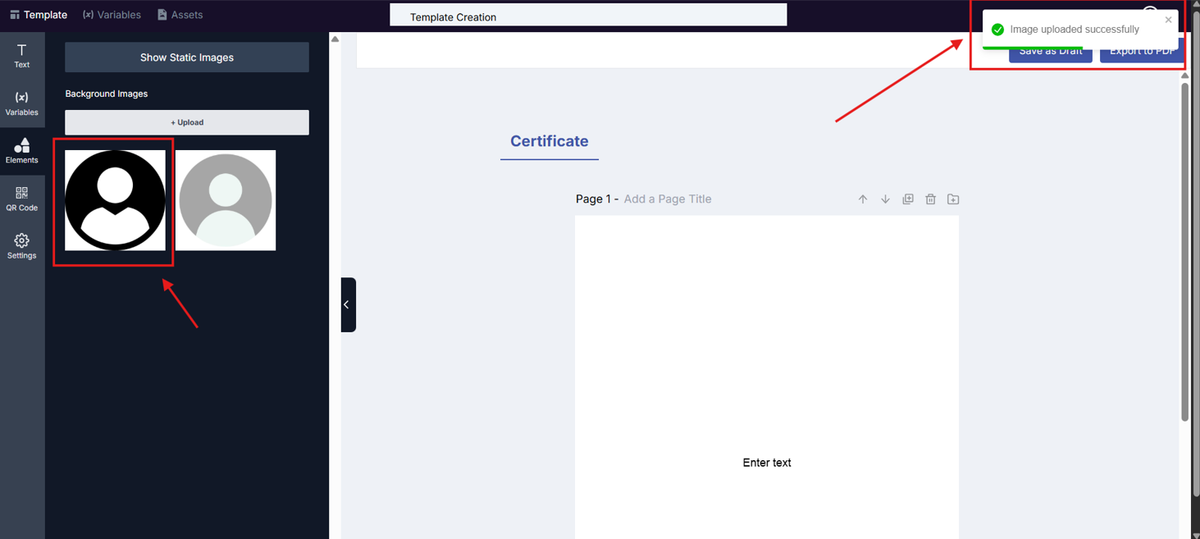
- Upload the image and it will appear alongside the image uploaded successfully message.
- QR Code: This is where you can create a Verification QR code and a Custom QR code which you can add on your template.
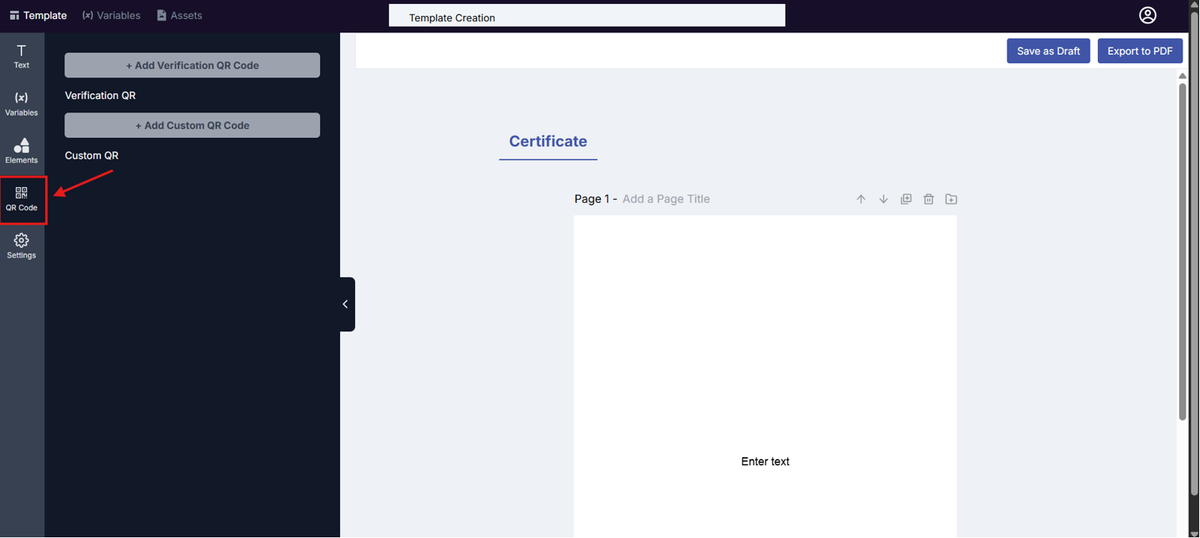
To add a Verification QR code:
- Click on the page you want to add the QR code.
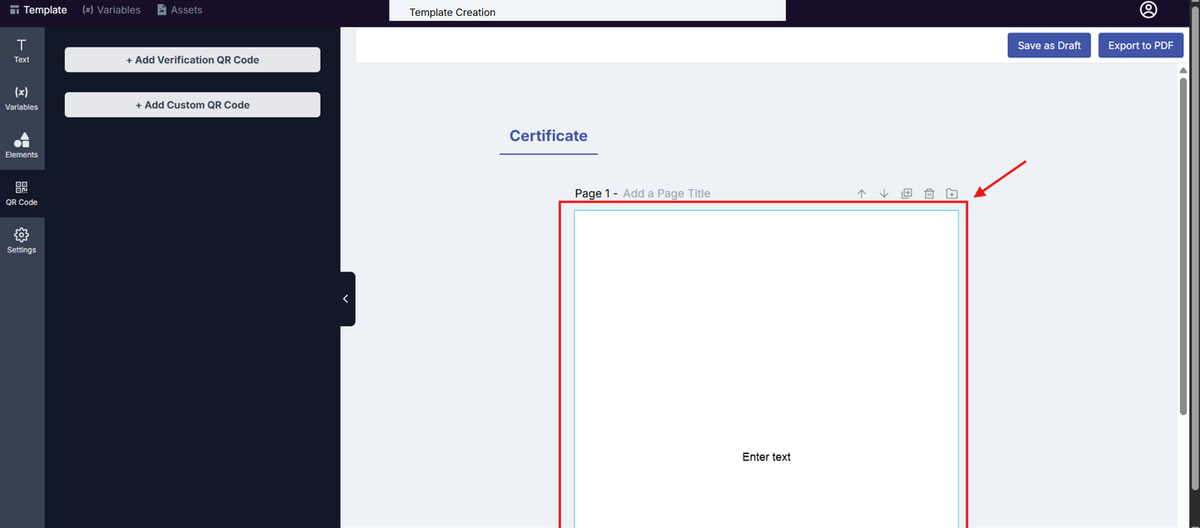
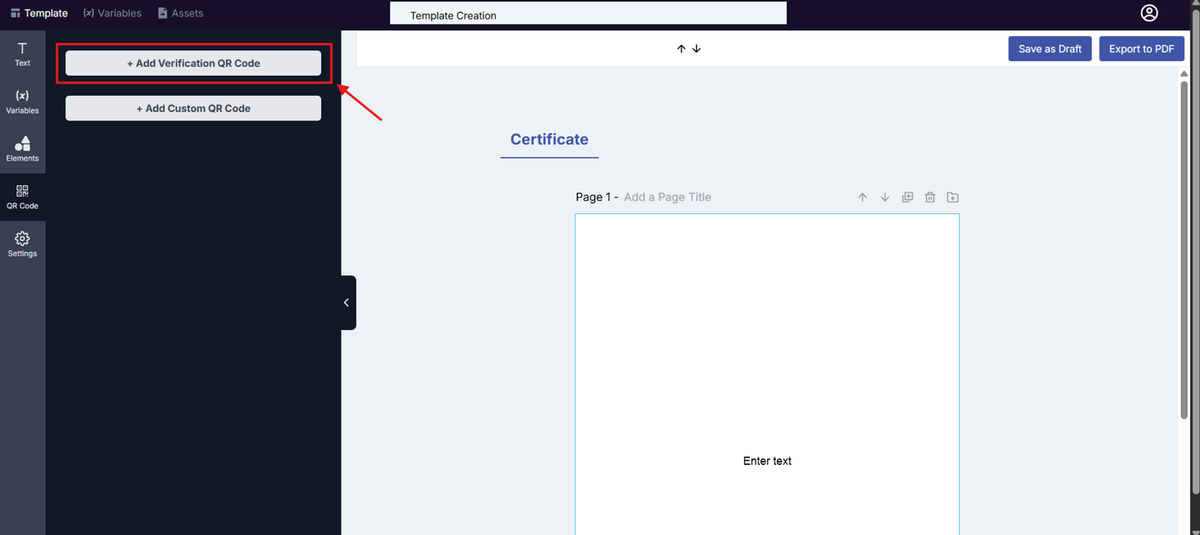
- Click Add Verification QR Code.
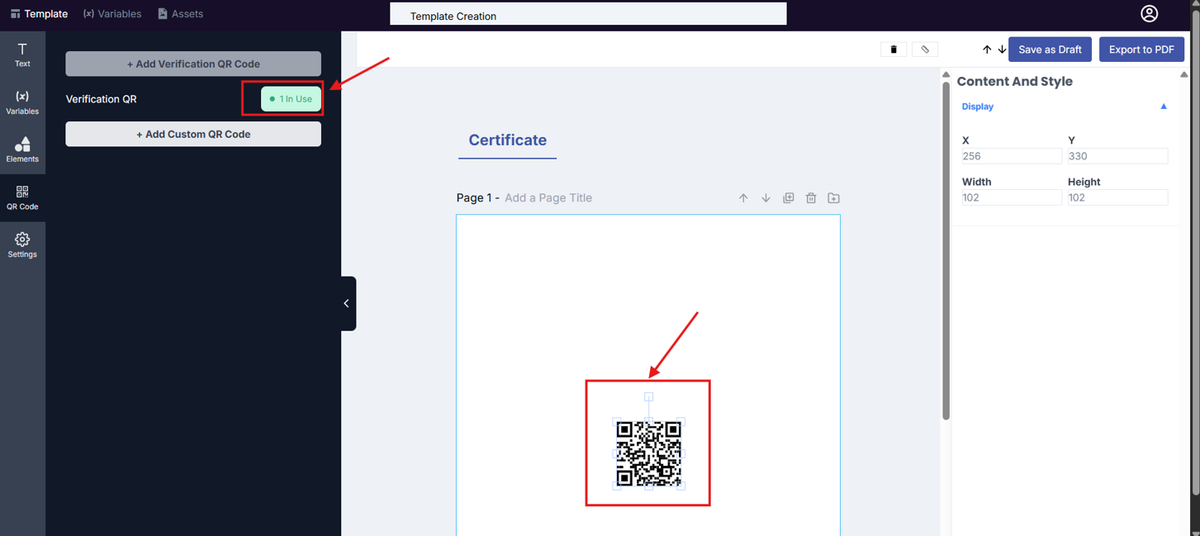
- Now you have the Verification QR Code on your template. Content and Style will also appear on the right for customization.
To add a Custom QR code:
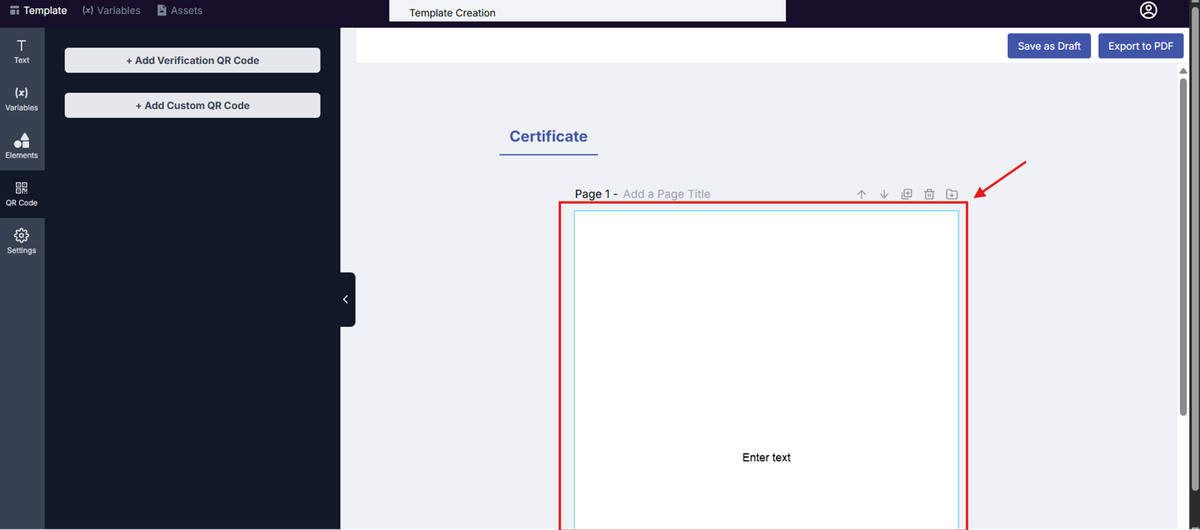
- Click on the page you want to add the QR code.
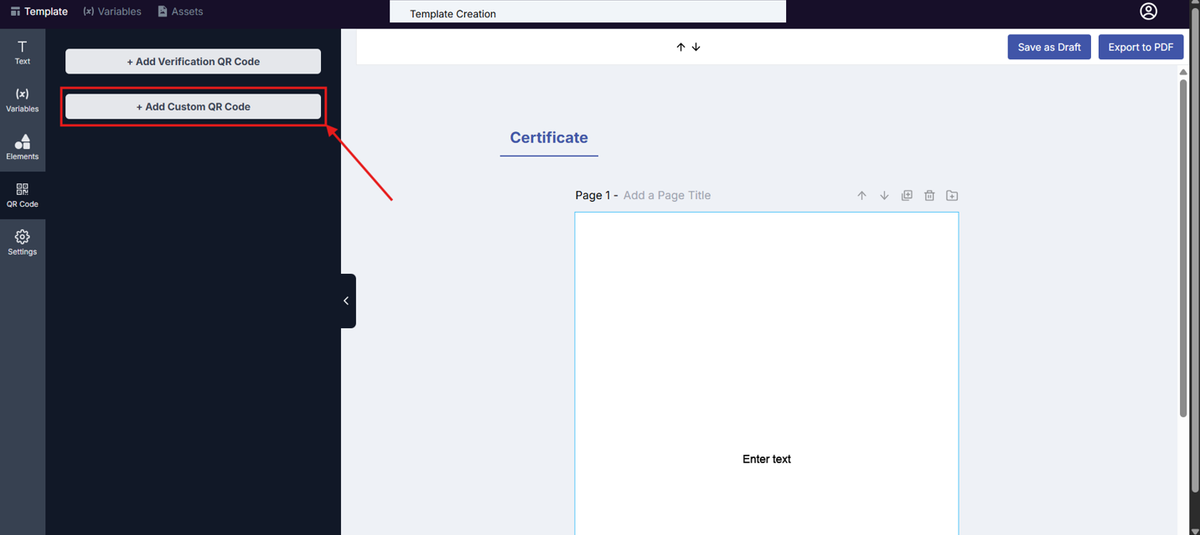
- Click Add Custom QR Code.
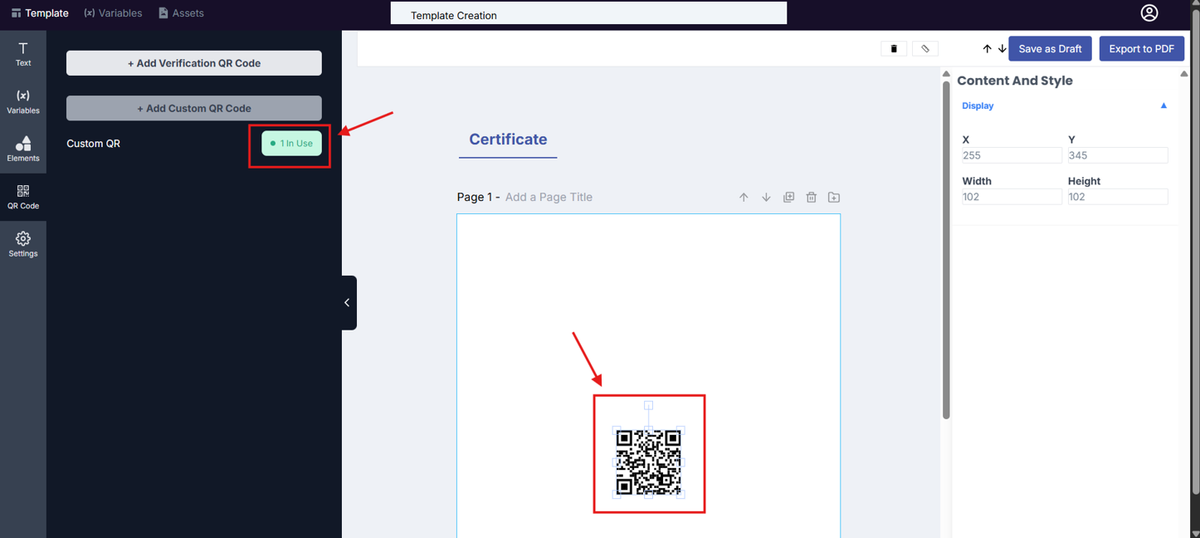
- Now you have the Custom QR Code on your template. Content and Style will also appear on the right for customization.
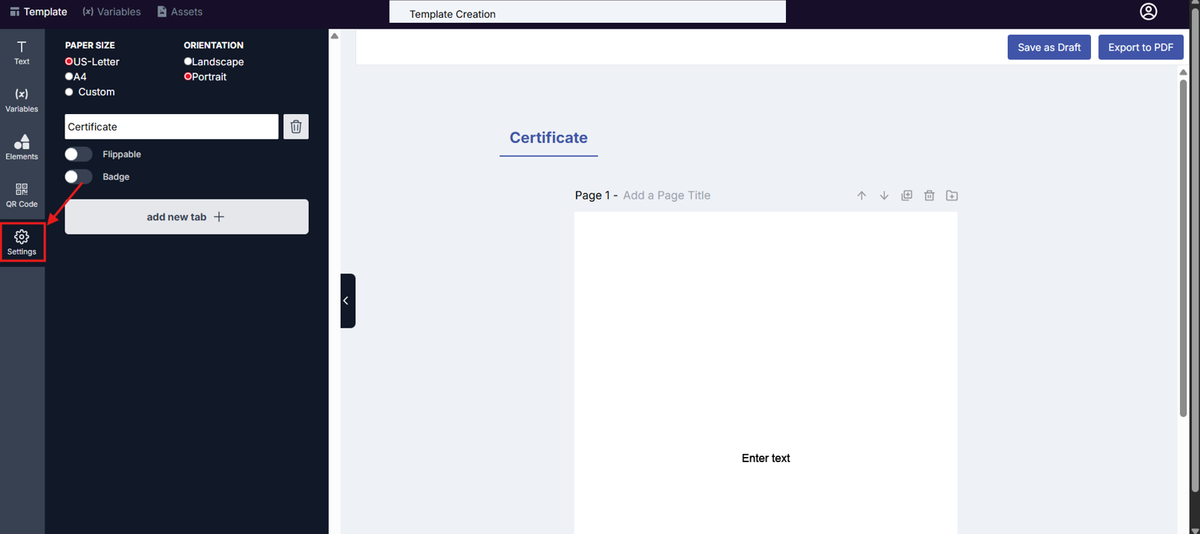
- Settings: This is where you can customize your template size, tab customization, make the template flippable, and turn your template into a badge.
To customize your template:
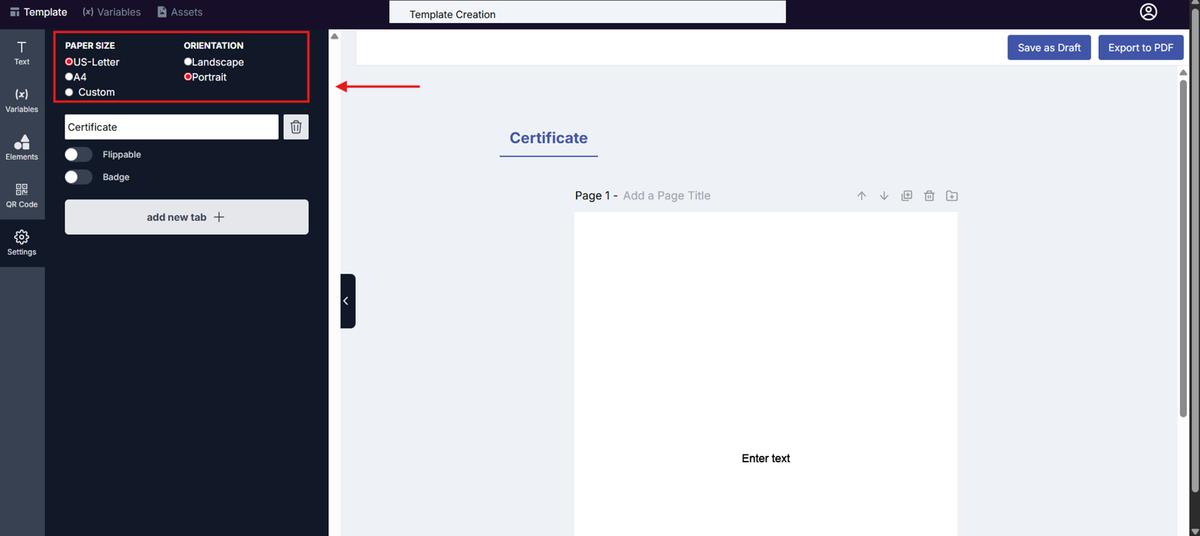
- This is the section where you can change your Paper Size and Orientation
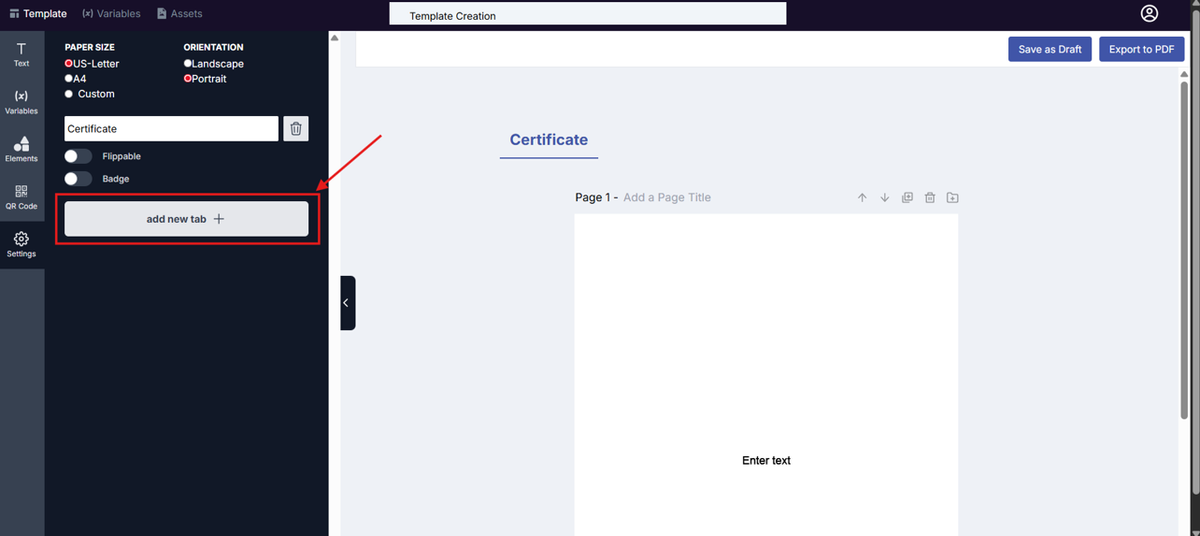
To add a new tab:
- Click on the Add New Tab button.
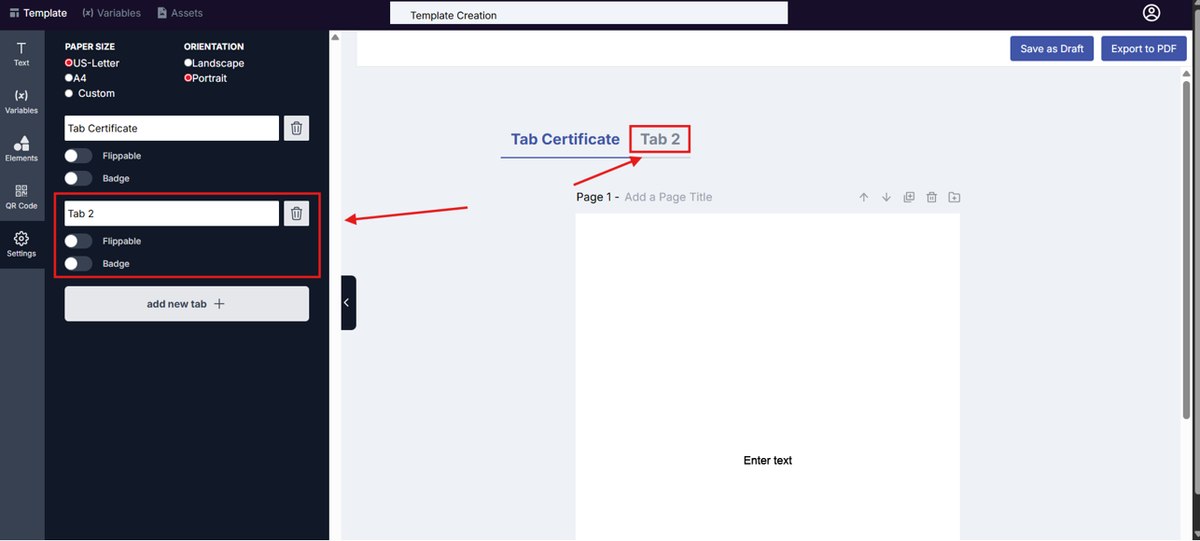
- There is now a new Tab Section.
To edit a tab:
- Focus your attention on your chosen tab section.
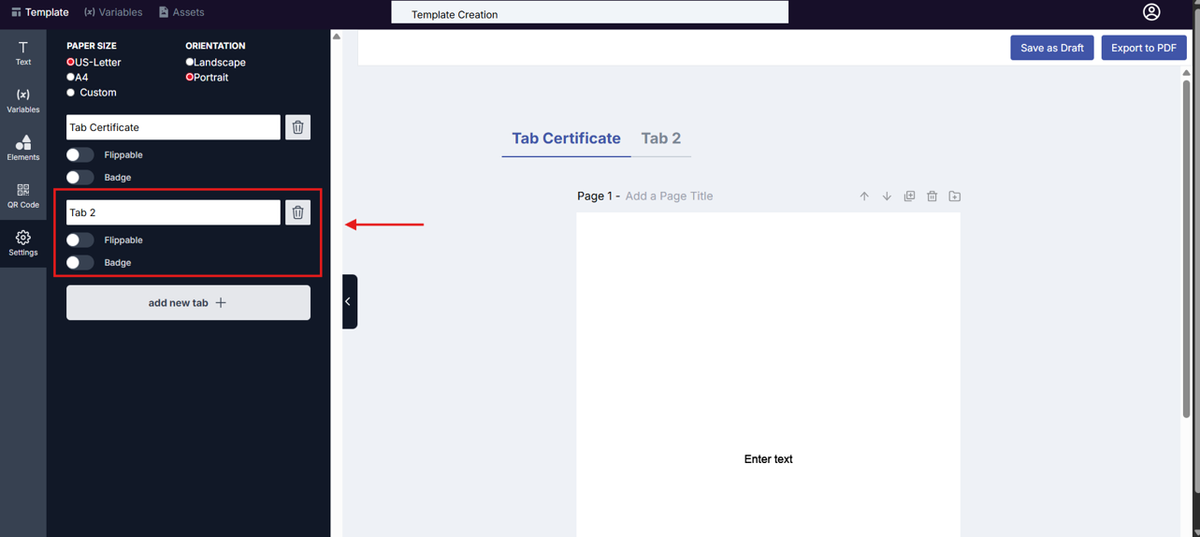
- Edit the tab as you see fit.
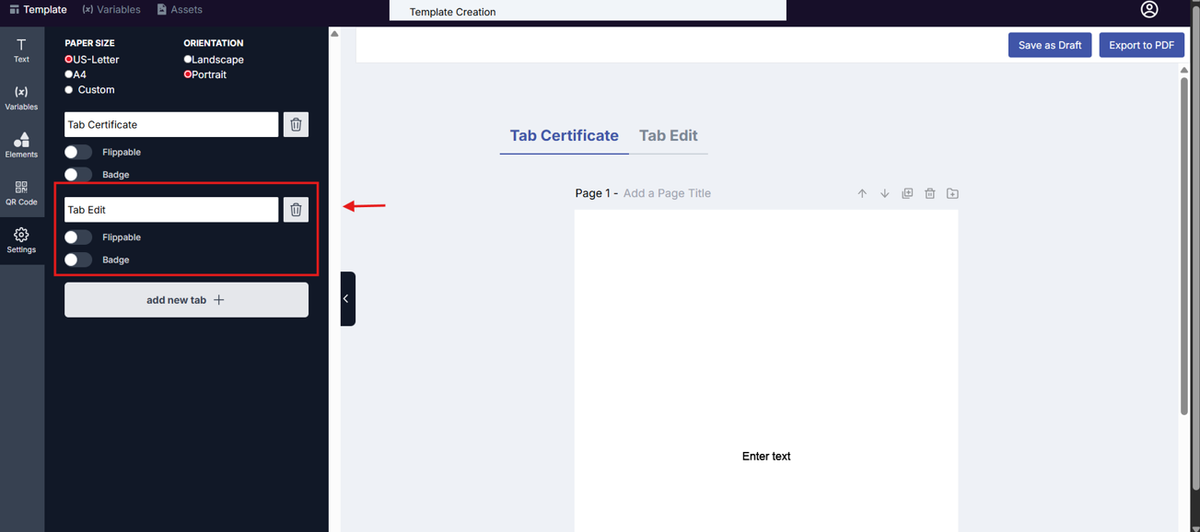
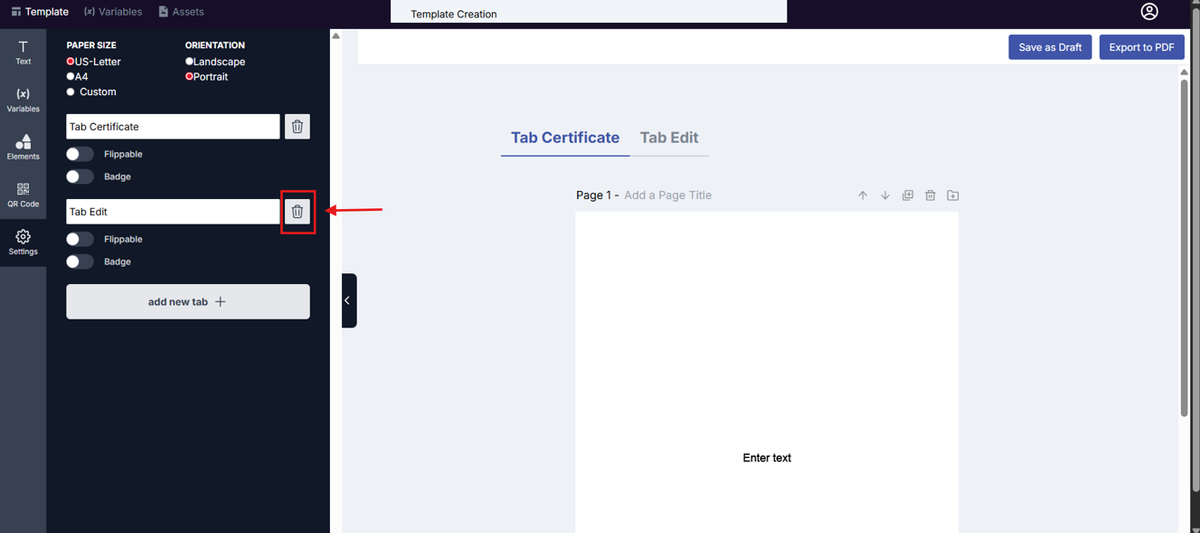
To delete a new tab:
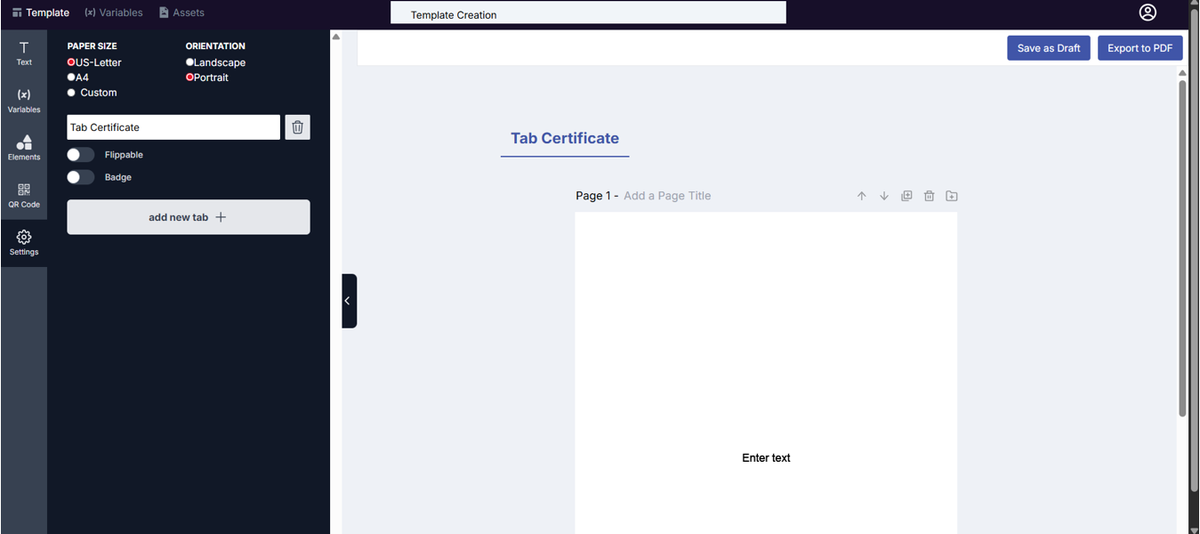
- Click on the Trash Can button.
- You have deleted your tab.
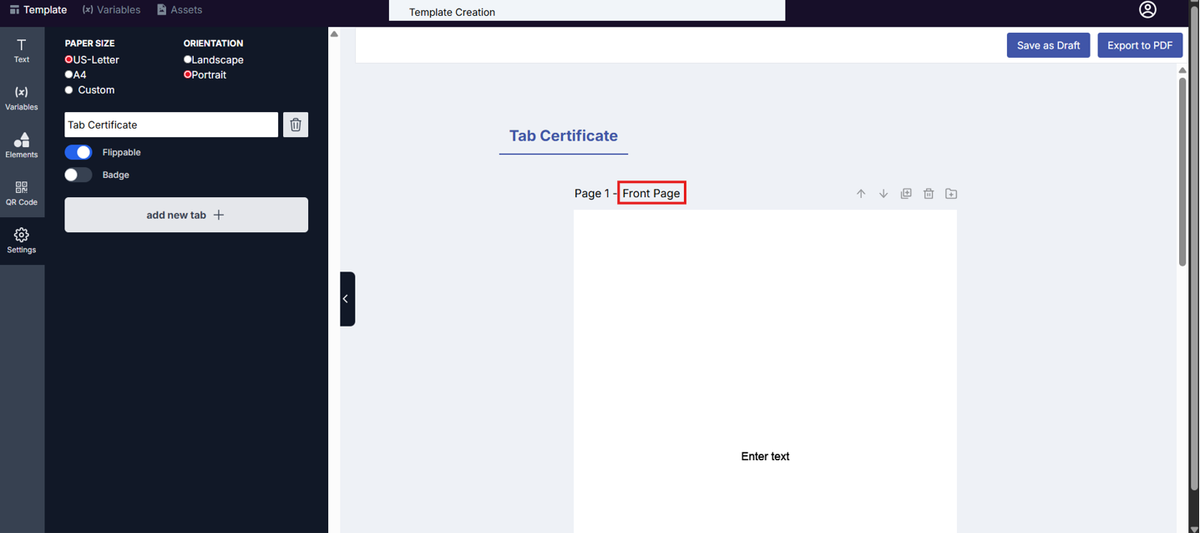
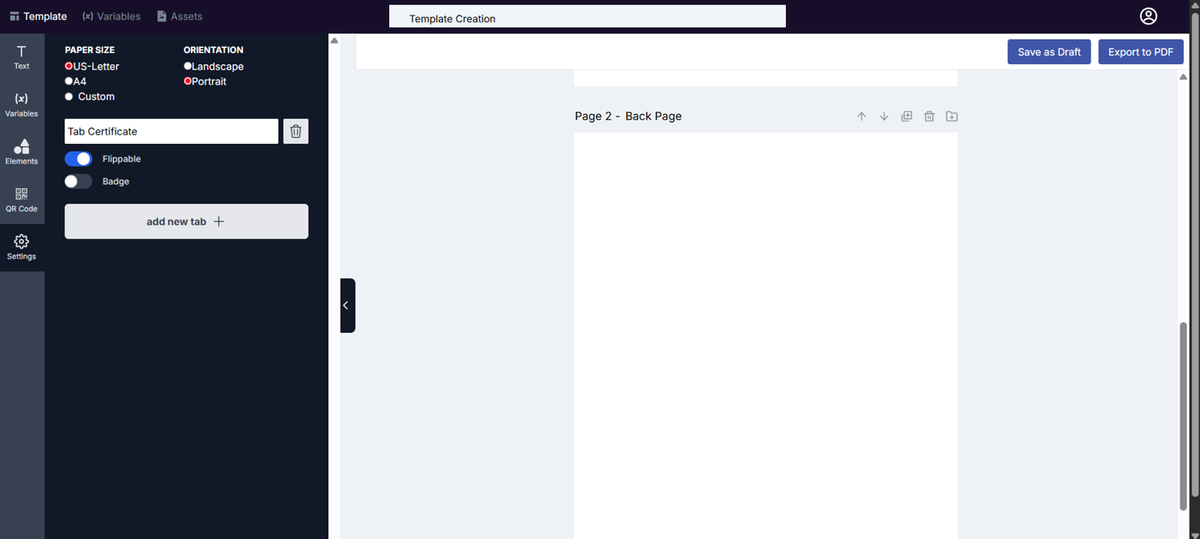
To make your tab flippable:
- Click on the flippable button.
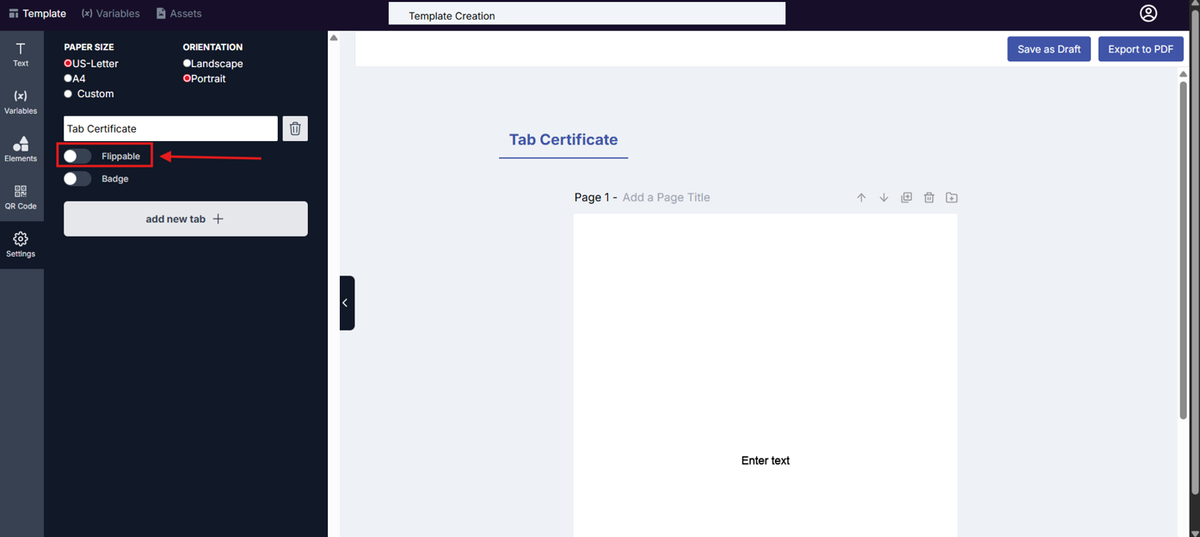
- It will change the name of the first page into “Front Page”
- It will create a second page for your tab.
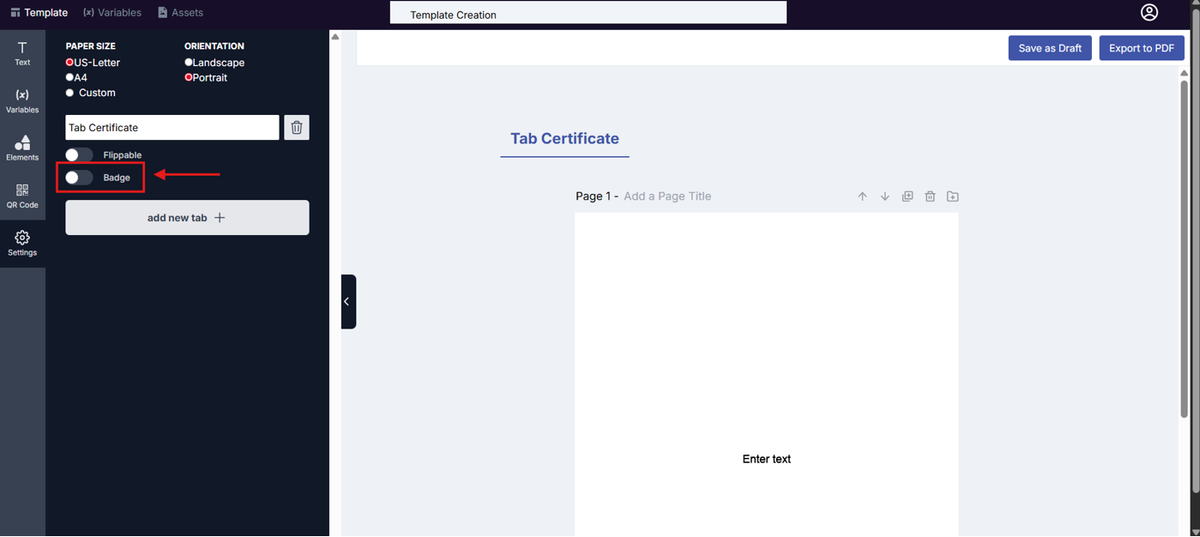
To make your tab a badge
- Click on the badge button.
Was this helpful?