This section shows how to create a FilPass Recipient Account.
1. Go to https://app.filpass.ph/
2. Click the Sign up button.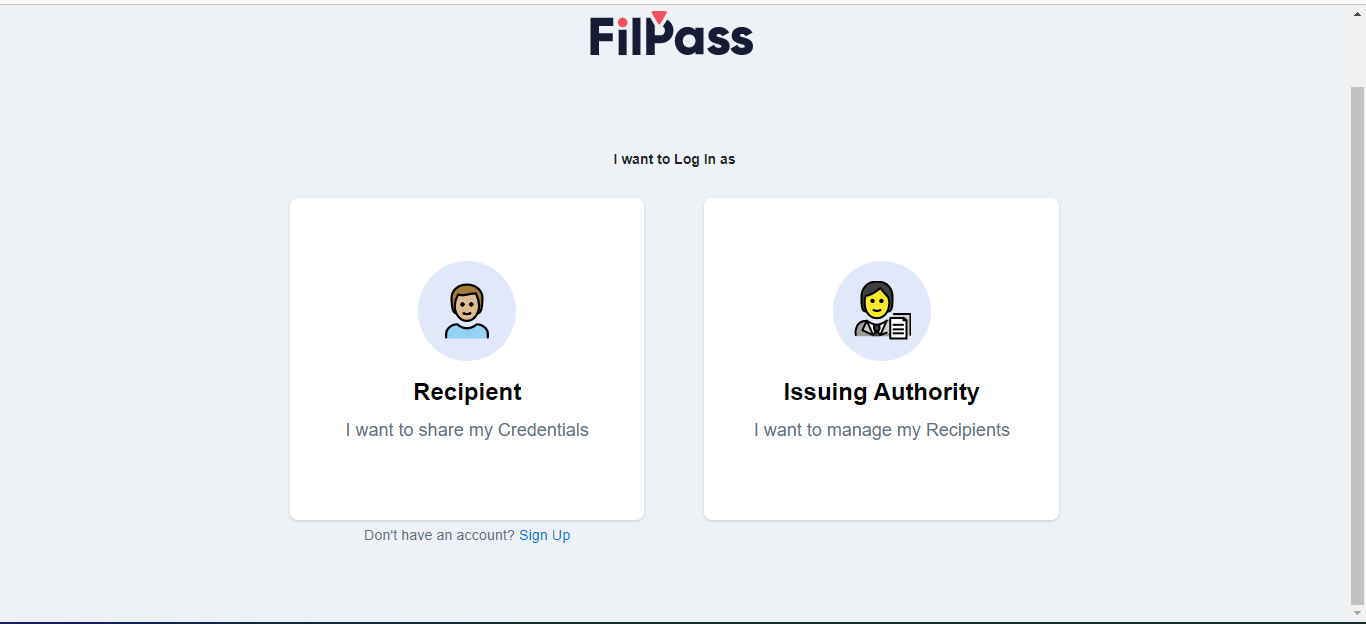
3. Enter your email and display name, then click Continue.
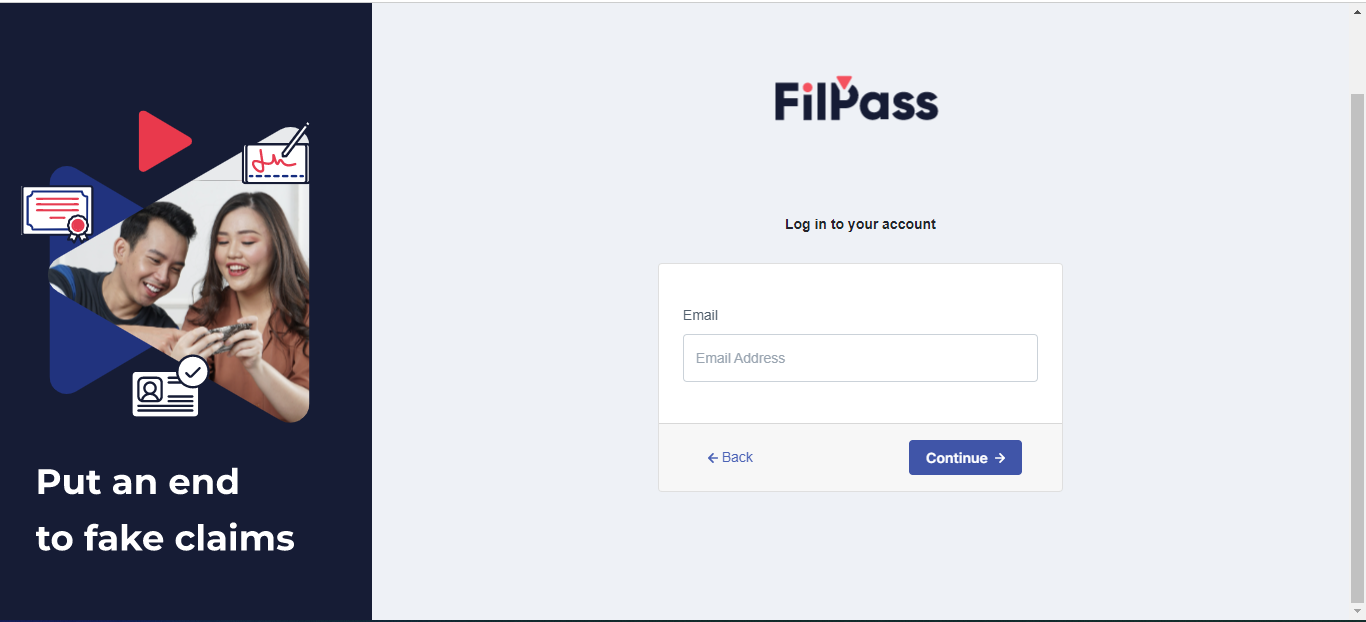
4. If there is no error encountered regarding your registration, a message should pop up that an OTP was sent to your account, Input the sent OTP in the box below.


5. When the correct OTP is Inputted, you will be redirected to the Set-up Password page asking you to set a password for your account. To be considered valid, it must have a minimum of 8 characters, at least 1 number, at least 1 uppercase, and at least 1 symbol. Once done, click Set Password.

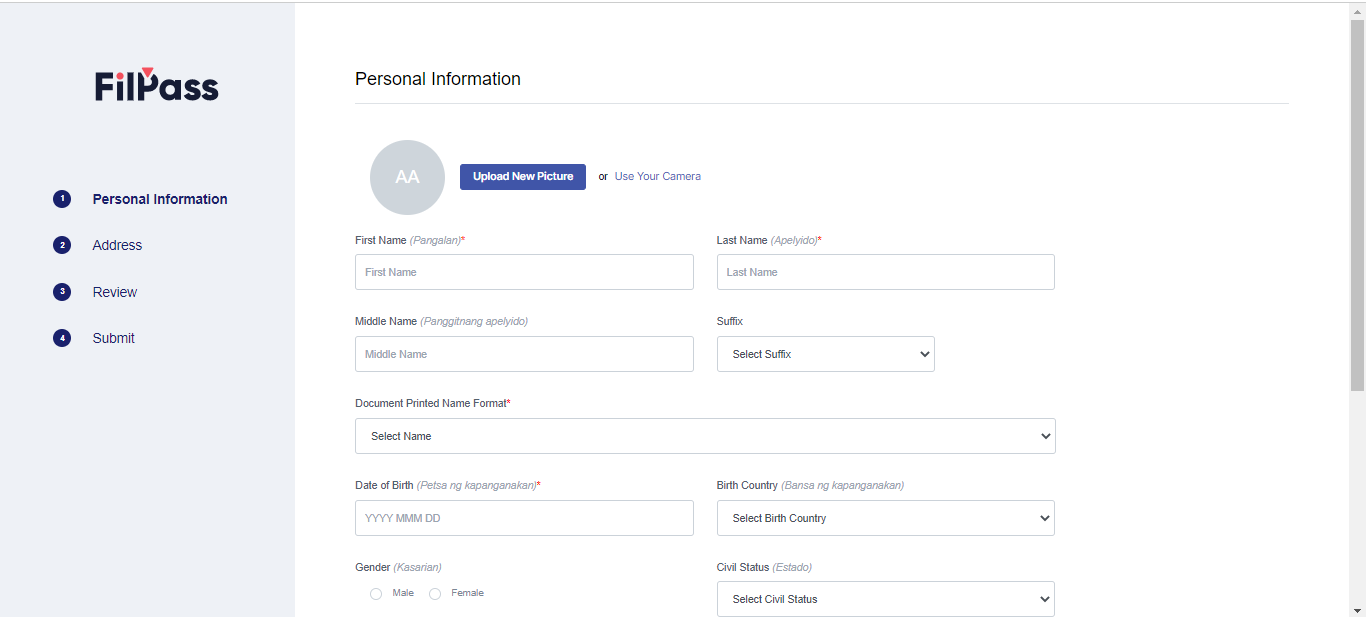
6. You will now proceed to your account registration. For Personal Information and Address, fill out the basic information asked for by the site. Once done, click Continue at the bottom right portion of the page. For the review page, it will show you the information you have inputted in the Personal Information and Address page, Click the submit button in the lower left of the page to submit your application.
7. If registration is successful, a message will appear on the screen saying such. You have now created a FilPass account.

|
Rate this Topic:
|
|||
|